Here's what I found.
I measured the front of the vehicle before and after removal and after removal the bottom of the numberpate (which I used as a refernce point) was 5 to 6 mm higher than before.
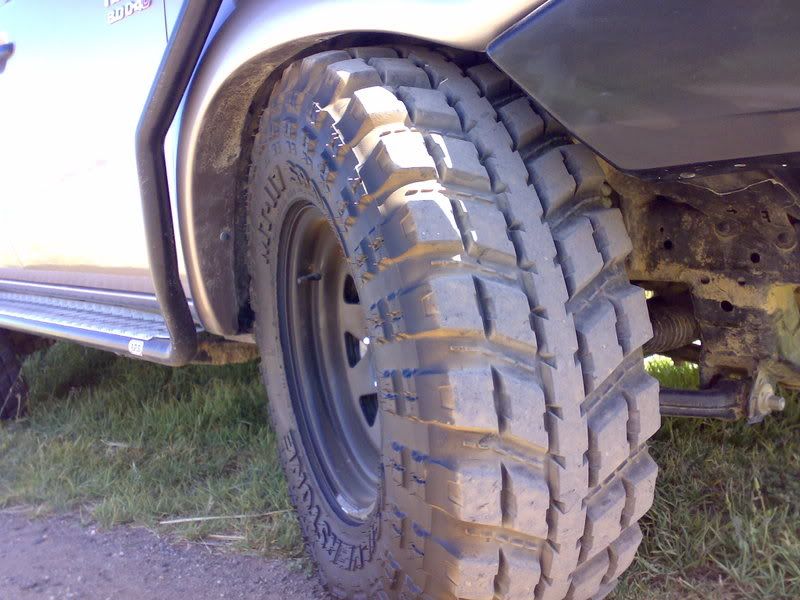
Also, I took her to the back paddocks here and parked her crossed up with the left hand rear up on a mound, forcing the front right hand tyre hard into the guard.
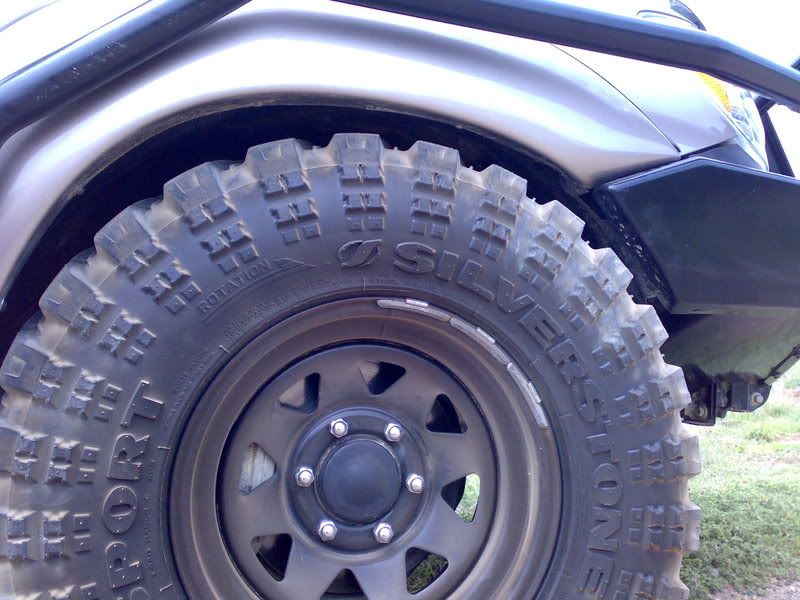
With wheels straight ahead this is what it looked like-
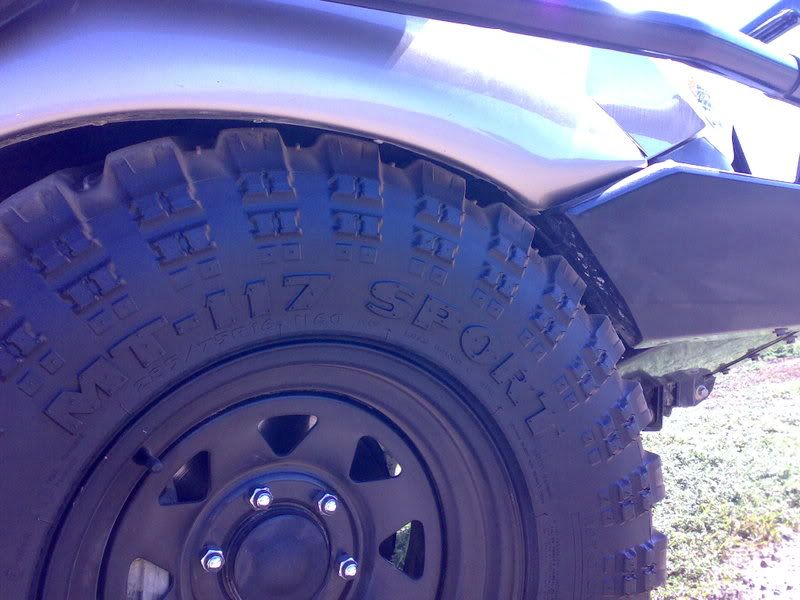
Just missing the bullbar on the front and just touching on the top centre
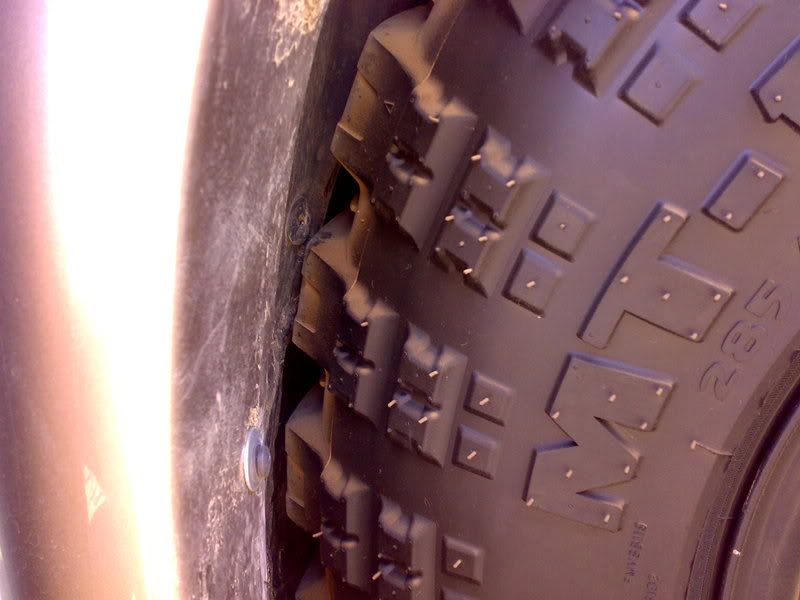
At the rear of the guard when tyres straight ahead it was just touching the rib on the inner plastic trim.
Alot more uptravel without the swaybar fitted. I'd say atleast 15mm maybe 20mm.
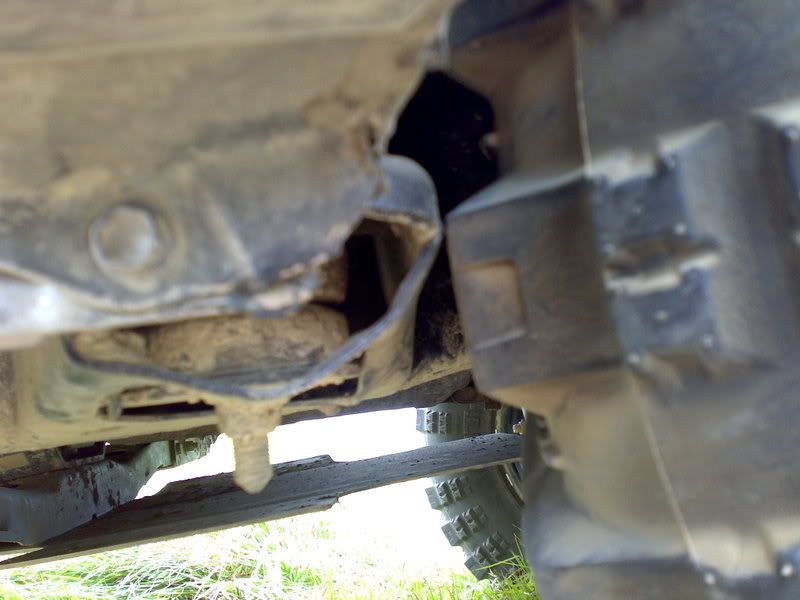
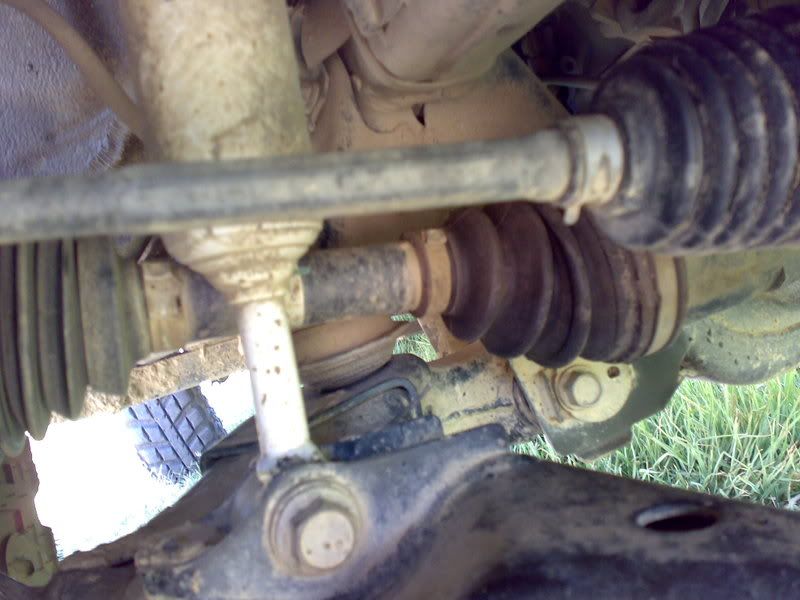
With the steering turned and the tyre at its closest to the bodymount, it was just touching
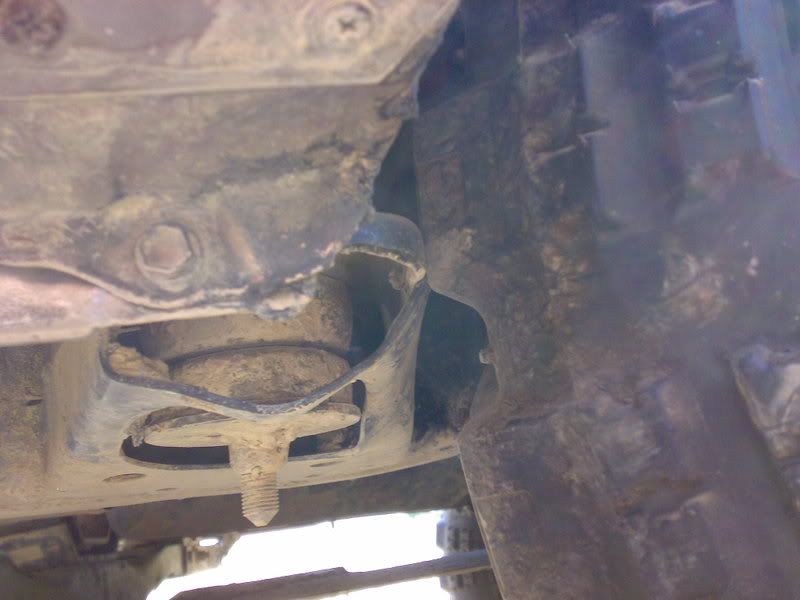
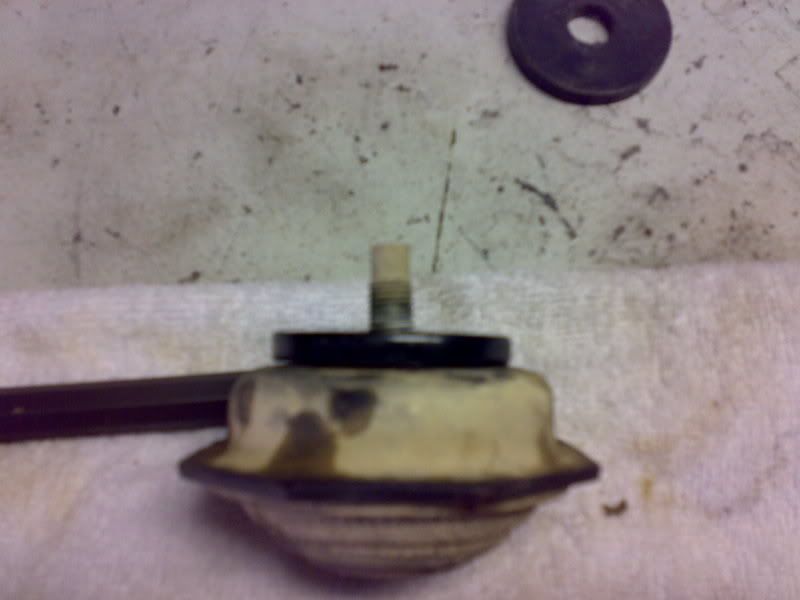
This mount will be getting the Maxi treatment and some cut and welded to trim it back.
Before the swaybar removal, when flexed on the same mound the same way, I had a good 10-12mm of clearance all around the tyre at the rear of the guards.
Interesting to see how much higher the tyre has been able to tuck in.
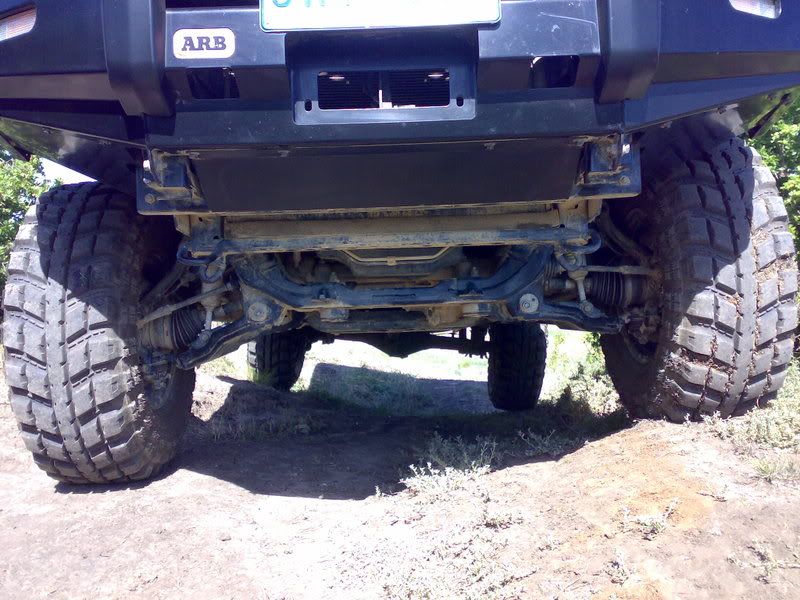
Offroad, each side works more independantly and actually fells better going over mounds and ruts. On the road there is a little bit more front body roll but when you drive like a grandpa it's not gonna be a problem
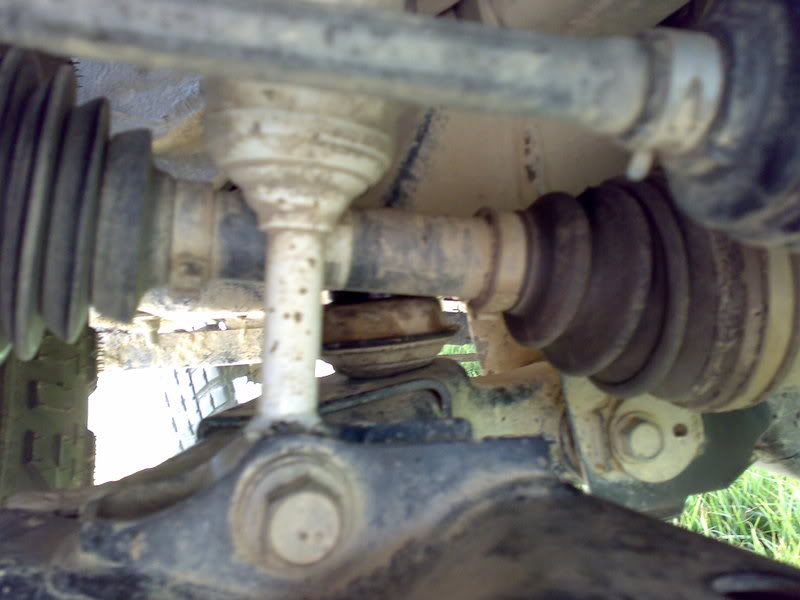
Now when the vehicle was crossed up like in the first few pics, and the front right tyre tucked into the guard, the bump stop was just lightly pressing on the Lower Control Arm, and the coils were pretty much fully compressed.
In the future, I'll be putting a spacer on the bump stop, or getting after market ones, and limit the front uptravel by about 15mm.
Honestly, unless someone can prove me otherwise, a big 33 inch tyre like I have (33.1" going by specs) with full suspension compression is as big as your gonna be able to get in our guards without either a drop bracket lift ir a very stiff front suspension that doesnt give "full" compression.