As i said in my intro thread, i've bought a 2010 Dual cab D4D, had 63k on the clock which is pretty nice and low, though it was a NSW RFS (Rural fire service) car before i bought it, so its seen a bit of action. The bottom side, in particular the steps and bash plates are pretty beat up, but mechanically its fine and its nothing i'm not going to replace anyway.
The car will be my daily driver and is also the primary family car for myself, the missus and the 3 terrors, so nothing too crazy is planned so far, though a lift is on the list for the future, it won't be a big one (2" likely). I managed to clock up another 8k km's while on holidays so its a little over 70k now.
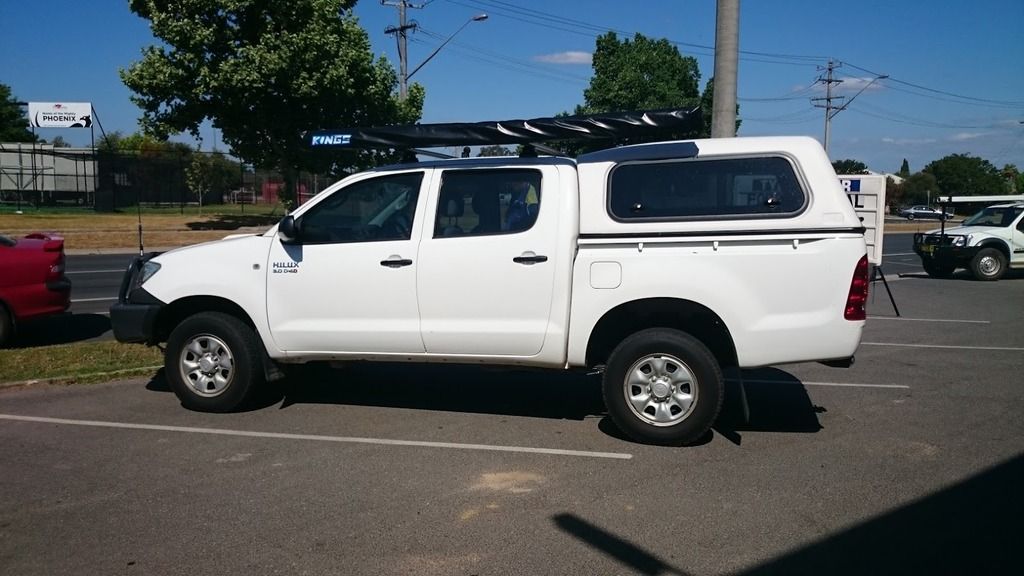
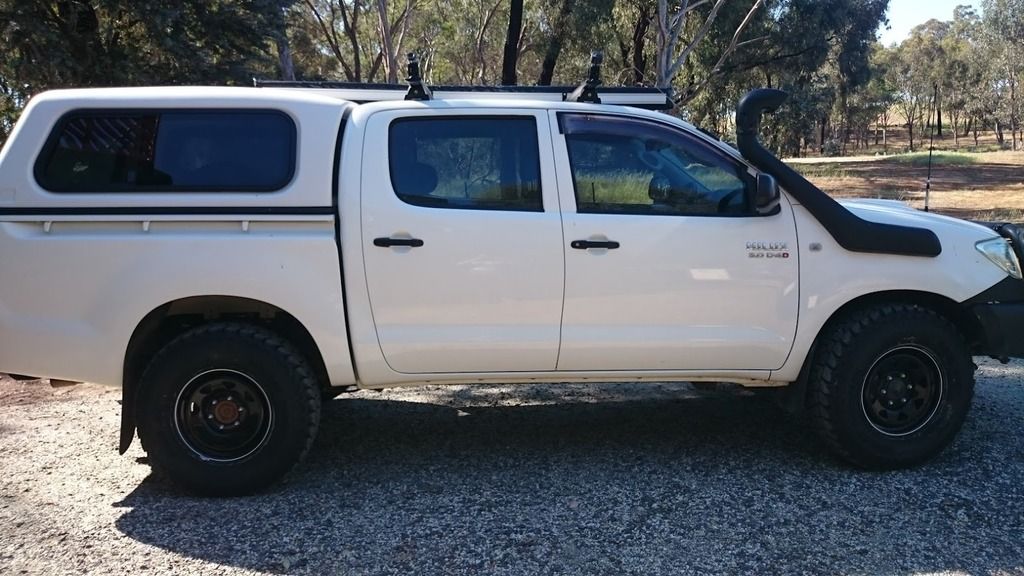
Here is the lux as it is now:
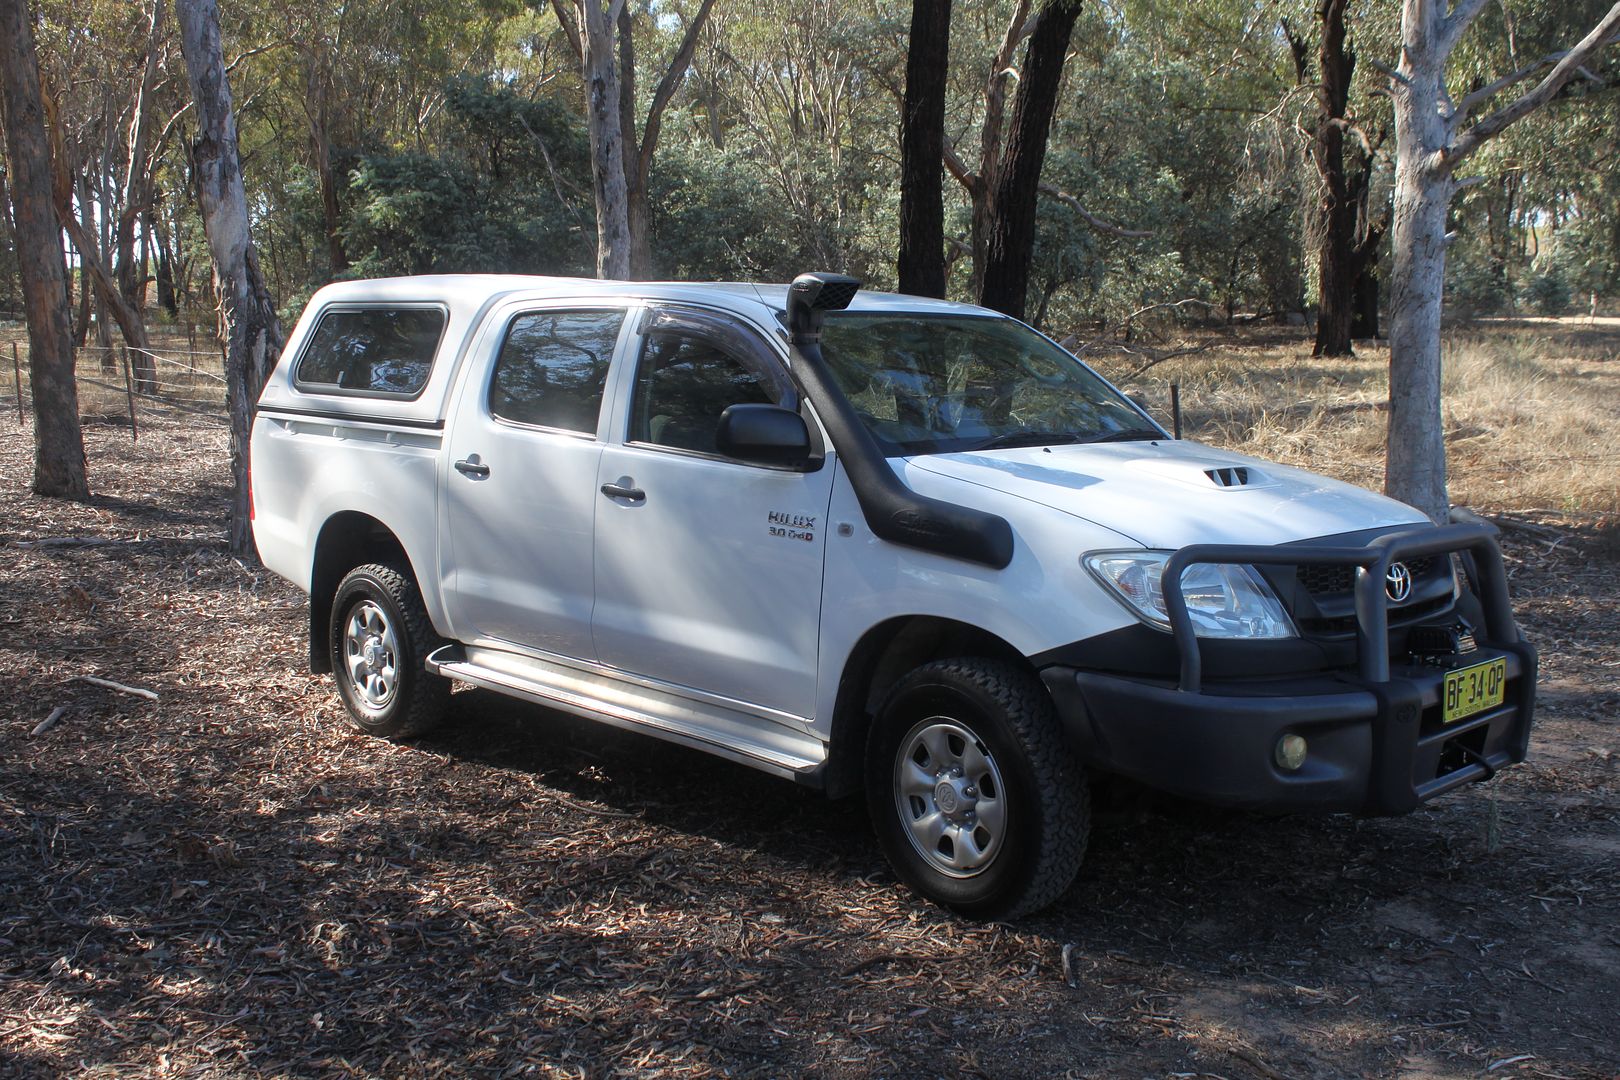
The day after I bought it the snorkel went on, I knew that'd be handy for all sorts of reasons so I made sure I had money in the budget for that immediately, though I did do the slack thing and paid to have it installed.
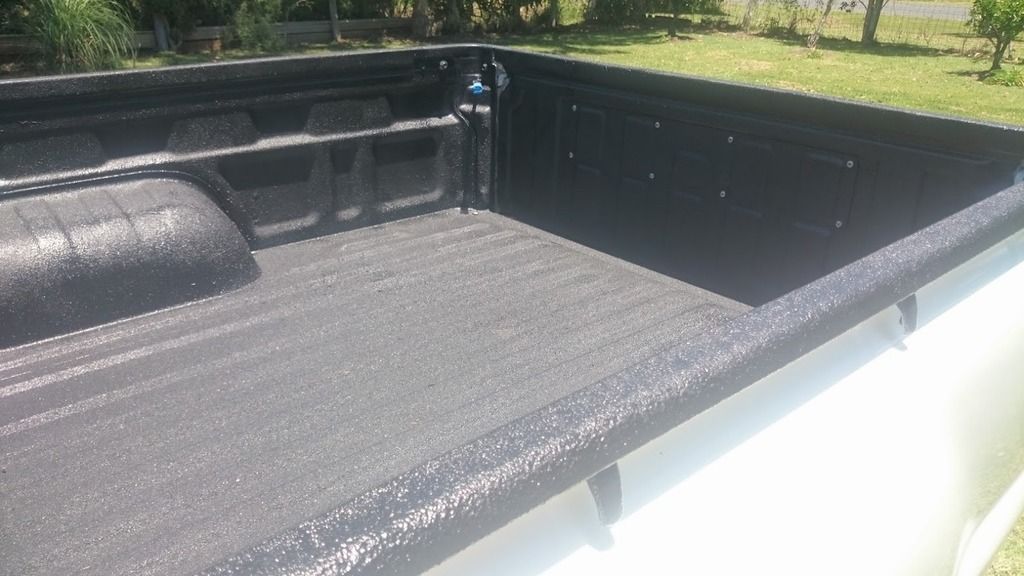
While i was away on Christmas holidays I roped the brother in law into giving me a hand and i got the rear seat mod done to allow me to fold it down for storage space. I'd read it was easy, but wow, it was EASY. Tonnes of space back there and with that chunk gone and a little electrical tape around the metal hoops, the rattle on one side is gone!
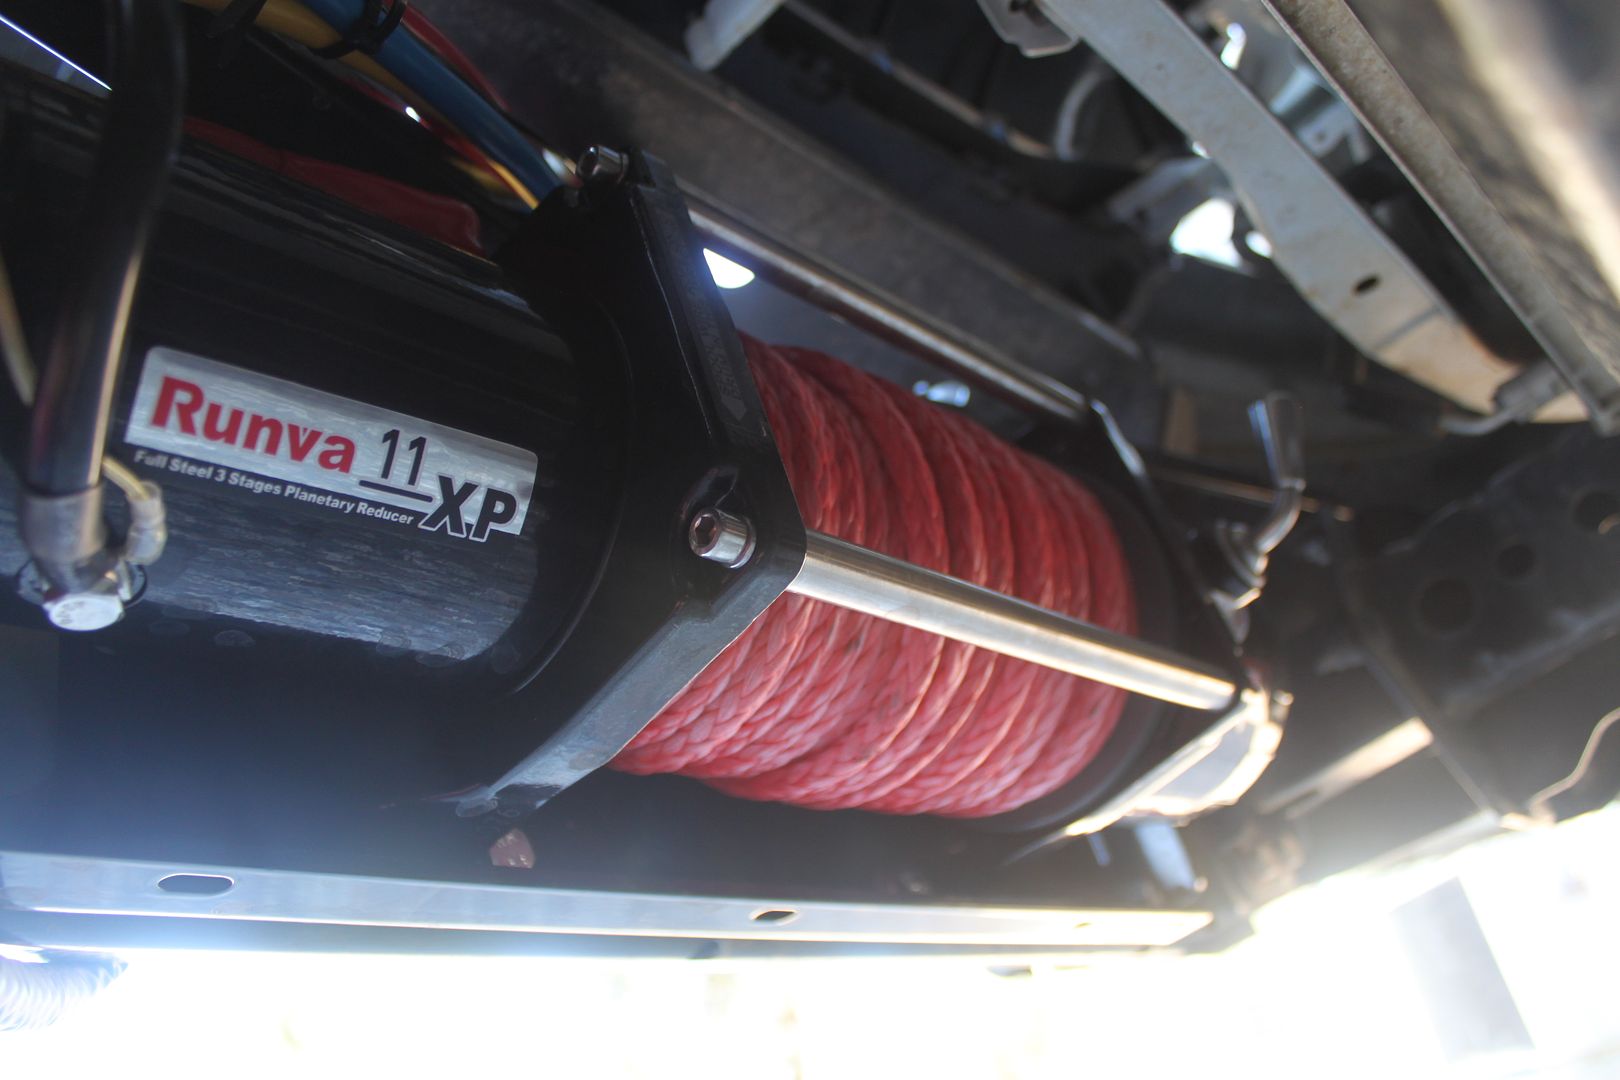
While i was away up in QLD I bought a Runva 11XP winch to be installed in the breaker bar. I wasn't 100% on how this would happen, but thanks to previous posts on here i knew it COULD be done, so i forged ahead mostly blind. Once i was home i bought the winch cradle from Toyota, which turned out to be $175 + GST (so $192.50 total)
In my opinion, that is a little pricey, but it is a serious piece of steel and I'd say its added a tonne of strength to the bar, so I'm not unhappy about it.
While i was waiting for the cradle i got impatient and decided to fit the controller. Turns out this comes with two different brackets, neither of which was 100% right. I ended up using the angle piece, but at the angle it started out at (about 40 degrees or so) it was hitting the plastic skirting under the bodywork that seperates the bar and the body. A little under foot flexing dropped that down to a more reasonable 20 degrees (approx) and it fit easy.

The box used to have the Runva logo on it (as you can see from the glue residue), however while i was putting it on i managed to break the va off it (the back side wasnt very well attached). I considered just leaving the "RUN" on there, but decided against it
Once the cradle arrived, i went to town on the instructions, turns out it was VERY easy to do. The instructions, which Toyota superwinch specific, were generic enough to understand. I roped a friend into helping me (so i could hold the winch up and he could bolt it in) and we got started.
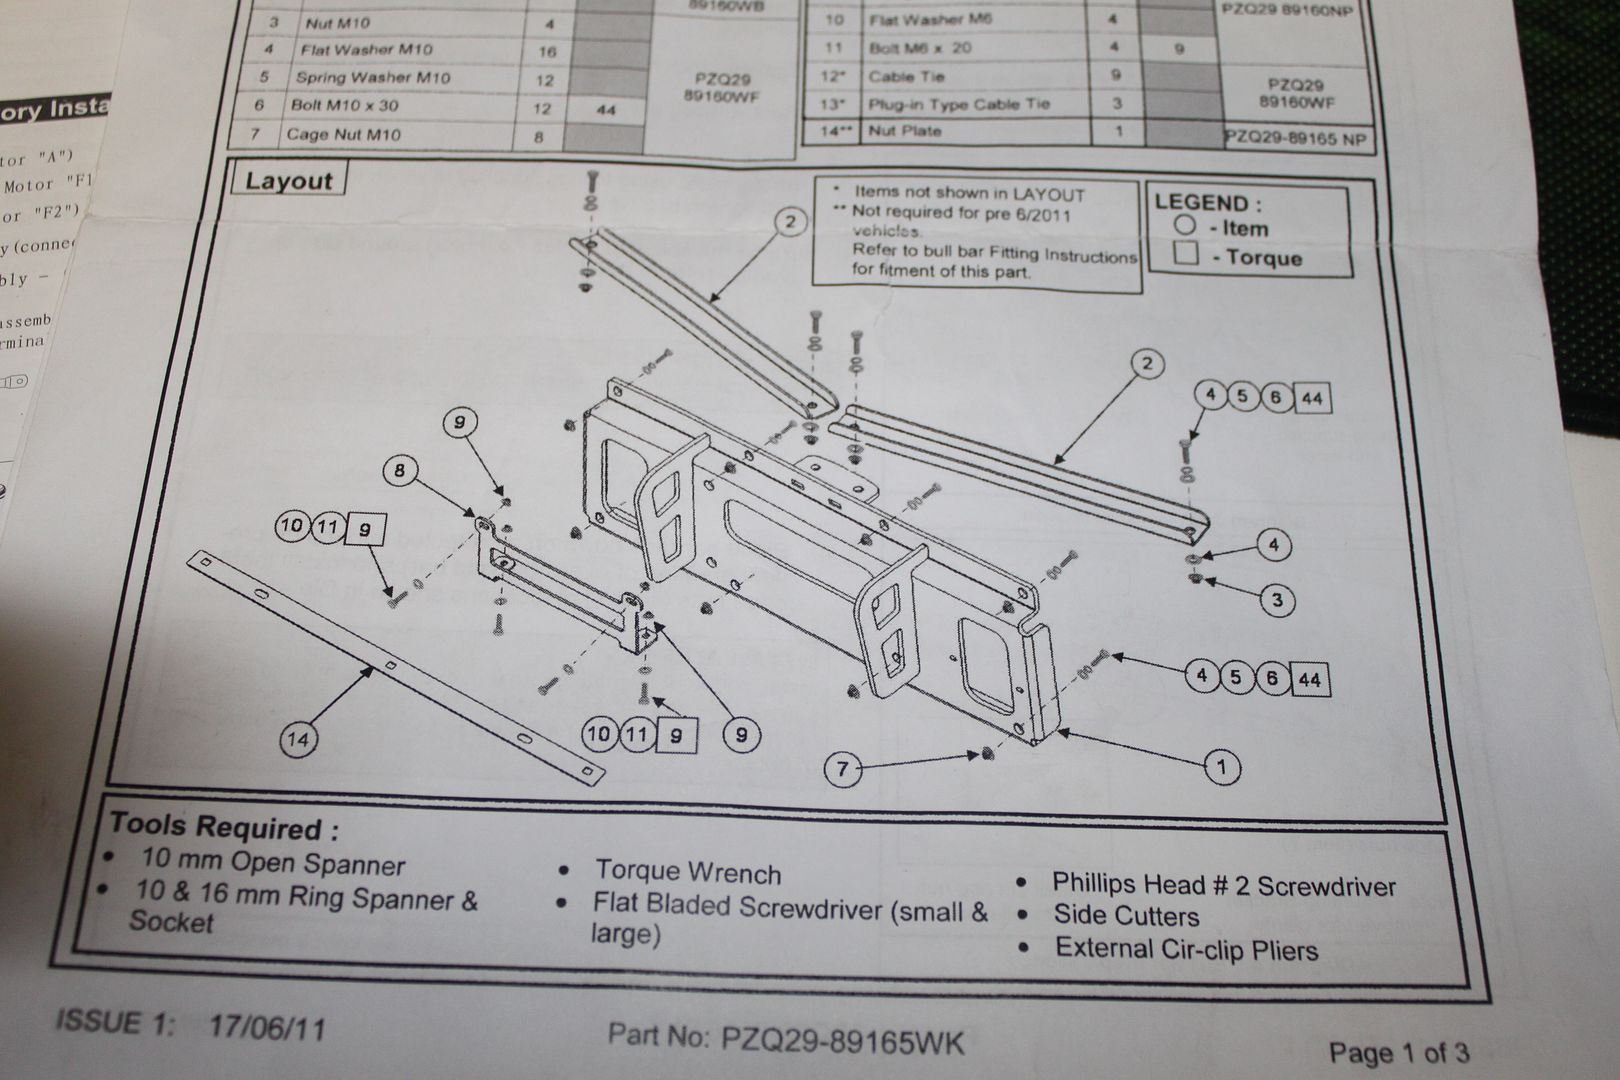
PS - On the above image is also the number plate holder, which i already had, as well as a strange part that is apparently needed on the newer (11/06+) models, part 14, bottom left. Not sure where it goes or what it does, the instructions are completely unclear, so if you have a newer lux be aware of that, it looks like it holds cage nuts so i'm guessing your breaker bar might be missing a row of cage nut attachments or something?
There are 8 large cage nuts that clip into the square holes in the bar, these hold the main cradle plate in. On top of that are two large reinforcement bars, these mount to the centre of the winch cradle and the edges of the bar and provide the top strength it needs.
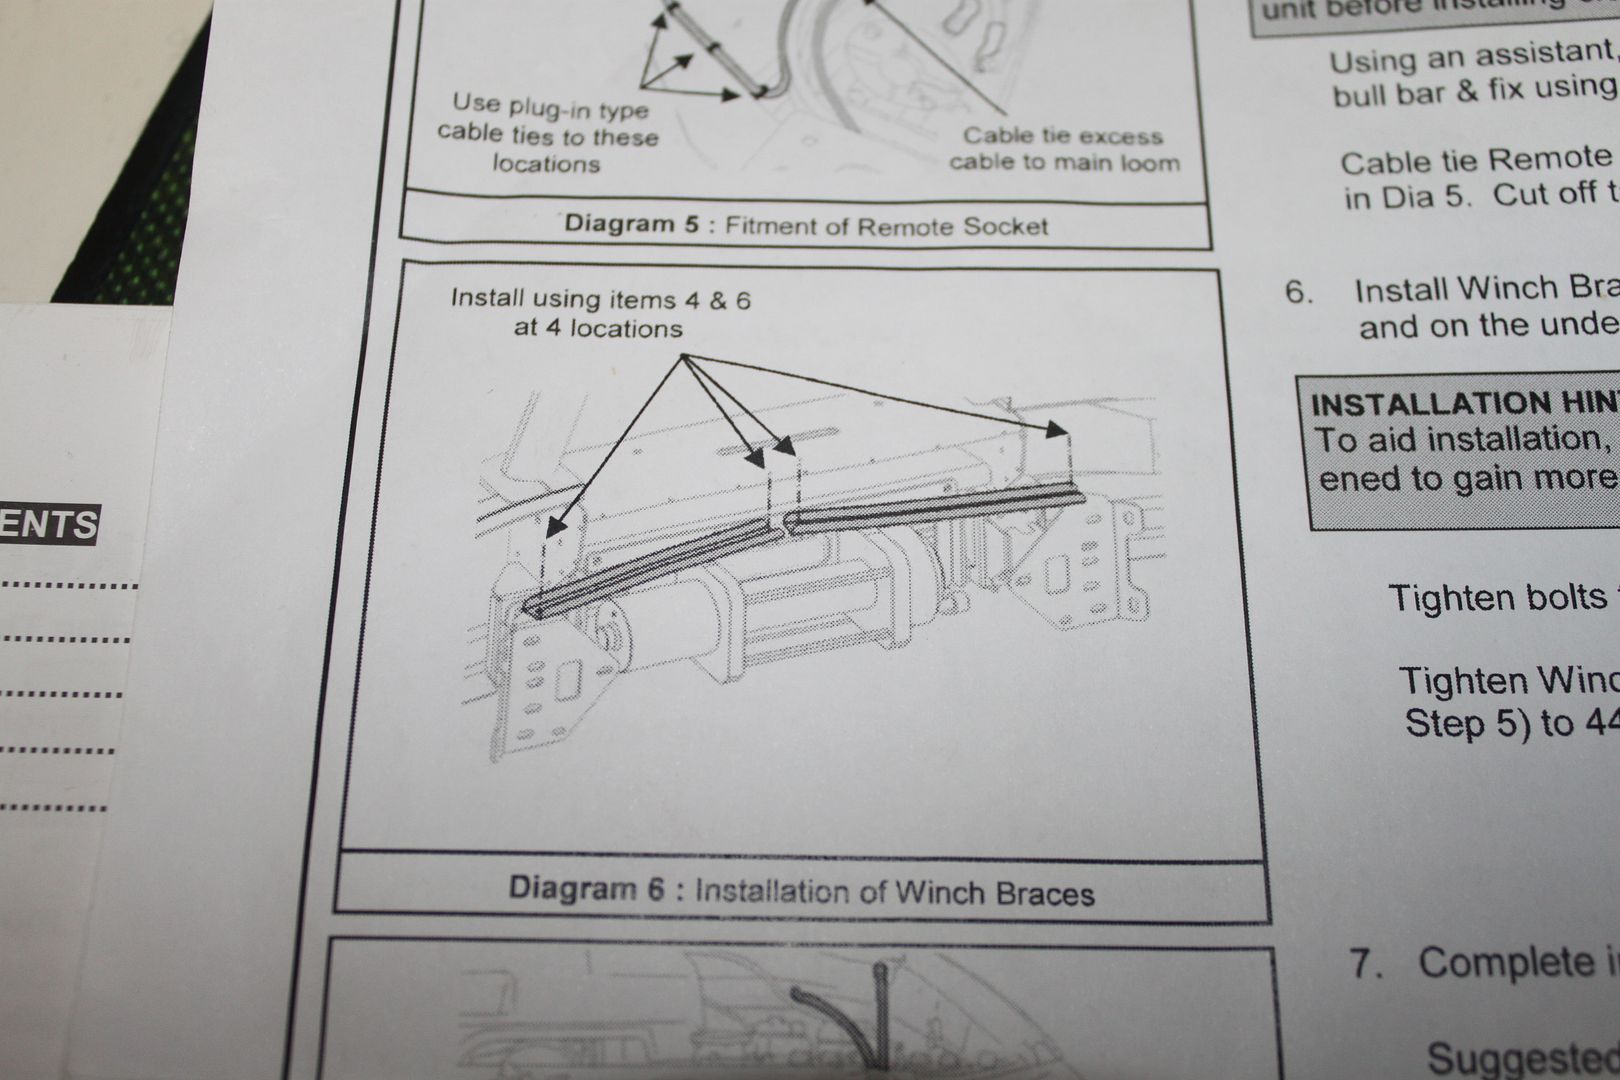
The instructions show the bar being removed, winch being installed, then the bar going back on. I decided this was a bad idea, and simply mounted the winch cradle, then the reinforcement crossbars, then attached the winch afterwards. This was easy enough to do, however you'll need at least two people and I had a complication where the bolts that ship with the winch are not long enough to get through the top holes, through the fairlead, then the cradle, then into the winch. A quick trip to the shops got me replacement M10x50 bolts to fix that (high tensile ones, in a pack of 10 from memory) - A few extra washers is a good idea too, though i didnt require them it probably wouldn't have hurt to space the extra bolt length out a little.
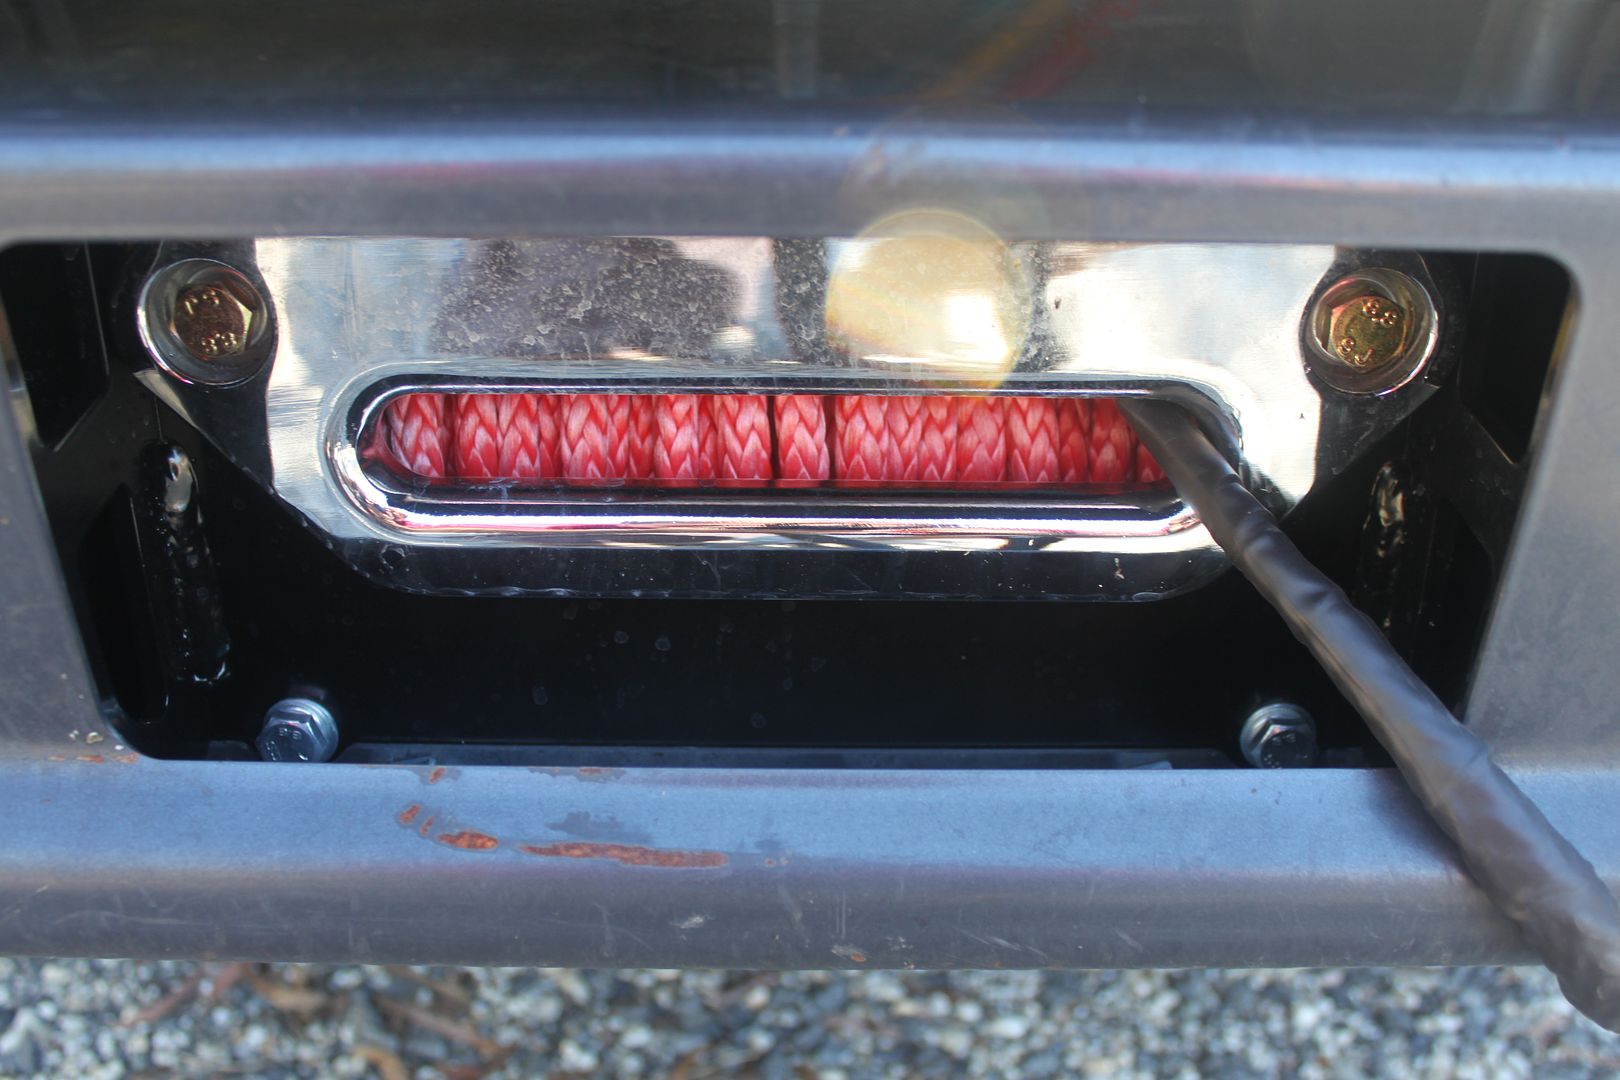
As for the fairlead, I used an offset hawse to ensure it fit neat enough, this is not optional for this!
I have seen people do custom jobs to get the fairlead to mount on the face of the bar, but this required no extra work welding or cutting, and i actually like the recessed look it has now
Mounting the winch so it spooled out over the top of the drum was easy, i could have rotated the gearbox / clutch lever around as well, but having it on the top would be hard to get to (you could through the gap in the bar, but it would be uncomfortable) and down meant risking hitting it, so i left it as is. Its actually pretty easy to get at, though not as nice as on top of the bar access would have been.
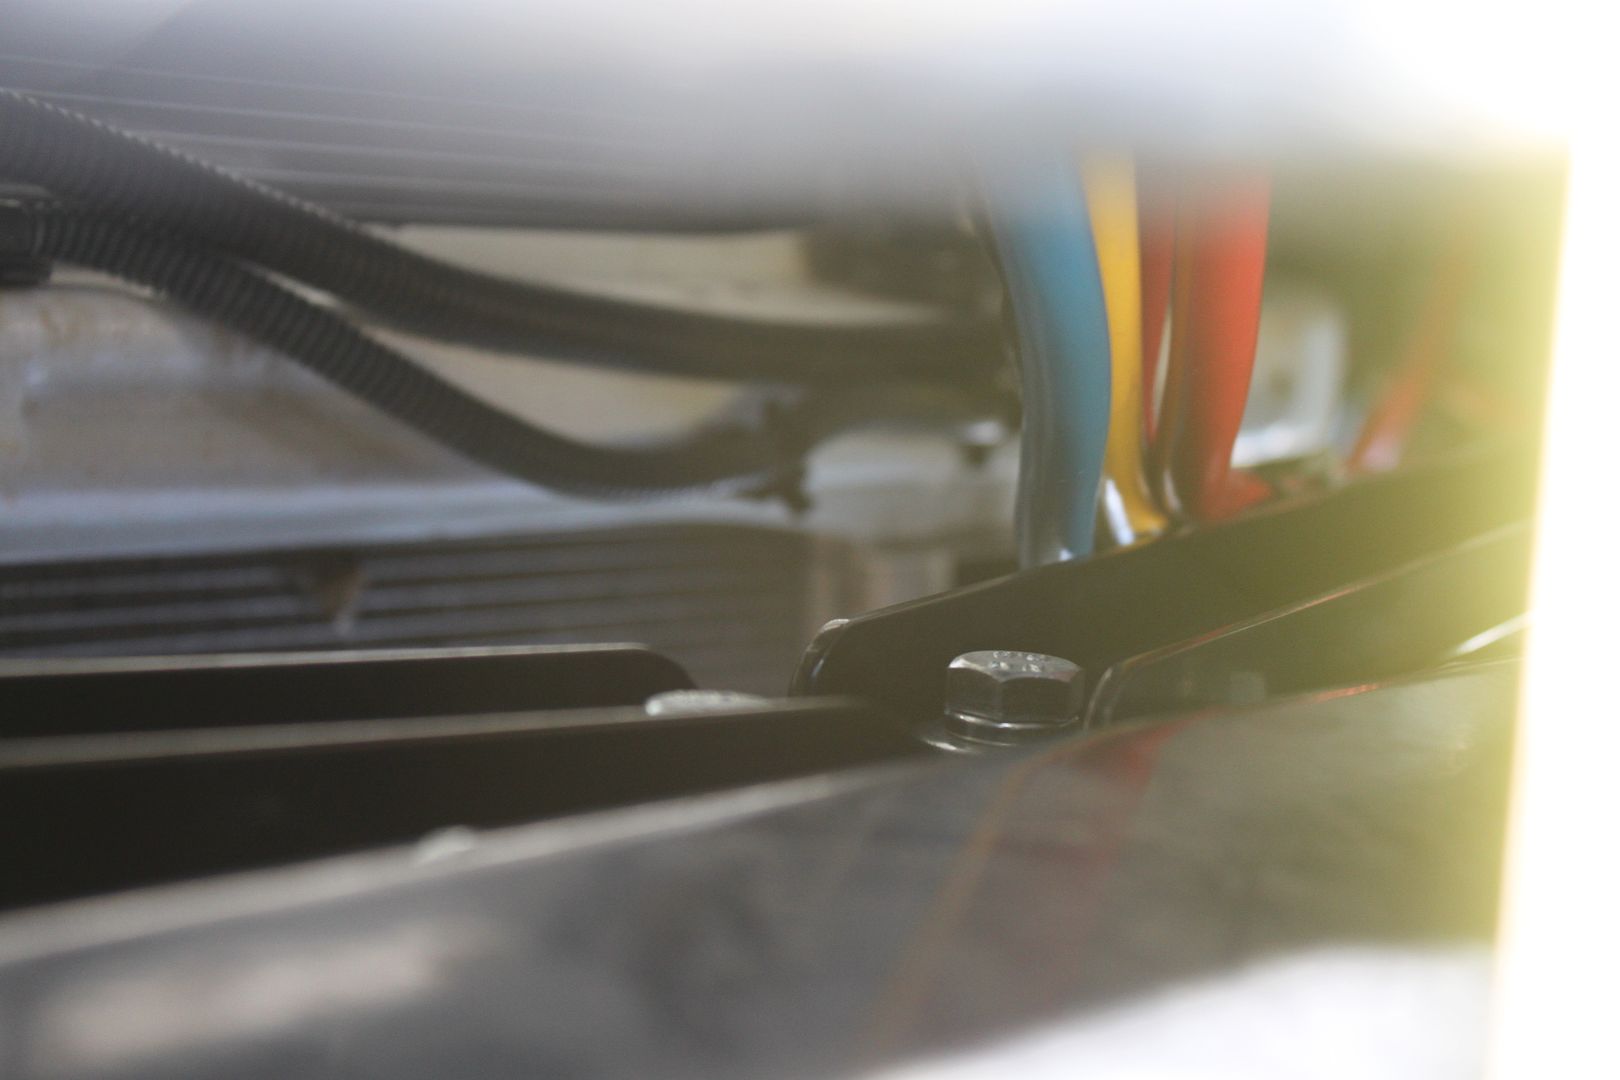
Electrical connections were awkward, but doable. I'd suggest trying to get these done after mounting the cradle, but before bolting the winch in, clearance up there is not great and it meant using spanners rather than decent socket wrenches as it wouldn't clear once installed.
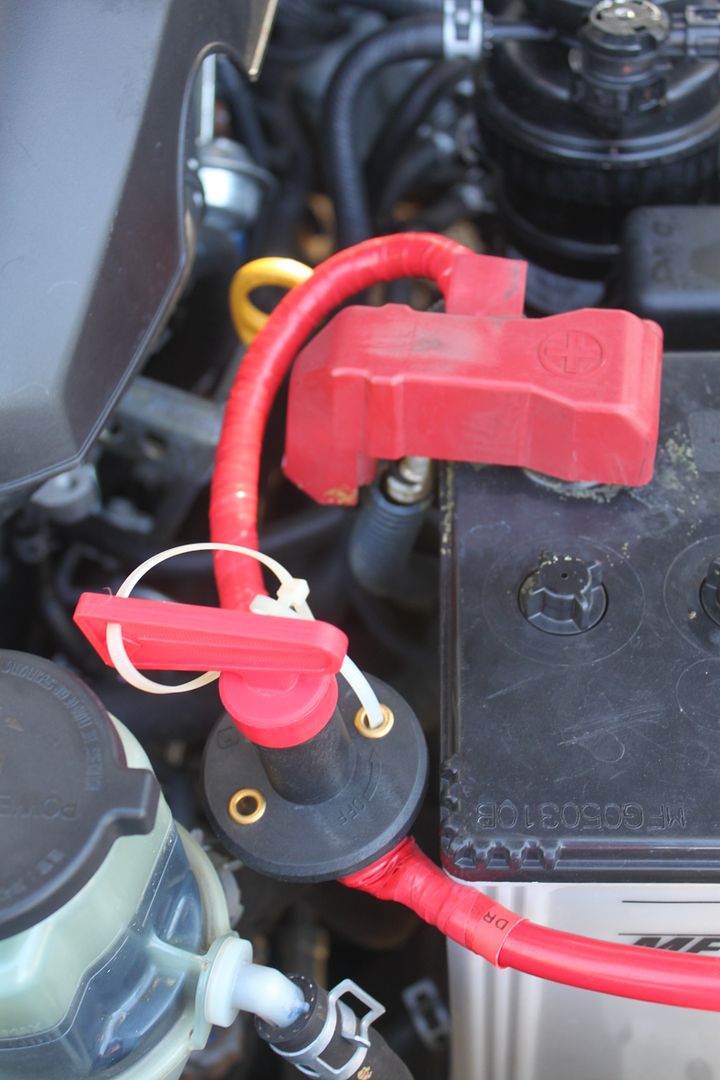
The negative into the winch mounts under the winch (as you can see) up to the battery, but there is a small ground you run from the controller to the winch, it was too short to make the distance, so i joined it onto some old decent gauge speaker wire i had lying around, hence the small grey/brown wire coming out from under the large negative battery cable.
Once that was done, i got the power onto the battery and gave it a test go, working perfectly i was pretty happy. The next day i went down to super cheap after a lot of hunting and bought a 10cm 2 gauge "battery" cable, which was annoyingly blue, but a little red electrical tape sorted that! I couldn't find anything else anywhere else so if you need one, that's your best / easiest bet.
It was short enough to come off the battery and onto the isolation switch (which was supplied with the winch) without being so long the switch drooped down. The switch is suitable, but has no backing on it, so i taped over the pillars to ensure they cant ever short.
Annoyingly, the positive lug on the supplied (and pre-installed) cable from the winch to the battery is too small to fit on the supplied isolation switch, but only just, so a pair of vice-grips and a small adjustment with a drill bit sorted that out. (the supercheap cable lugs fit no problem on both the isolator and the battery)
I cable tied the key onto the switch (two cable ties, looping into each others loop rather than joined to give it a bit of give) so it wouldn't fall down into the engine (which I did while testing it and got it caught in the various cables and hoses just there under it and burnt my hand retrieving it, not happy about that!), but now that's done its a completed job and I am happy.
Next up will be either the
a) Diff breather extension, or
b) replacement bash plates (at least the front engine cover one which is the most damaged)
Not sure which yet, I'll decide soon enough though.