Looking good mate, very satisfying knowing that you built it yourself ey!!!
Sent from my SM-N920I using Tapatalk
Page 3 of 4
Re: Fish's build
Re: Fish's build
Re: Fish's build
TOYZX wrote:Looking good mate, very satisfying knowing that you built it yourself ey!!!
Sent from my SM-N920I using Tapatalk
Yep, it's definitely satisfying. Can't wait to get it finished but trying not to rush, same as you said earlier
Sent from my SM-G901F using Tapatalk
Re: Fish's build
Got the sides finished tonight.


Got a bit late for noisy power tools so I began making a list of the remaining jobs. Filled an A4 page pretty quick.
Sent from my SM-G901F using Tapatalk
Got a bit late for noisy power tools so I began making a list of the remaining jobs. Filled an A4 page pretty quick.
Sent from my SM-G901F using Tapatalk
Re: Fish's build
Looking good mate, can see the light at the end hey?
Sent from my iPhone using Tapatalk
Sent from my iPhone using Tapatalk
Re: Fish's build
Got some angle iron into the bottom of the headboard yesterday. Also added some mounts for work lights. 


Got some bars in too.


A4 list of jobs getting ticked off gradually.
Sent from my SM-G901F using Tapatalk
Got some bars in too.
A4 list of jobs getting ticked off gradually.
Sent from my SM-G901F using Tapatalk
Re: Fish's build
Built a shovel hanger

Put a couple of bits of angle up the top of the headboard for roof rack/tradie mounts

Put a couple of bits of angle up the top of the headboard for roof rack/tradie mounts
Re: Fish's build
Been busy with other things but got into doing mudguards today.
Just building them out of alloy checker plate, they are a little more difficult to build than anticipated. Angles, fitting around existing frame and ancillaries has made them a time sink-hole.

Welded some 50mm flat sheet to the bottom side of the tray supports as the mounting hangers

Driver's side done

Onto passenger side.


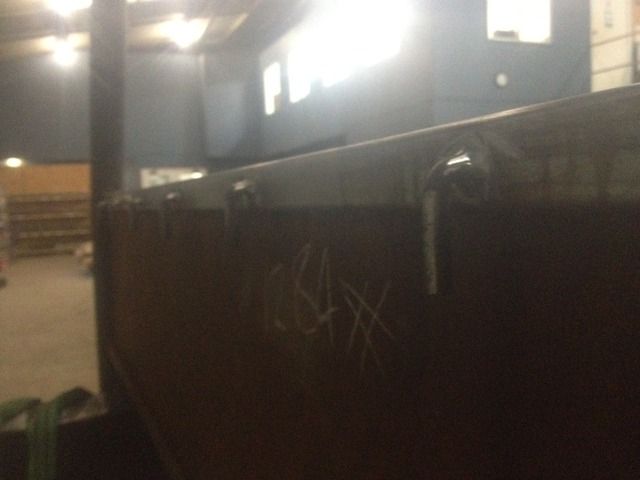
A shot of the cut-out needed to be able to fit the shovel down the front of the headboard. Note the tube to stop the shovel from decapitating oncoming traffic / marsupials.

Will try to finish passengers side tonight after the kids are in bed. Footy's on the radio, so into it.
Sent from my SM-G901F using Tapatalk
Just building them out of alloy checker plate, they are a little more difficult to build than anticipated. Angles, fitting around existing frame and ancillaries has made them a time sink-hole.
Welded some 50mm flat sheet to the bottom side of the tray supports as the mounting hangers
Driver's side done
Onto passenger side.
A shot of the cut-out needed to be able to fit the shovel down the front of the headboard. Note the tube to stop the shovel from decapitating oncoming traffic / marsupials.
Will try to finish passengers side tonight after the kids are in bed. Footy's on the radio, so into it.
Sent from my SM-G901F using Tapatalk
Re: Fish's build
Forgot to say that I've made it all removable as the frame will be blasted and powder coated
Sent from my SM-G901F using Tapatalk
Sent from my SM-G901F using Tapatalk
Re: Fish's build
Had to get creative to be able to drill a few holes to tie the drawer to the tray frame

Sent from my SM-G901F using Tapatalk
Sent from my SM-G901F using Tapatalk
Re: Fish's build
Test fitted the tail lights and the reverse lights (floods)

Also made a step so some of my shorter-stroked mates can get on the back.


The keener eyed viewer may see the spiral pattern on one of the tubes in the step. That's what happens when you don't clamp the pipe properly in the drop saw. Bit spun out of the saw across the floor. Perfect spiral pattern. Trap for young players.
Sent from my SM-G901F using Tapatalk
Also made a step so some of my shorter-stroked mates can get on the back.
The keener eyed viewer may see the spiral pattern on one of the tubes in the step. That's what happens when you don't clamp the pipe properly in the drop saw. Bit spun out of the saw across the floor. Perfect spiral pattern. Trap for young players.
Sent from my SM-G901F using Tapatalk
Re: Fish's build
Strapped on a snorkel yesterday.
Template time.

Little holes drilled.

Big hole drilling. Orifices puckering.

Trial fit.

Job done.

Managed to smear a fair bit of sikaflex on myself in the process.
Sent from my SM-G901F using Tapatalk
Template time.
Little holes drilled.
Big hole drilling. Orifices puckering.
Trial fit.
Job done.
Managed to smear a fair bit of sikaflex on myself in the process.
Sent from my SM-G901F using Tapatalk
Re: Fish's build
Tray off to sandblasting next week, then powder coat.
Got some wood stain and oil.
Not sure whether to begin with oiling prior to timber fitment or wait till its screwed down, in case the timber warps.
If anyone has any experience please let me know what the best process is.
Thanks
Sent from my SM-G901F using Tapatalk
Got some wood stain and oil.
Not sure whether to begin with oiling prior to timber fitment or wait till its screwed down, in case the timber warps.
If anyone has any experience please let me know what the best process is.
Thanks
Sent from my SM-G901F using Tapatalk
Re: Fish's build
Tray is off getting blasted and coated so I took the opportunity to do a car yard rebuild (spray can) on the rear chassis


Might run some more power cable to the rear while the rear is off.
Sent from my SM-G901F using Tapatalk
Might run some more power cable to the rear while the rear is off.
Sent from my SM-G901F using Tapatalk
Re: Fish's build
Gool old rattle can rebuild, love it!
Sent from my SM-N920I using Tapatalk
Sent from my SM-N920I using Tapatalk
Re: Fish's build
Got the tray back from the powder coaters yesterday.
Very happy with the result. The coating seems really "tight", it really is a layer right over everything. Very uniform.
Let's see how it lasts.
Only got a couple of snaps.


Sent from my SM-G901F using Tapatalk
Very happy with the result. The coating seems really "tight", it really is a layer right over everything. Very uniform.
Let's see how it lasts.
Only got a couple of snaps.
Sent from my SM-G901F using Tapatalk
Re: Fish's build
Getting the timber into the tray now

Also got the tail lights in too.

Got some floods to connect to the reverse lights too. Should be bright AF.

Just gotta get a couple of bits of hardwood ripped for each side of the bed. The bits I got were a little narrow to fill the bed. I have more timber but to make it even each side would make both bits about an inch and a half each. Not good look in my eyes.
Onwards and upwards.
Sent from my SM-G901F using Tapatalk
Also got the tail lights in too.
Got some floods to connect to the reverse lights too. Should be bright AF.
Just gotta get a couple of bits of hardwood ripped for each side of the bed. The bits I got were a little narrow to fill the bed. I have more timber but to make it even each side would make both bits about an inch and a half each. Not good look in my eyes.
Onwards and upwards.
Sent from my SM-G901F using Tapatalk
Re: Fish's build
[THUMBS UP SIGN]
Sent from my SM-N920I using Tapatalk
Sent from my SM-N920I using Tapatalk
Re: Fish's build
Trial fit after staining the timber.

Organised chaos while wiring lights and sockets.

Got the cabling hidden a bit.


Sent from my SM-G901F using Tapatalk
Organised chaos while wiring lights and sockets.
Got the cabling hidden a bit.
Sent from my SM-G901F using Tapatalk