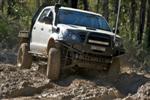
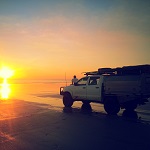
Well I finally have time to show you what I've been doing for the last few weekends getting ready to go into the Qld Outback for 3 weeks. This time in 2 weeks we'll be in the thick of it.
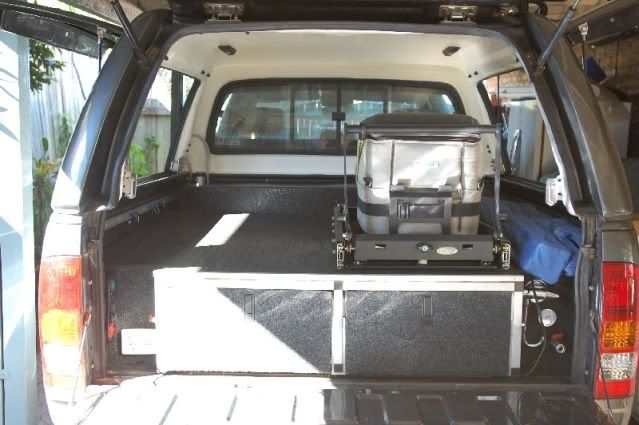
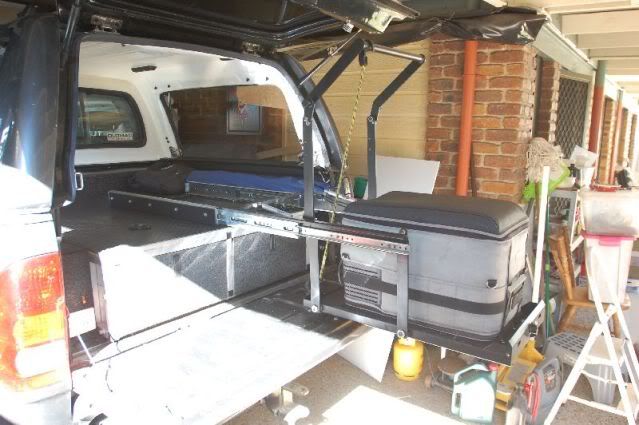
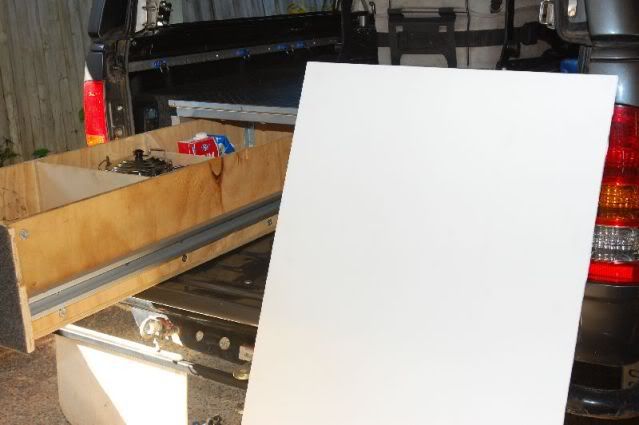
I finally got the water tank fully fitted and the drawers back in. Braced every join on the deck so the deck is now tied to the floor at every upright.
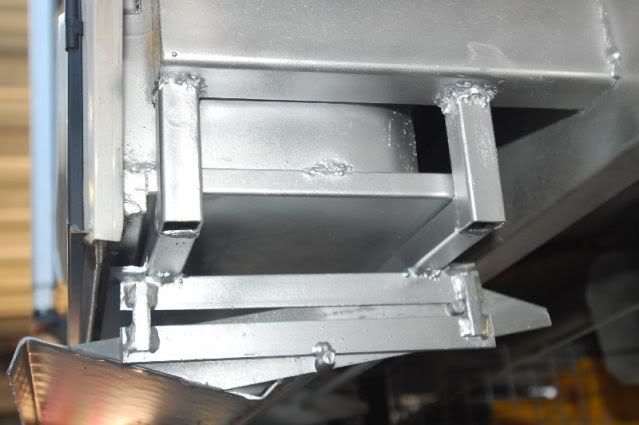
I also scored a drop down fridge slide on Ebay
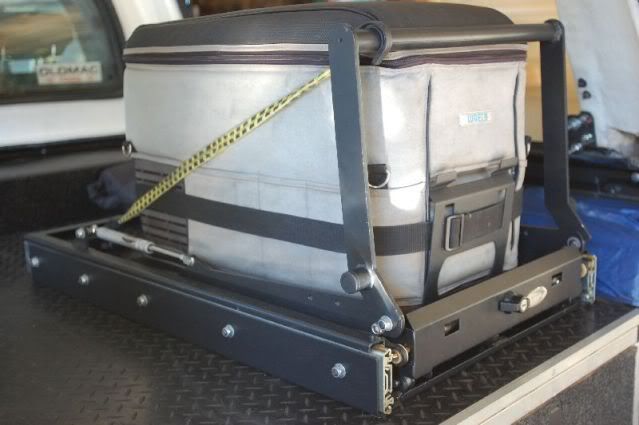
Geez I need a bigger fridge now! The Occy strap is to hold the handle in place as the slide was never designed for such a smll fridge!. I had to mount the fridge on a board so it did not fall through

. We've spent too much to set up for this trip we are going to have to run with this. We also have another 90 litre fridge in the van. Fridge choices to go with are 40 litre Engel 47 litre ARB or 60 litre Waeco. At this stage, I am leaning towards the ARB one (Engle seems a bit of a waste of the slide). I might run this 35 litre one as a freezer. So if you have any recommendations, please let me know.
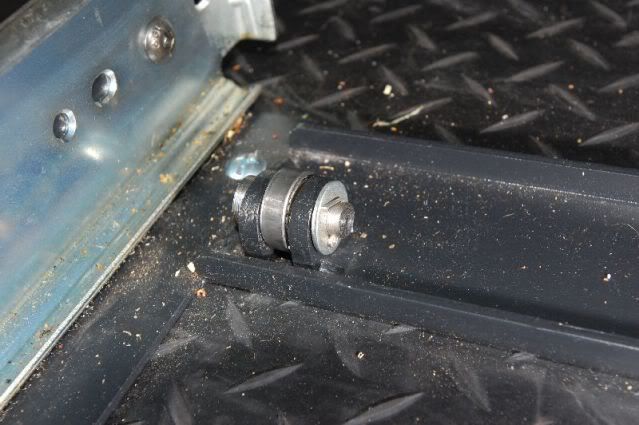
Taking Doctor Pitt's advice to to some manly things, the slide was missing a pin that holds a bearing that takes the full load of the fridge, so this gave me a chance to make something on my lathe.
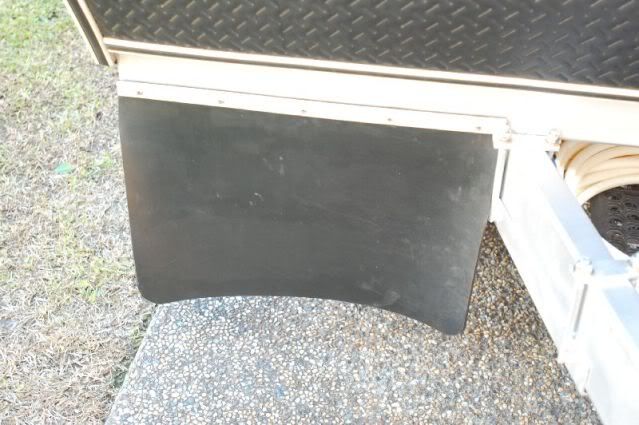
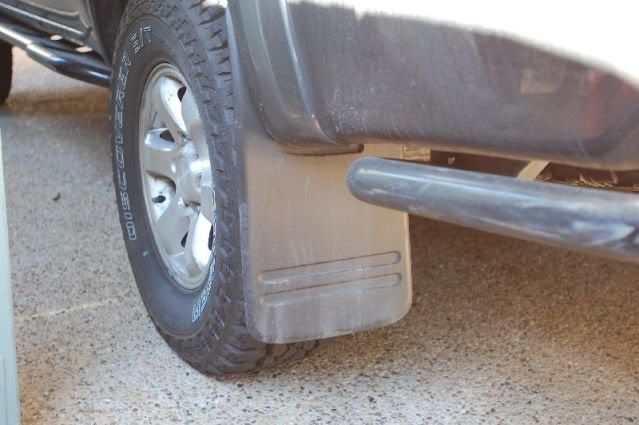
Also put some mudflaps back on. These are the Factory SR5 ones which are wider than the SR ones. A panel beater bought one for me when I dinted a sill and I bought the other (just as well I only bought one at $130!)
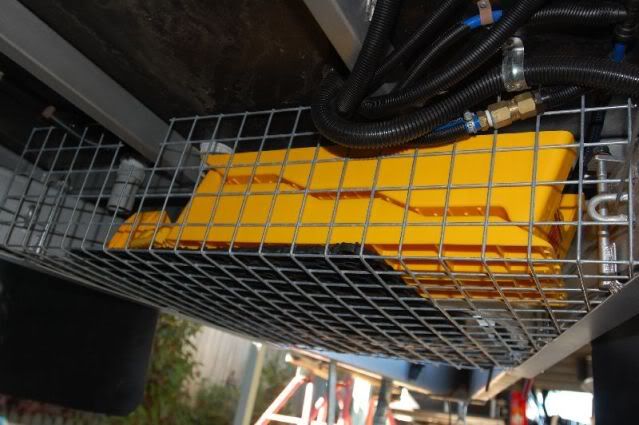
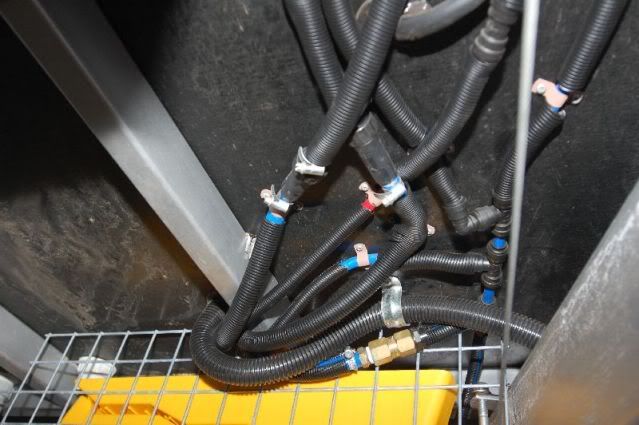
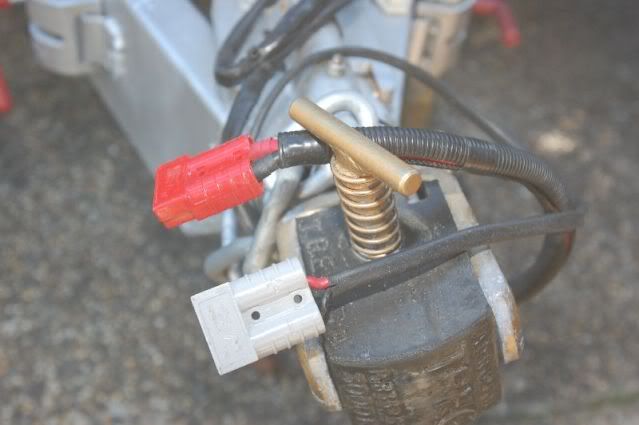
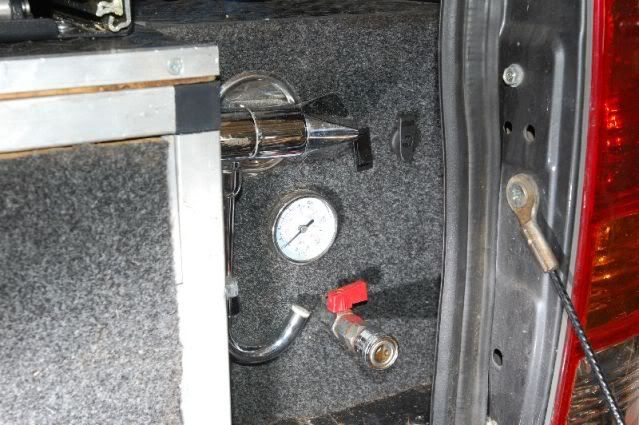
The other thing I did quite a while ago was to fit colour coded Anderson Plugs (they are not interchangeable so you can't get them mixed up). Red one is wired directly to the Caravan 3 way fridge which draws about 15 amps.
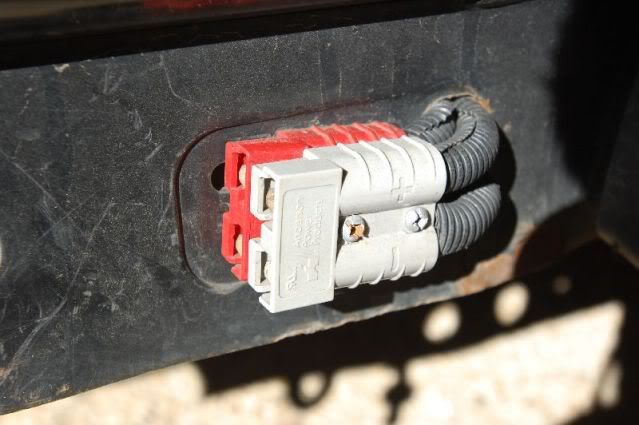
To make sure the van fridge does not flatten my battery, I added an extra isolator in the drawers before the Red Anderson Plug.
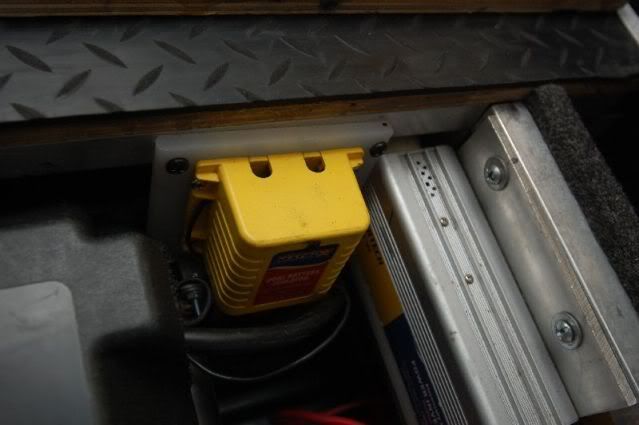
Tucked below the isolator are a couple of self resetting circuit breakers for the Anderson plugs.
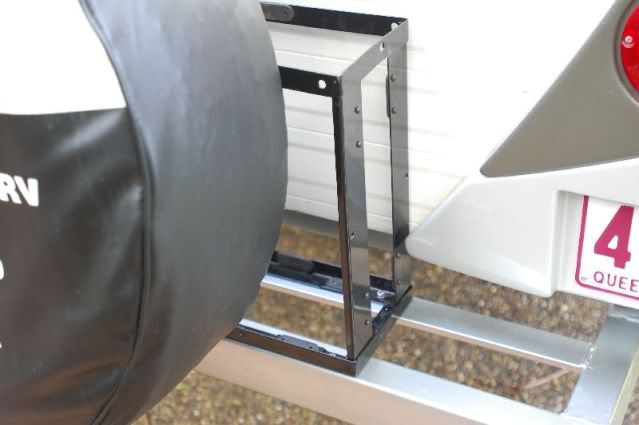
Becasue the fridge is now on the opposite side (for better load balancing with long range tank), I had to add a new Merritt plug in the back of the drawers.
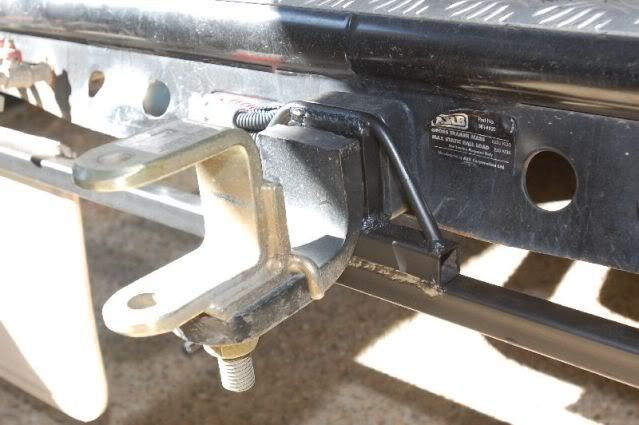
Another thing I did was make up some mudflaps that hang off the 2" receiver. Actually, I did it twice becasue I caught the rear corner and bent it reversing in a tight spot so I had to cut off the collar and reweld to a new Piece of RHS.

We are not bothering with a stoneguard this trip so I grabbed a piece of Corflute from a signwriter to cover the back window on the canopy.
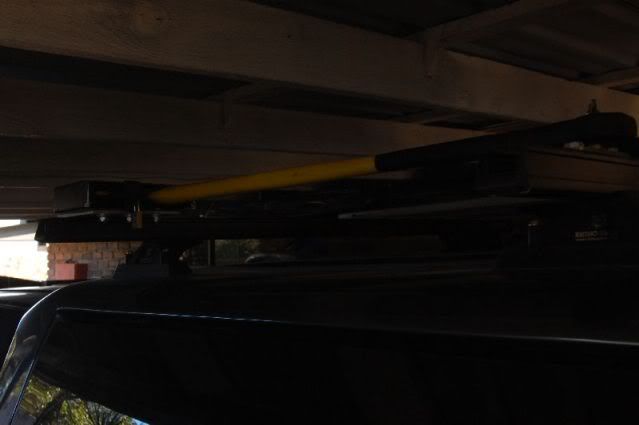
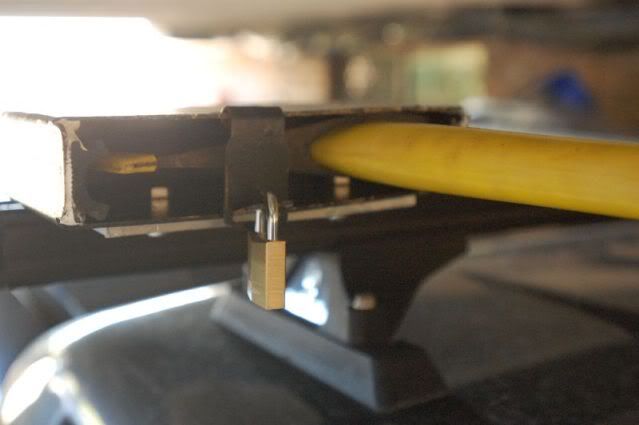
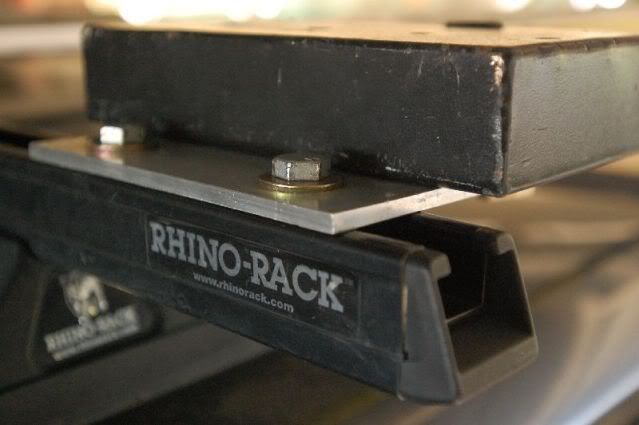
To really make sure I dispel the Triton disease diagnosed by Dr Pitt, I mounted an axe to prevent any aerial contamination. I had the axe holder since before I had the Hilux but never worked out where to mount it. In the end went the easy way and whacked it on the Rhino Rack. I had to buy a basket mounting kit for about $40 to get the Rhino mounting hardware. If I had a bit more time I might have made up the threaded parts required.
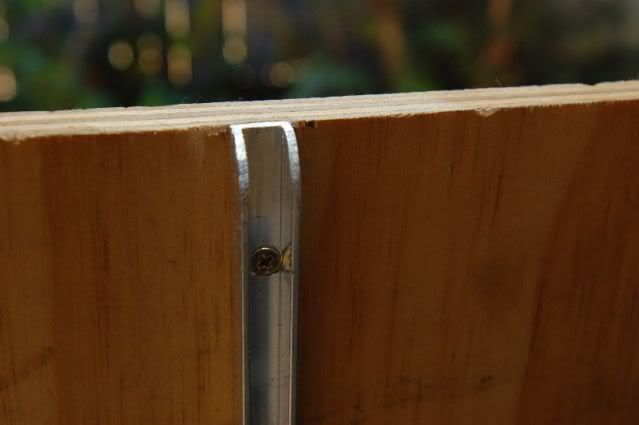
Readers will remember that I run his and hers drawers. Her drawers have all the food and I got all the Man Up stuff on my side! We decided for this trip that a couple of removable dividers which fit into some 10mm aluminium channel you can get From Bunnings for $4 per metre. Cut the rear divider down a bit to make it easy to access. The channel is perfect sung fit for the 6 mm ply divider.
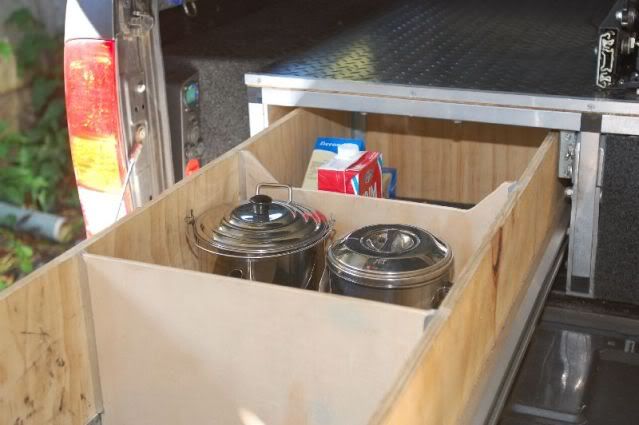
I countersunk the holes but I could not get a countersinker into the channel so I used a drill bit which worked out surprisingly well.
I also replaced the winch rope with some of VMN's floodbuster rope and added a Dynamica Hawse and spacers to bring the Hawse forward 50mm so the rope can't get cut on on a sideways pull. The Hook is a Dynamica Ally hook. All the Dynamica range is available from VMN.

These Hawses are drilled to suit the ARB bar with offset bolt holes so I had to drill a couple of holes in the bar which was not a drama.
Had a spare strap lying around so decided to use it to secure the hook as it did not sit as well as the wire rope version one did.
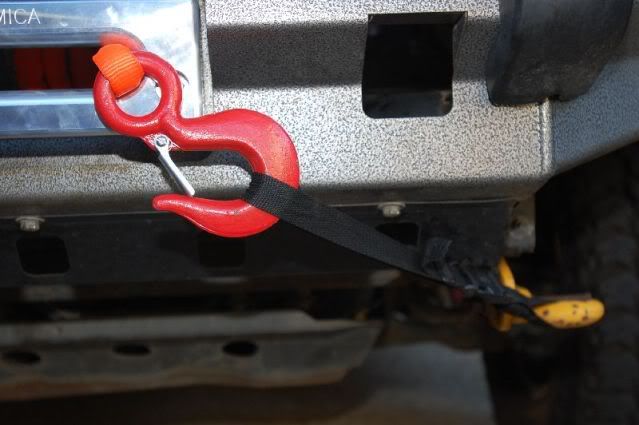
The Dyneema rope and hawse has taken over 6 kilos off the bull bar which I think will be a good thing for the Hilux!
Well that is the mods to the rig so I think I will post up the caravans mods separately.