Snorkel Install Guide

Re: Snorkel Install Guide

Postby DeadlyBeast on Sun, 22 Nov 2015 7:26 +0000

For anyone ordering snorkels for 2010+ facelift models do not allow the 4X4 shop to say theres no difference between the 2005-11 and the 2011+ models... There is.
Firstly the 2012+ snorkel is contoured to the quarter panel which has a subtle lateral ridge.
Secondly the newer model is wider by 30mm - perhaps improving air flow.

2005-11 Safari Part Number:SS120HF
Image


2011+ Safari Part Number:SS122HF
Image
________________________
2007 SR5 D4D Auto
2014 SR D4D Auto
Build Thread
DeadlyBeast
Moderator
 
Posts: 1914
Joined: Sat, 26 May 2012 7:42 +0000
Location: Top End


Re: Snorkel Install Guide

Postby DeadlyBeast on Sun, 19 Jun 2016 4:35 +0000

Reading a few posts of written off vehicles due to water getting into airboxes .
In many cases it appears that good effort is made to seal the snorkel fittings and the airbox valve.

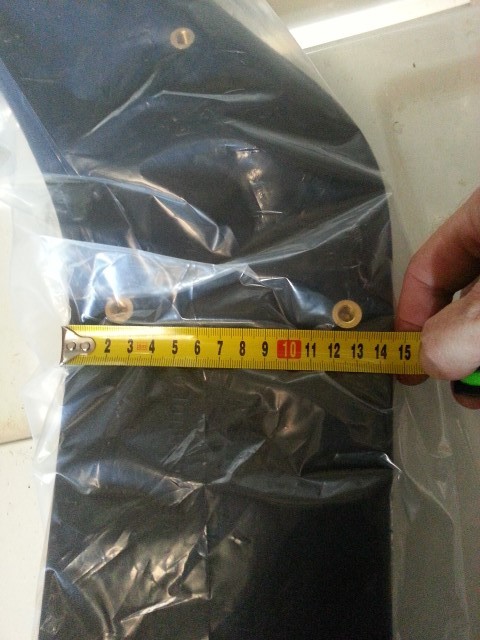
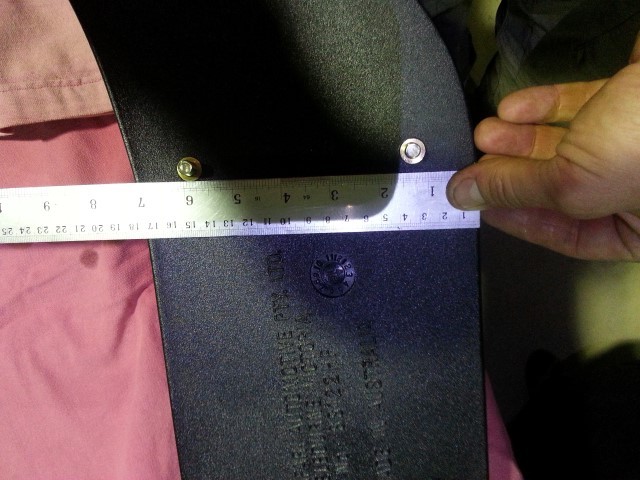
When I installed a snorkel on a 2014 that there where 3 splay rivets holding the air direction duct inside the air box.
Each rivet has 3 small holes varying in size but I estimate each hole to be about 0.5mm2.
3 rivets each with 3 holes would equate to a hole around half a square centimetre.

20160126_131307 (Small).jpg

20160126_131249 (Small).jpg

20160126_153504 (Small).jpg


If the box was completely submerged it wouldnt take long for the airbox to fill up while engine running and the vacuum sucking water in. Of course, there are other big things to worry about if water is over the box, and good reason to question the airbox lid seal water tightness.

In any case - while I was at it sealing up the snorkel body I sealed up the airbox rivets with some sensor safe RTV.
If nothing else it would at least stop dust ingress
You do not have the required permissions to view the files attached to this post.
________________________
2007 SR5 D4D Auto
2014 SR D4D Auto
Build Thread
DeadlyBeast
Moderator
 
Posts: 1914
Joined: Sat, 26 May 2012 7:42 +0000
Location: Top End

Re: Snorkel Install Guide

Postby froggy460 on Tue, 06 Sep 2016 6:11 +0000

A helpfull hint to stop rust is to use sikaflex instead of paint to stop the rust, one thing it dries flexible so it won't crack or rub off as easy as paint.
froggy460
 
Posts: 2
Joined: Sat, 03 Sep 2016 9:02 +0000
Location: Gladstone QLD

Snorkel Install Guide

Postby Critter350 on Wed, 17 May 2017 9:35 +0000

Awesome write up, inspiring (and enabling) stuff. My snorkel was about $100 from OCAM.
Image
My tips:
•10mm ring spanner compresses the tabs on the guard liner clips, then press out with your finger.
•For the ones you can't get to the back of, a sharp 1/2 - 3/4" wood chisel cuts the top off very easy.
•2 coats cold galv that was touch dry in 20 min. Inside and out. Can't see it, so don't care about the colour.
•Also put silicone both sides of the holes as well, keep air and moisture away from the cut edges.
•Used sensor safe silicone on the join between external snorkel and the pipe inside the guard.
•Didn't use silicone to attach the air box because I want to take it out sometimes. I did wrap the air box inlet with electrical tape to create an interference fit into the socket, then used a big ass pipe clamp to get tension on it. Hose clamp was too weak.

Image


Sent from my iPhone using Tapatalk
Critter350
 
Posts: 523
Joined: Sun, 19 Mar 2017 9:36 +0000
Location: Rockingham WA

Re: Snorkel Install Guide

Postby DeadlyBeast on Sun, 19 Nov 2017 7:49 +0000

Images restored
________________________
2007 SR5 D4D Auto
2014 SR D4D Auto
Build Thread
DeadlyBeast
Moderator
 
Posts: 1914
Joined: Sat, 26 May 2012 7:42 +0000
Location: Top End

Previous

Return to Tips & Tricks

Who is online

Users browsing this forum: No registered users and 13 guests