Page 2 of 3

Re: Stodd85's 2016 SR5 Build

PostPosted: Wed, 11 Jan 2017 12:12 +0000
by Stodd85
CoastalPainting wrote:Hey mate, do you live in the Newcastle area? I'm sure I seen your rig at Lampton Pools last week.


Sent from my iPhone using Tapatalk


I live in Sydney but was driving back from Brisbane and would have been passing through that area on wednesday. Could very well have been me if that was the day.

Re: Stodd85's 2016 SR5 Build

PostPosted: Wed, 11 Jan 2017 7:50 +0000
by Stodd85
I live in Sydney but was driving from BNE to SYD last week. I would have come through that area on wednesday. So if that was the day then it could have been me. Assume you live local there?

Re: Stodd85's 2016 SR5 Build

PostPosted: Sat, 25 Mar 2017 7:30 +0000
by Stodd85
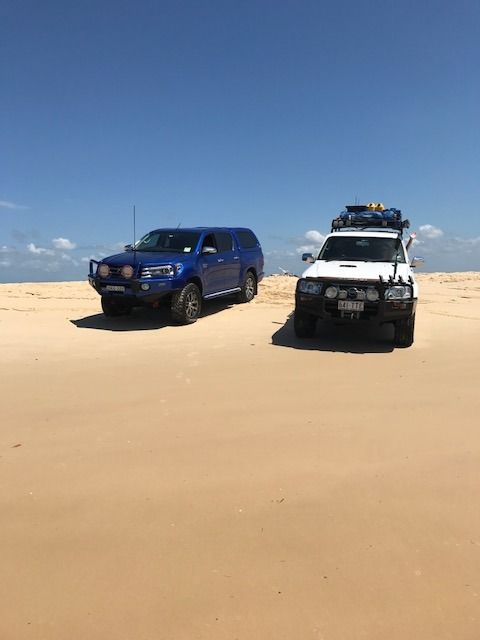
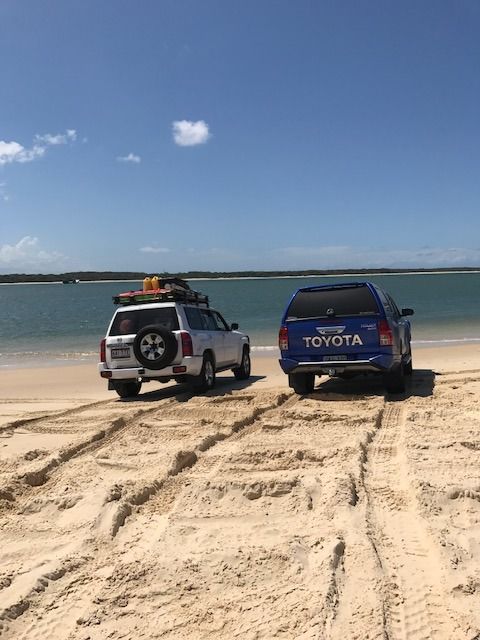
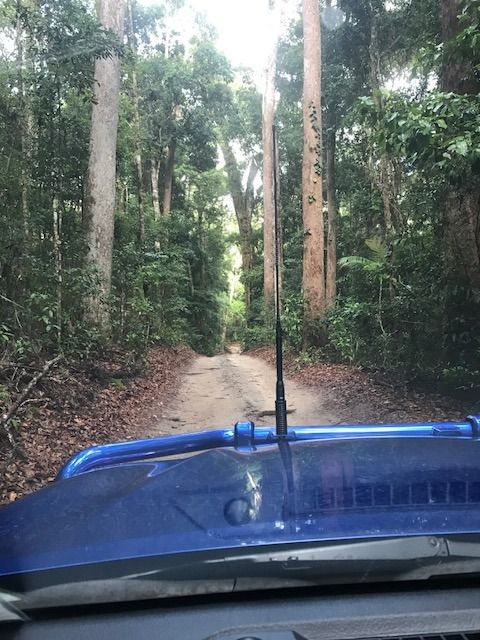
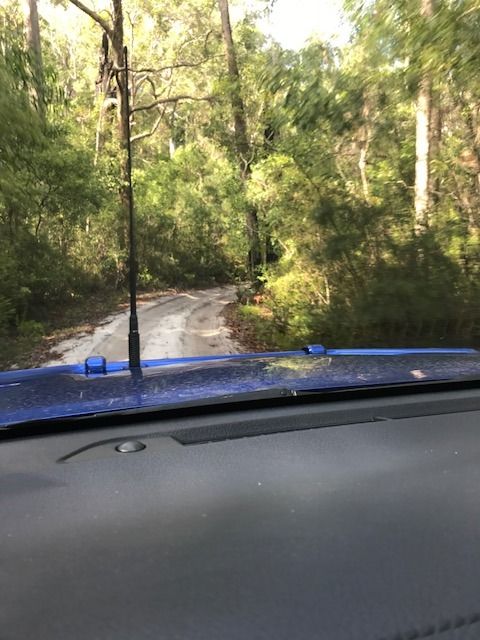
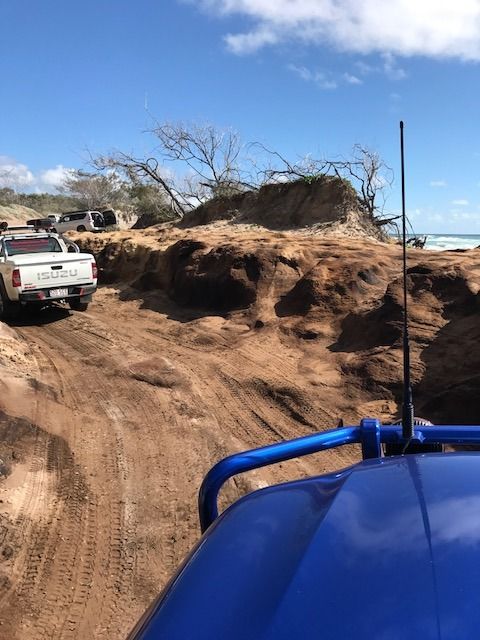
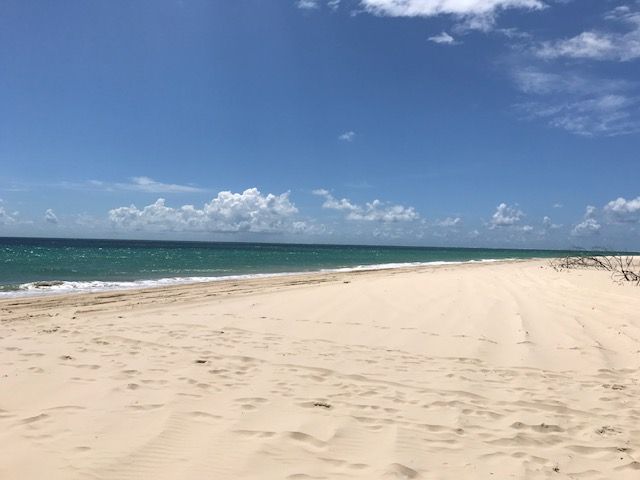
It has been a while since I have posted, I have been doing some work in preparation for trip to Fraser Island, which we have only returned from this weekend.

So, before the trip I wanted to finish the installation of single draw, fridge slide, fridge, fridge barrier, air compressor and dual battery set up.

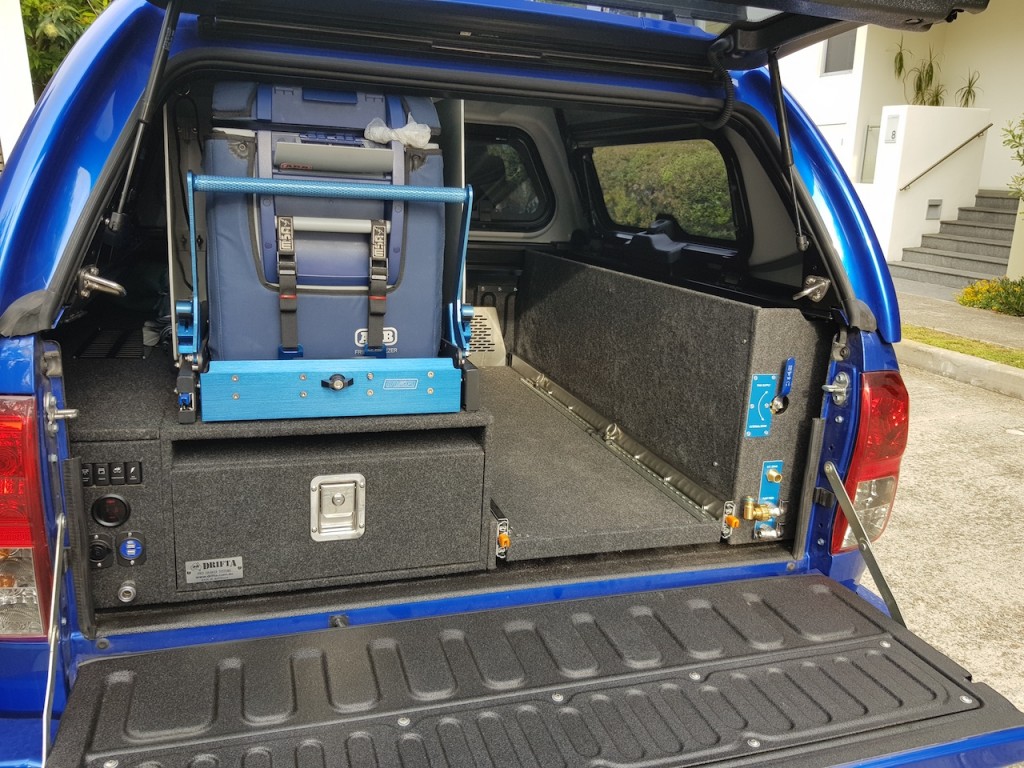
So I decided to bundle a lot of this into one installation and started with a single Drifta draw with slide out table included which also had a battery box built into the front of the draw carcass. I have finally found the time to upload some in progress shots as well os some completion shots.

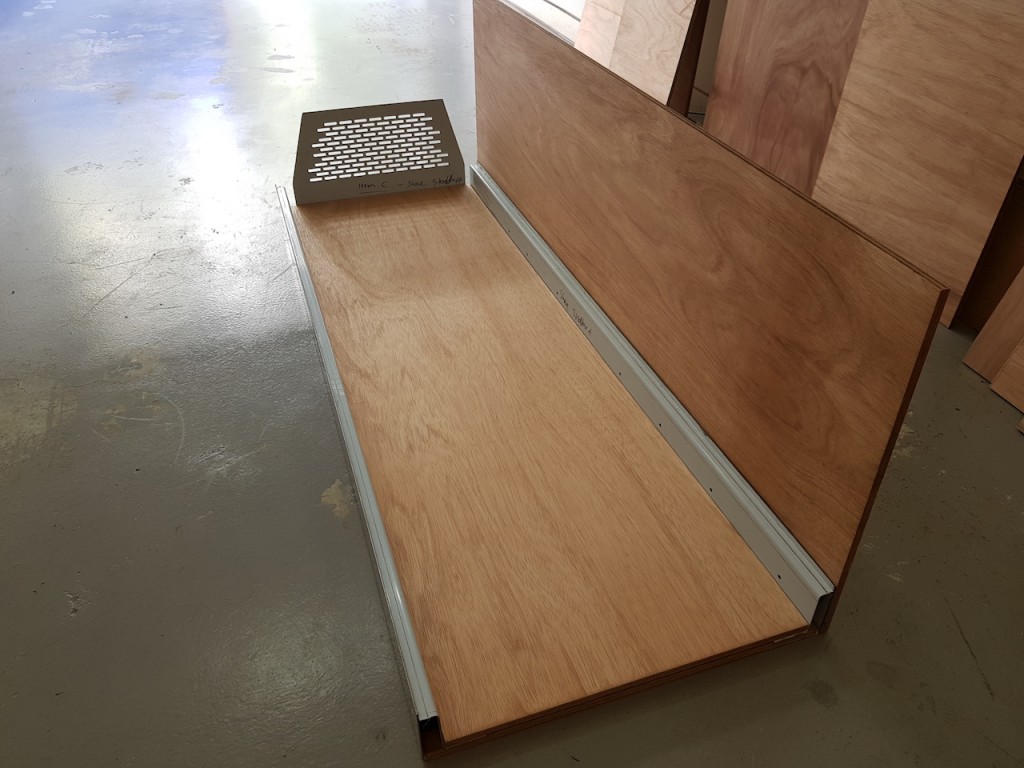
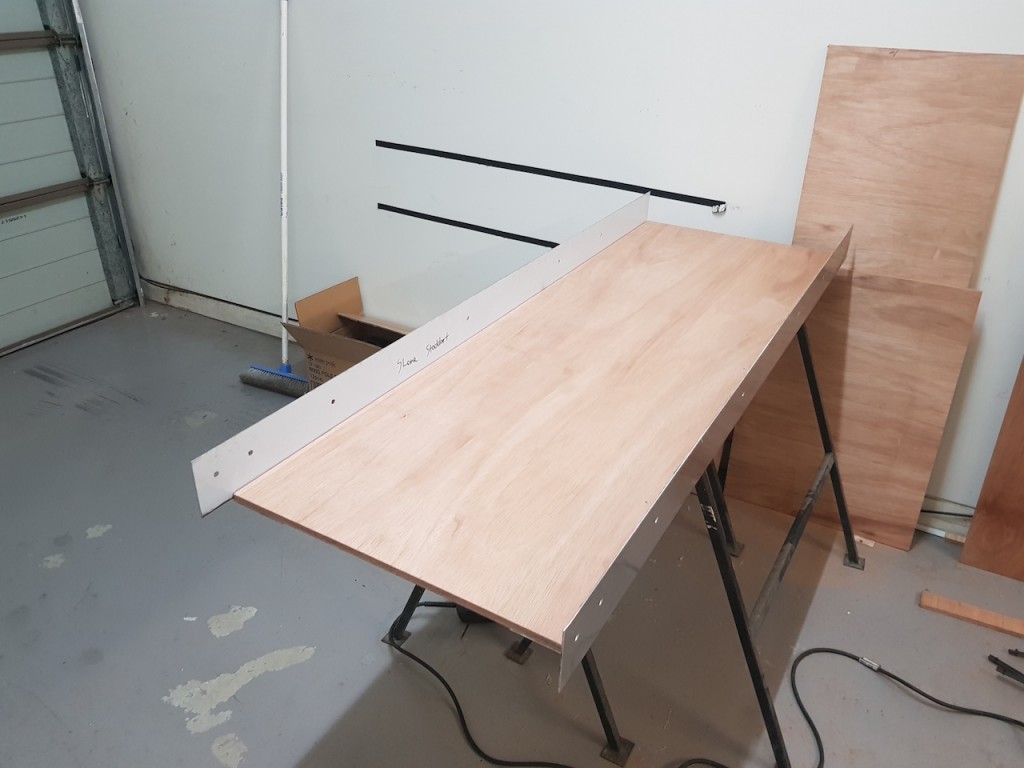
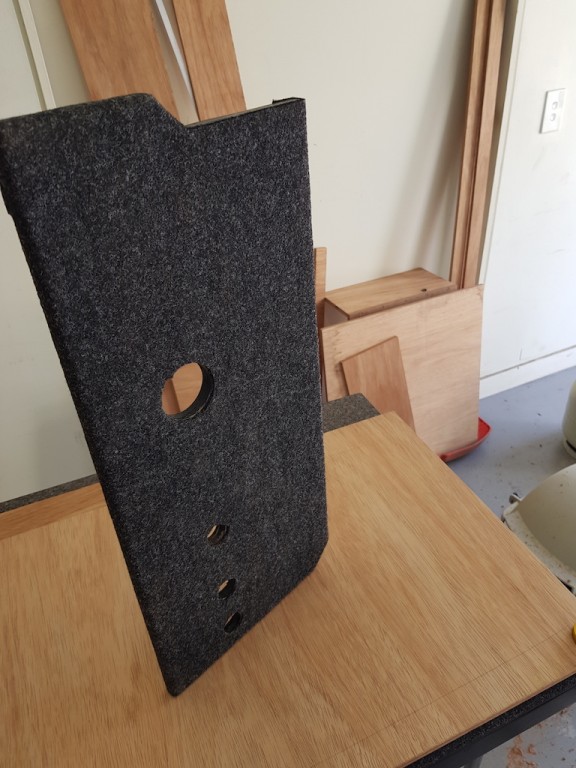
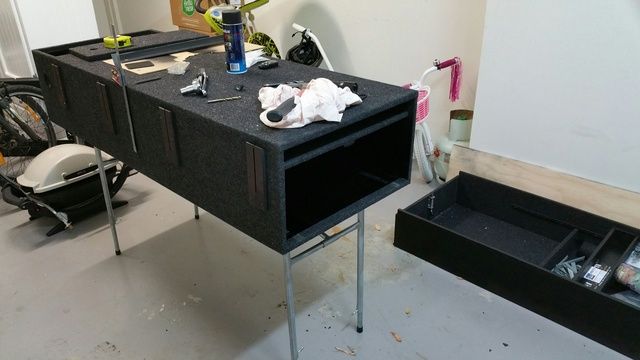
Firstly, below is once I received the Drifta draw and getting ready for installation into tub and making the side panel and infill panel for tidy install. In this shot you can see the draw in the back ground as well as the slide out table which I was using as a bit of a work bench. I must say, I am very happy with the drifta product, works great, looks great and is simple so doesn't have a lot to go wrong with it.
Image
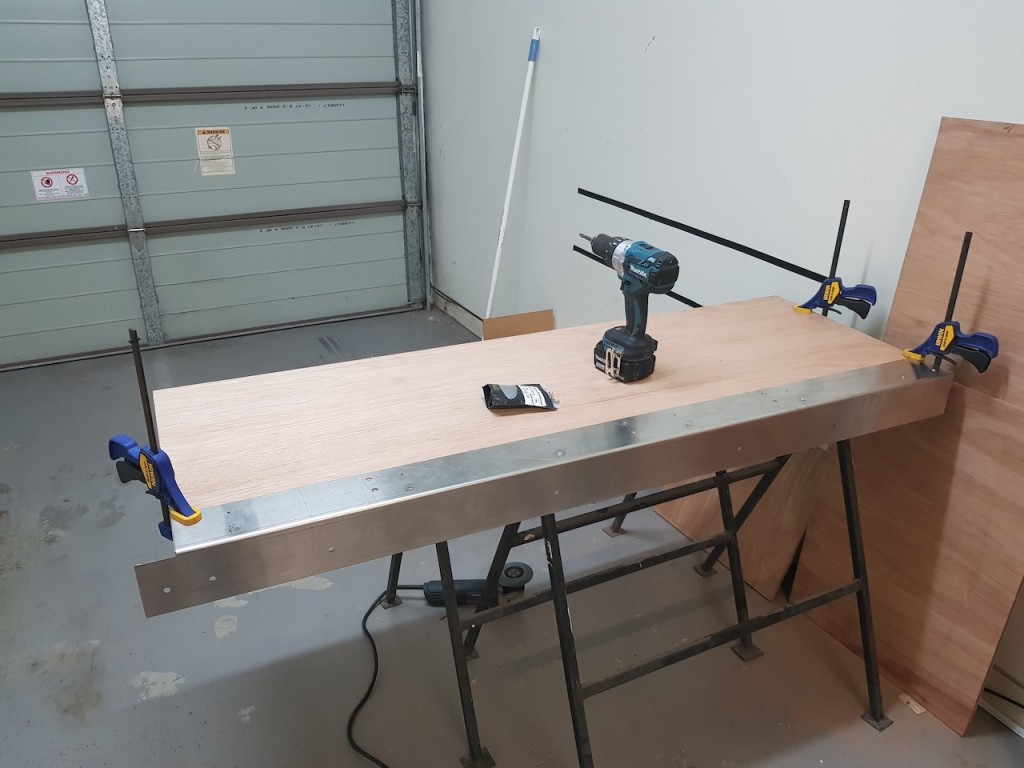
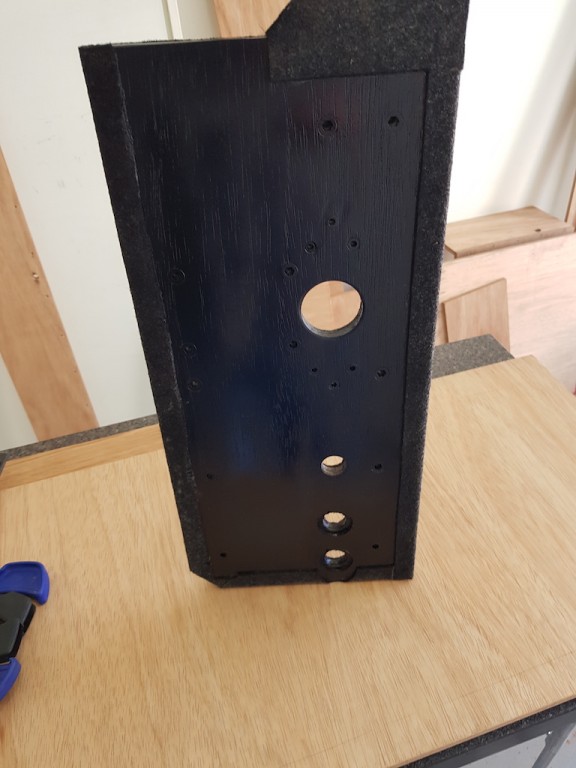
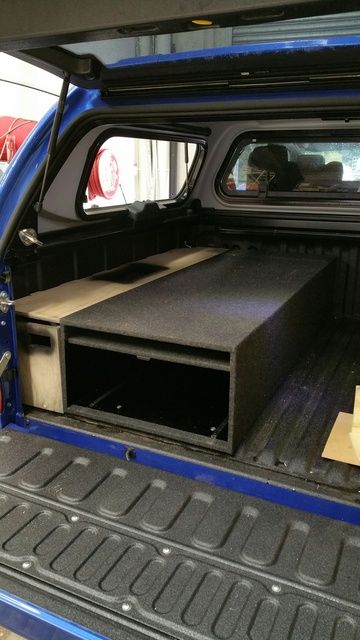
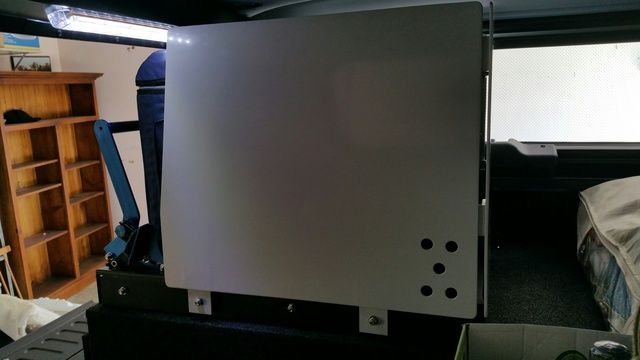
Below is a progress shot of the side panels.

Image
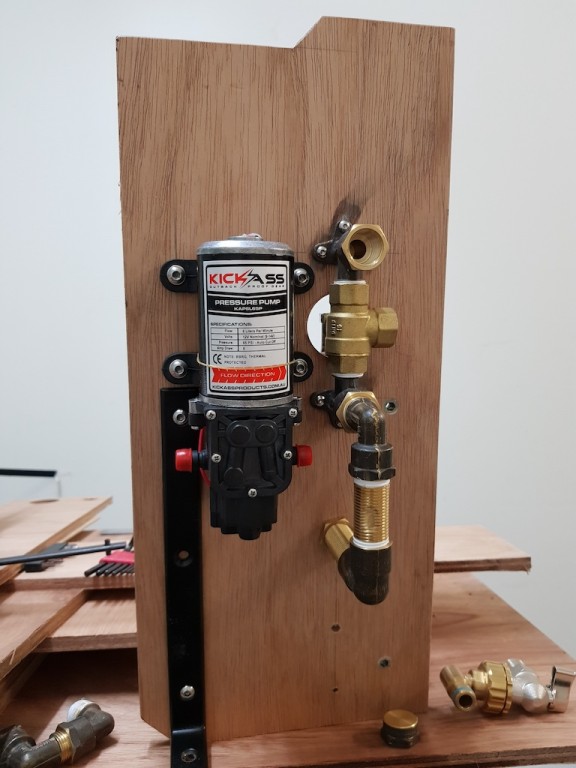
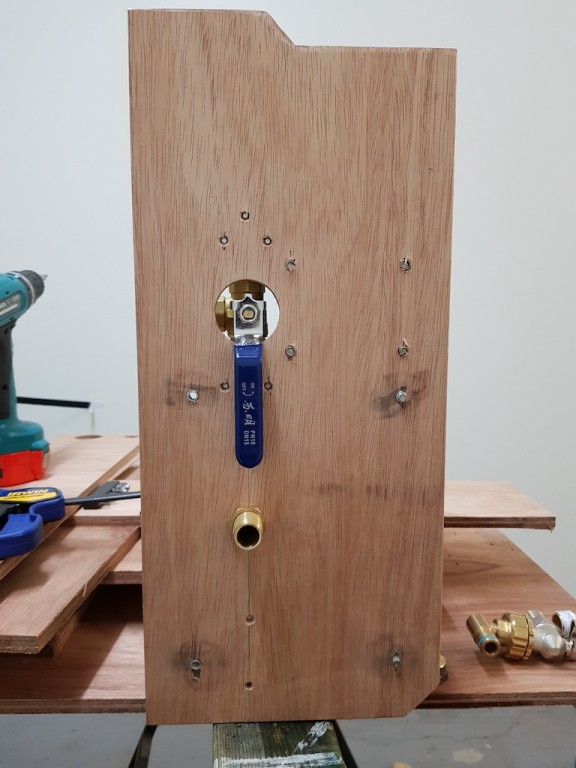
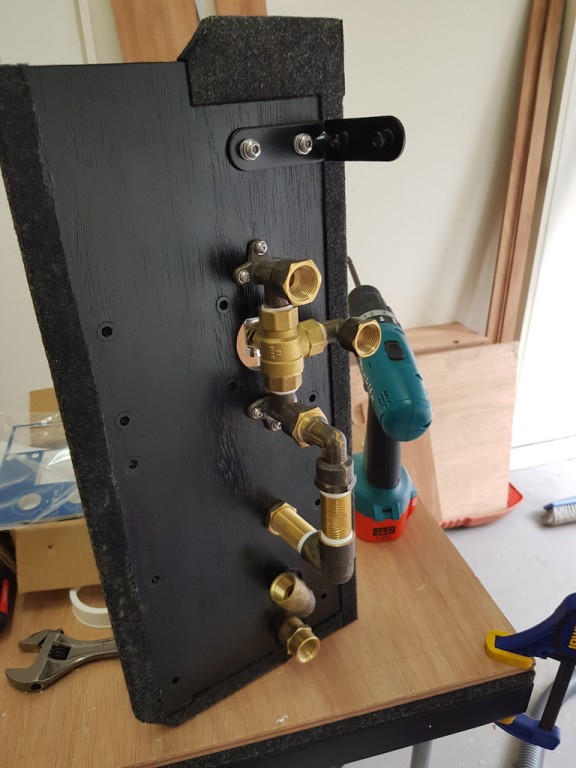
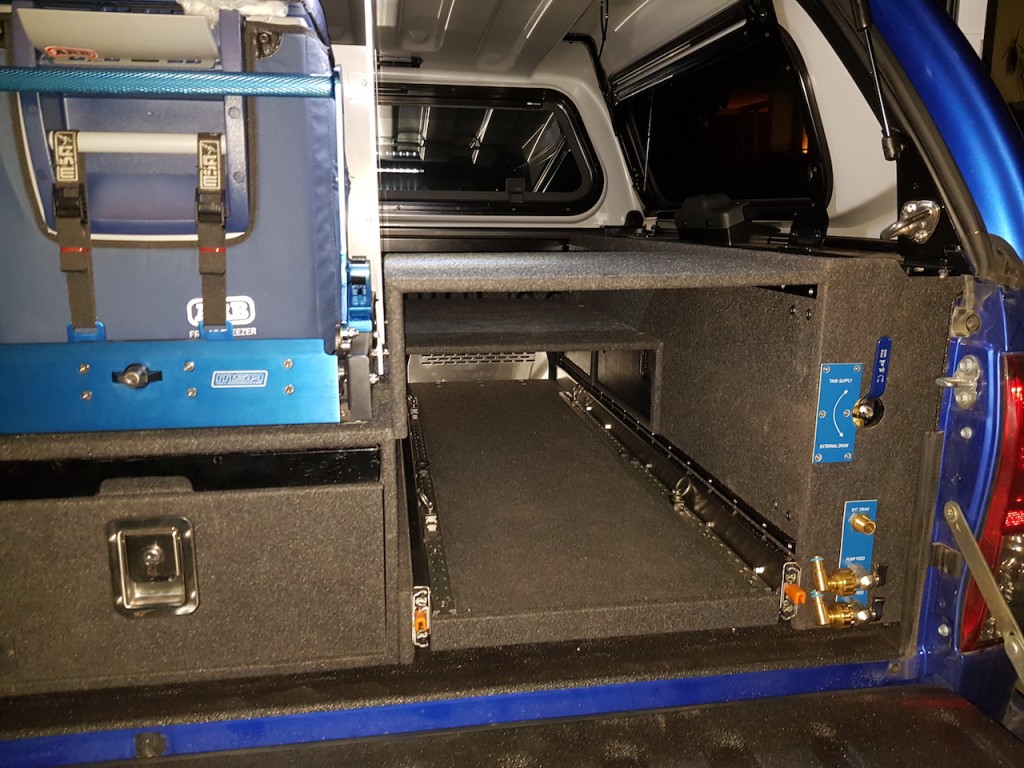
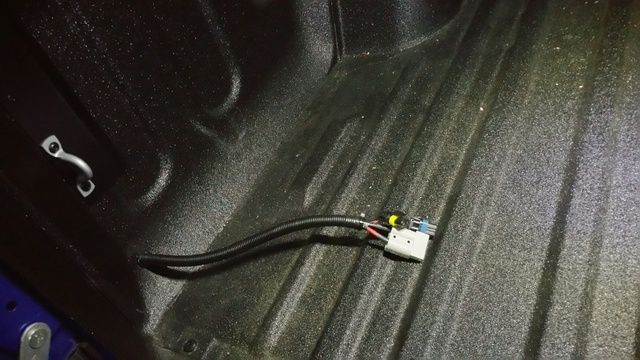
The electrical fit out includes; 100AH AGM deep cycle battery mounted in draw carcass, Red Arc DCDC Booster charger, Battery Isolator, ARB CKMA12 Air compressor, Dedicated Engel screw in fridge socket, double USB charger, Cigi Charger, push button switches to match the Toyota look (I know they are from the Gen 7 era, but did't manage to figure out the right set up in time using the new wider Gen 8 style) VDO volt metre. I have switches for power to fridge, compressor, Aux power and a future switch for awning light which has a tail run to under body coiled up for future connection. You will see in the pictures below that it is wired so that the entire unit can be disconnected from the ute and removed from the tub using an anderson plug and a few other smaller connectors for ignition cable and future awning light cable.
ImageImageImageImage

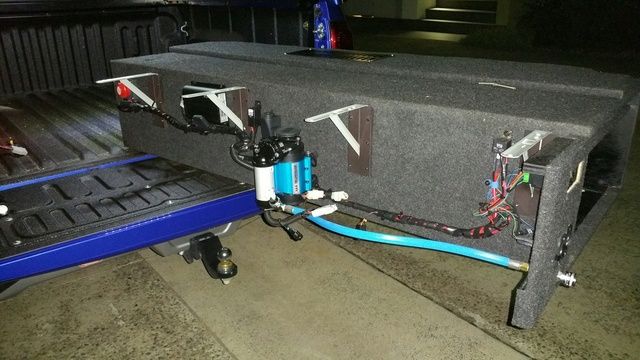
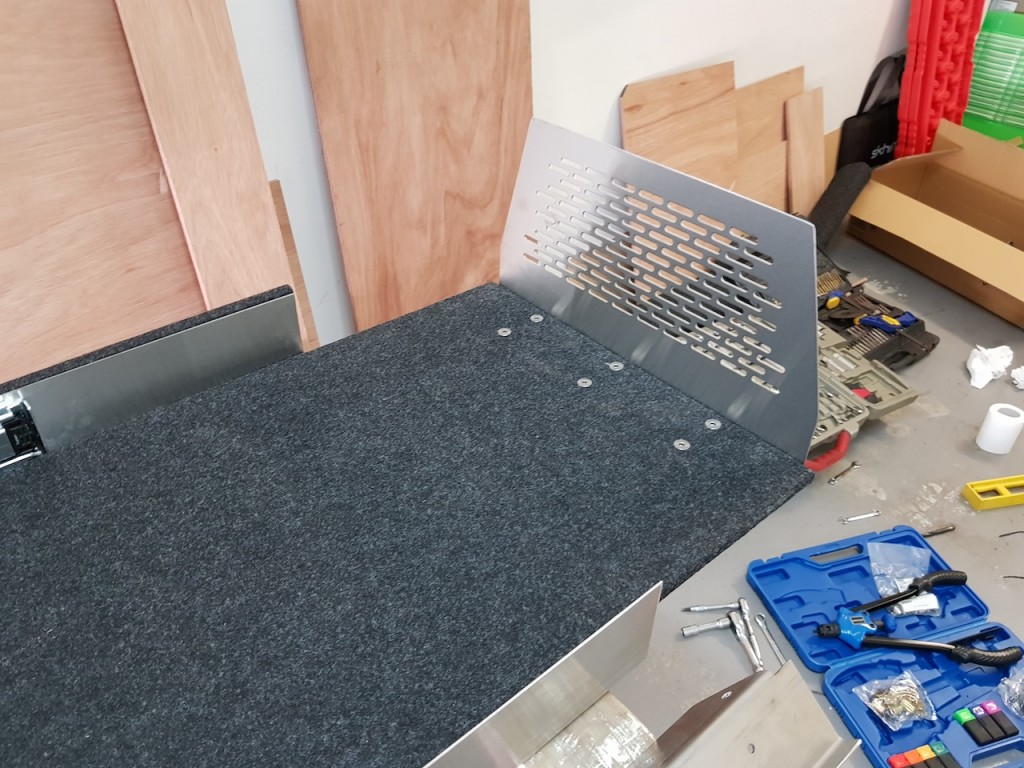
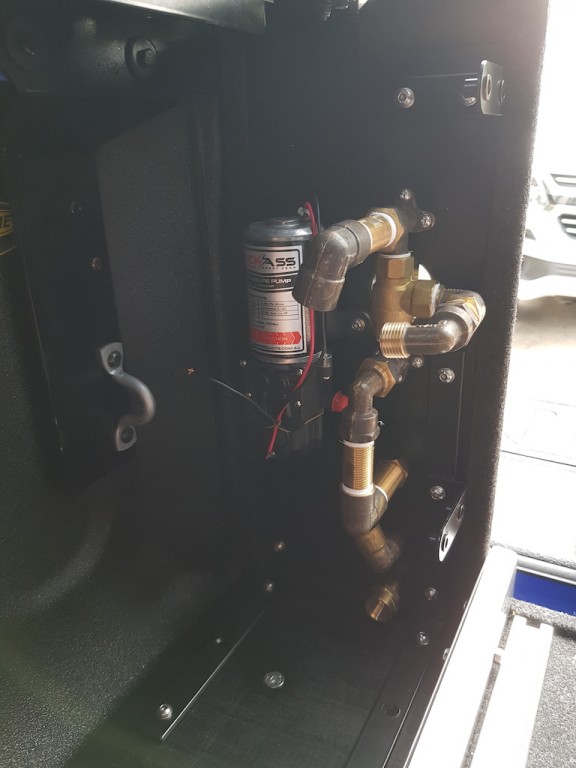
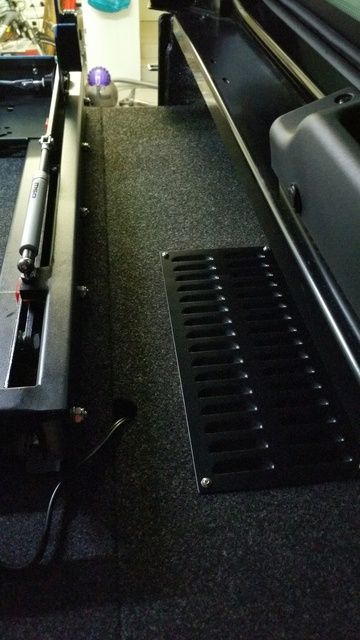
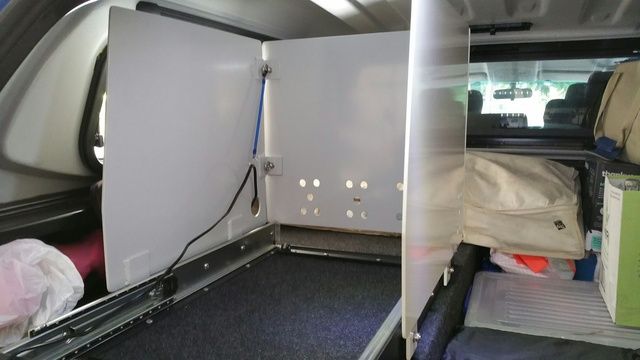
The other thing I did, because the compressor was mouted in the cavity between draw carcass and tub, I installed a vent in the side infill panel. You can also see in the below pic the fridge cable coming up from the Engel plug point underneath.
Image

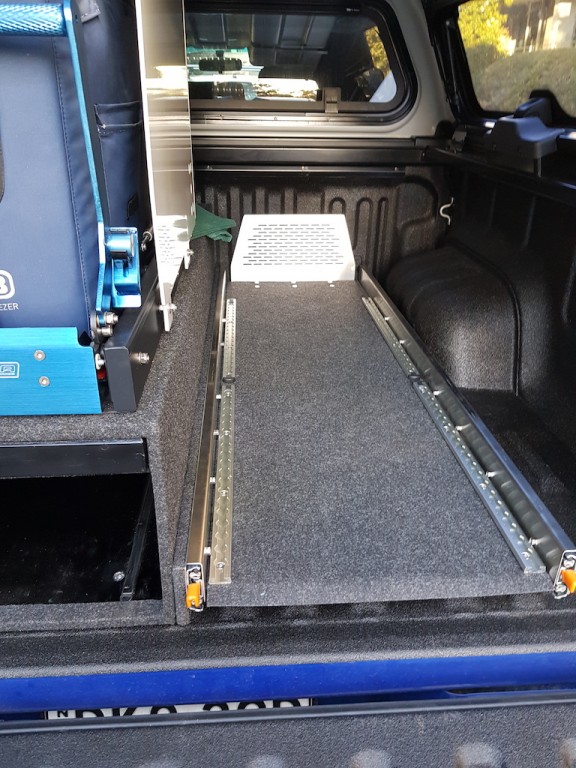
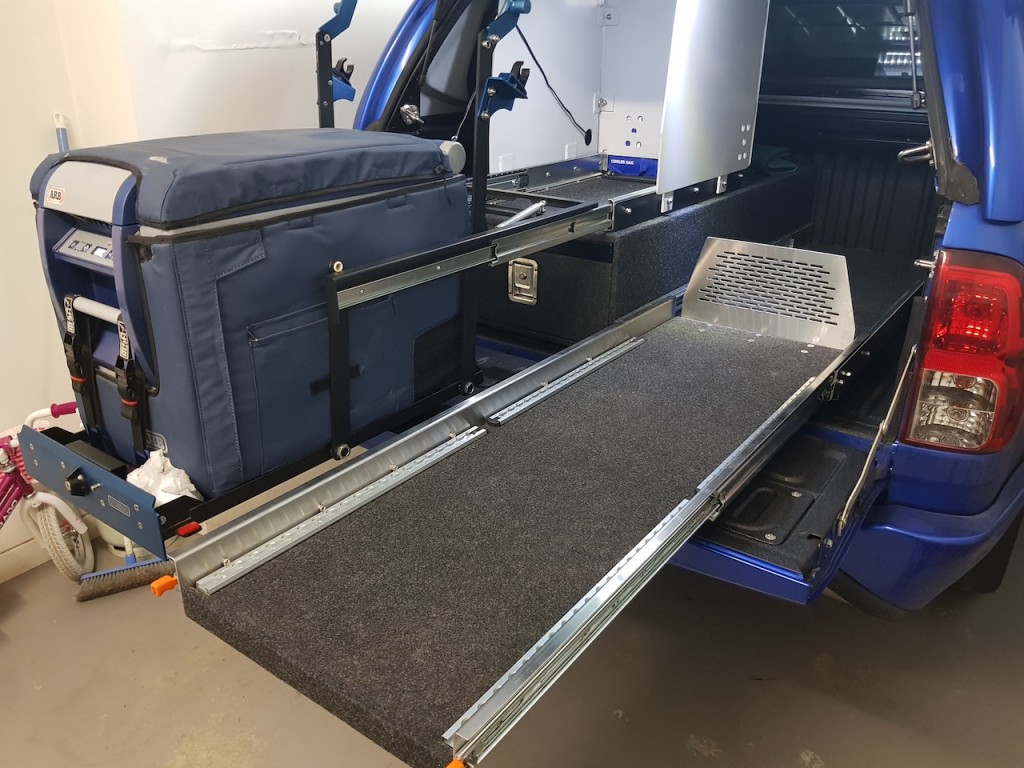
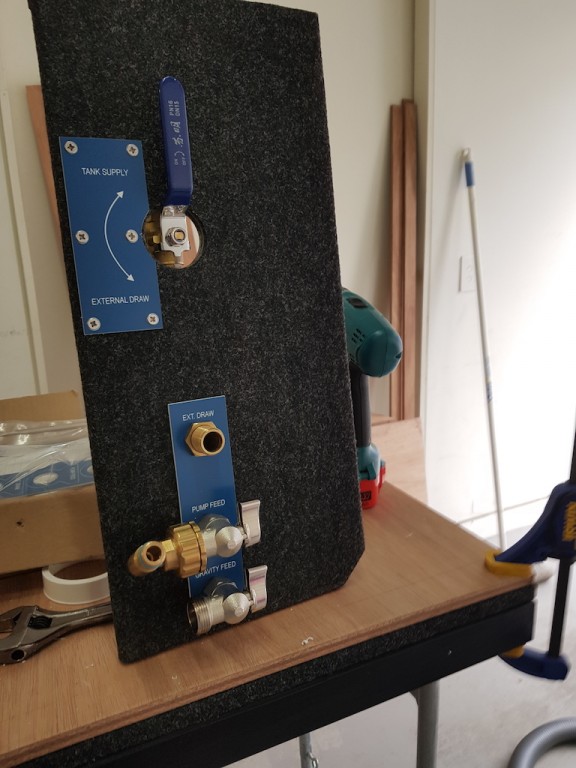
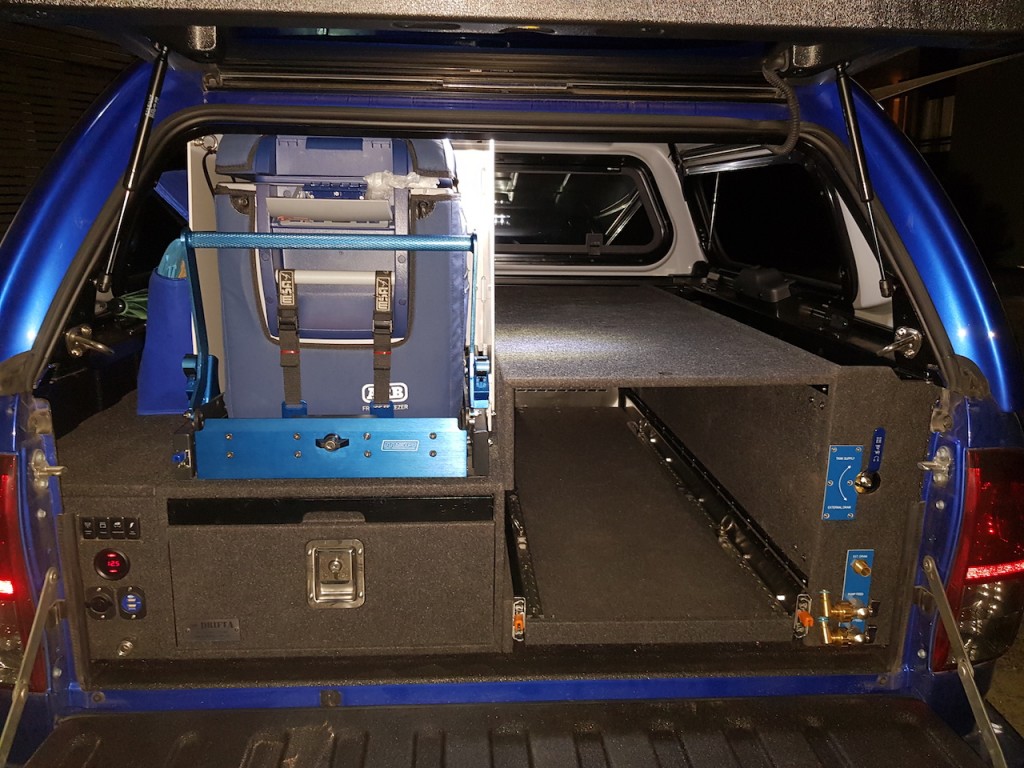
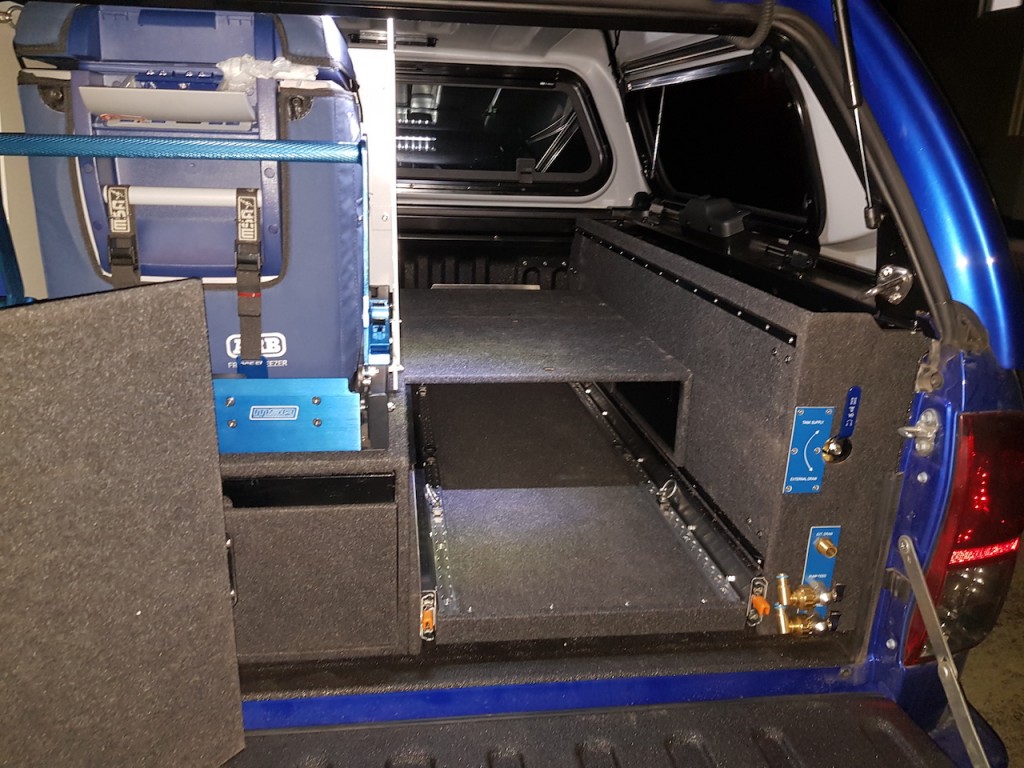
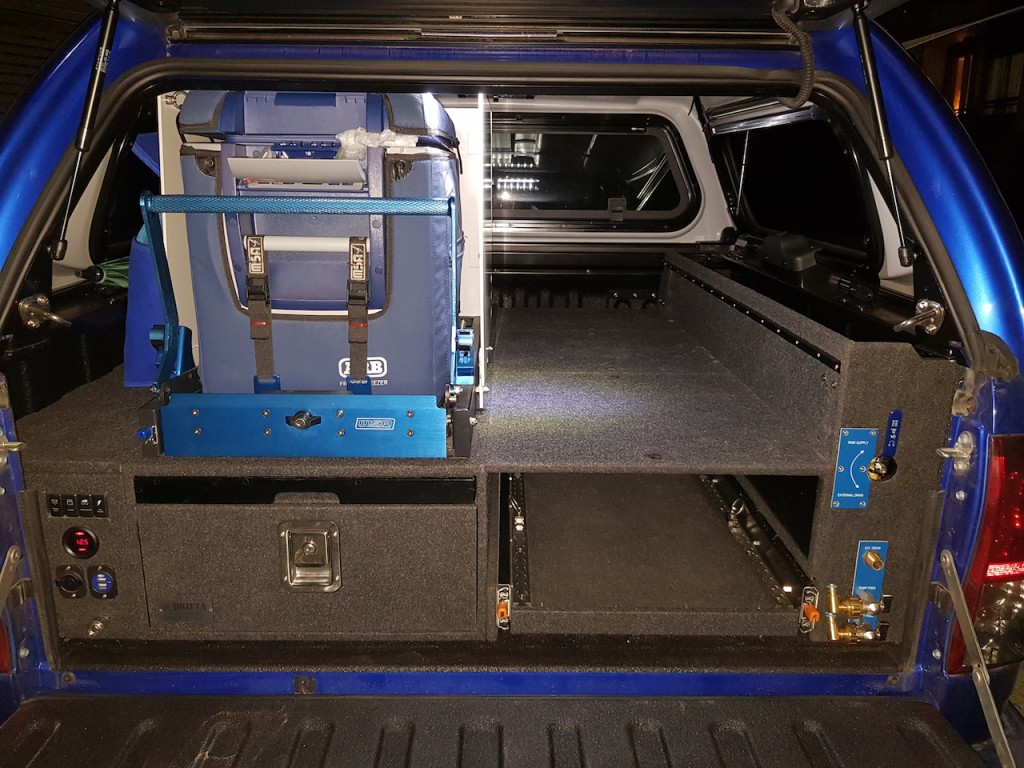
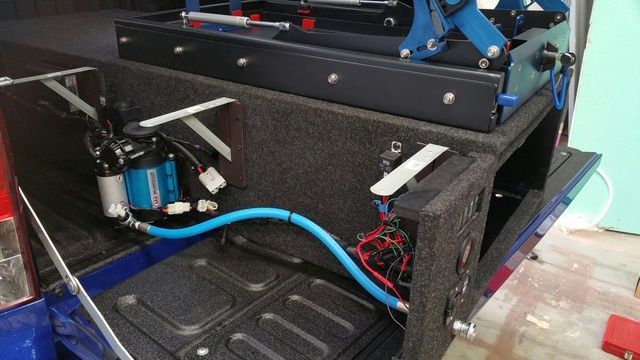
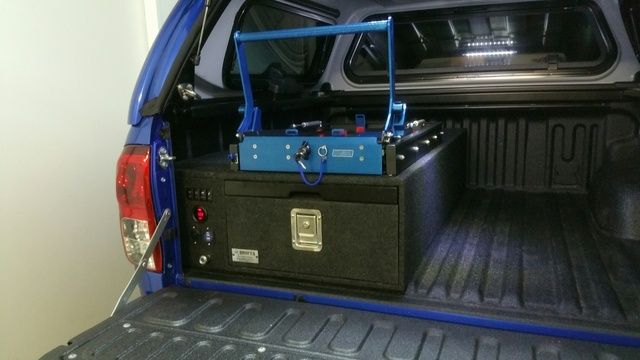
A shot of the complete install without the fridge or fridge barrier.Image

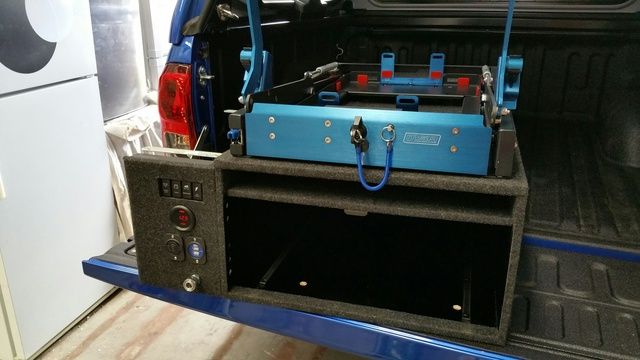
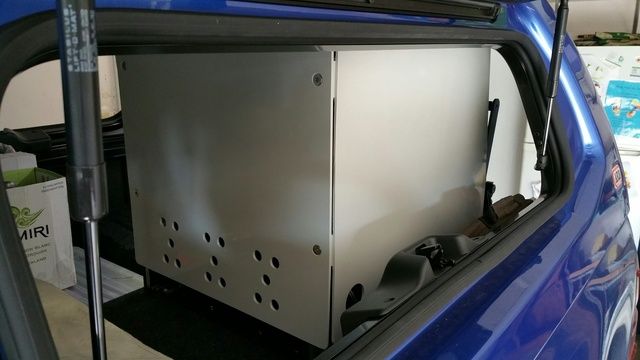
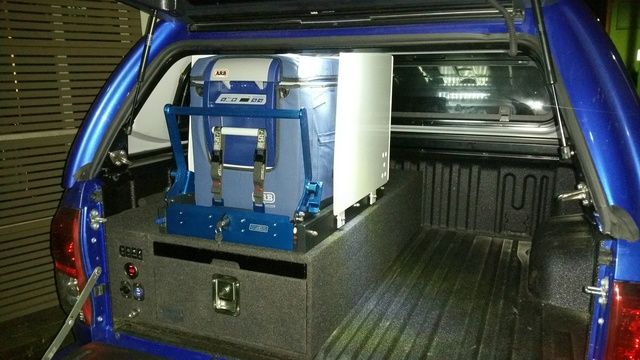
The last component was the fridge barrier, I custom designed it and had it fabricated by Alicreations a small aluminium Fabricator out at Cleveland in Brisbane, it is made out of 5mm aluminium plate, and powder coated. I designed it to be mounted off some existing bolt locations off the MSA slide. It turned out better than I could have hoped. He did a great job!!!

Image
ImageImage
I still need to work out something more permanent for managing the fridge cable when sliding in and out...

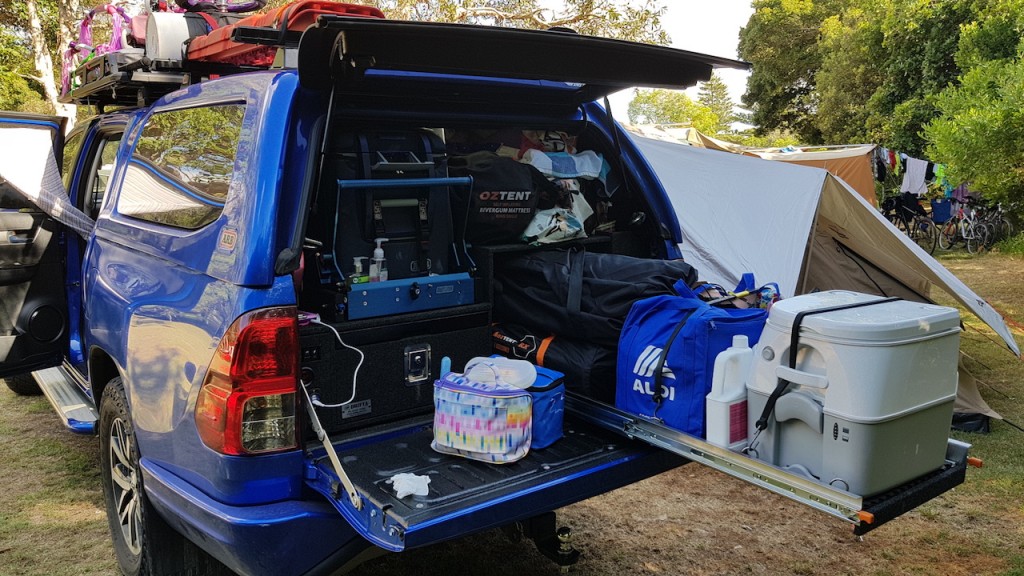
Lastly a shot of the final install. I didn't get a shot of it fully packed with the barrier doing its job so this is a as close as I got, but it did work perfectly...
Image

This might be it for mods for a little while, but I will try post some pics of he Fraser trip when we have them downloaded, including a few of the fit out in use...

Re: Stodd85's 2016 SR5 Build

PostPosted: Mon, 27 Mar 2017 3:15 +0000
by Decxan
Looks good. Are you happy with the drifta drawer? I am looking at them myself. Can't decide between them or the outback, these look a lot lighter though?

Re: Stodd85's 2016 SR5 Build

PostPosted: Mon, 27 Mar 2017 6:32 +0000
by Stodd85
Yes, very happy. Love the slide out table. They are simple design with no rollers or bearings.... which is great in my view as less to go wrong with sand etc... they slide with ease on some PVC strips and what must be some silicone spray... total including table, side infill, draw insert, battery box built in and freight to Sydney was about $1,200.

Re: Stodd85's 2016 SR5 Build

PostPosted: Mon, 27 Mar 2017 6:53 +0000
by Decxan
Ok, cool. They look good. Do they slide ok when the drawer is loaded up with weight?

Re: Stodd85's 2016 SR5 Build

PostPosted: Mon, 27 Mar 2017 10:39 +0000
by Stodd85
Yeah, with ease. I had my recovery gear, some tools, camp stove with cooking plate along with other misc items and no problems.

Re: Stodd85's 2016 SR5 Build

PostPosted: Mon, 27 Mar 2017 10:49 +0000
by creaky
Super neat mate, well done. Is it something that you can pull out relatively easily ?

Re: Stodd85's 2016 SR5 Build

PostPosted: Mon, 27 Mar 2017 12:01 +0000
by Stodd85
Thanks Creaky, it probably won't come out often but can if I take out 4 bolts, accesed from under the tray... handling it and putting it somewhere on my own would be a bit more difficult.

Re: Stodd85's 2016 SR5 Build

PostPosted: Sat, 15 Apr 2017 6:45 +0000
by Stodd85
Got back from 10 days on Fraser a few weeks ago and finally found some time to upload a few pics, not too many as many are on the camera which still hasn't made the download yet.

Fit out in the tub worked beautifully!!ImageImageImageImageImageImageImageImage

Re: Stodd85's 2016 SR5 Build

PostPosted: Mon, 26 Jun 2017 10:58 +0000
by Blatchy
G'day Stodd85,

Just wanted to ask how the 275/65 tyres are going and if you've had any issues since you last posted? Also wondering if you've noticed any negative affects to steering due to the castor being increased to +1.5 and if you were able to re-fit the front mud guards?

Cheers

Re: Stodd85's 2016 SR5 Build

PostPosted: Thu, 29 Jun 2017 9:49 +0000
by Stodd85
Hey Blatchy,

Yeah no issues since I last posted about tyres. No negative impacts that I've noticed with steering, although hard to compare as I had the tyres fitted same day I collected thr car.

I did try fit mud flaps without success so have left them off, I think there are a few options to get them to fit. Cut, reshape with heat gun or tie back out of the way, maybe with some stainless cables or something... I've not found the time to spend on that so they have just sat on a shelf in the garage.

I did get a couple of stone chips last trip because of them missing so would like to get them back on.

Good luck.

Re: Stodd85's 2016 SR5 Build

PostPosted: Sun, 23 Jul 2017 8:52 +0000
by Blatchy
Thanks mate

Re: Stodd85's 2016 SR5 Build

PostPosted: Sun, 30 Jul 2017 6:59 +0000
by Bschotty
Drawers look great!
How did you attach them to the floor of the tub? Bolts through the floor with big washers? I'm doing mine soon and was thinking of running a couple strips of c-channel steel underneath and bolting through this... might be overkill though...

Re: Stodd85's 2016 SR5 Build

PostPosted: Tue, 01 Aug 2017 7:50 +0000
by Stodd85
Bschotty,

I used 4 x M8 bolts stainless steel with large flat washers with sikaflex behind to tub and spring washers. I wouldn't think you need any more than that.

I used countersunk bolts at back of tub where accessable with nylock nuts under tub. At the front of the draw carcuss I used some timber inserts, the ones with 4 spikes on them and then bolted from underneath.

Its solid, I'd do it the same way if I did it again. Hope this helps.

Re: Stodd85's 2016 SR5 Build

PostPosted: Wed, 02 Aug 2017 5:21 +0000
by Bschotty
Stodd85 wrote:Bschotty,

I used 4 x M8 bolts stainless steel with large flat washers with sikaflex behind to tub and spring washers. I wouldn't think you need any more than that.

I used countersunk bolts at back of tub where accessable with nylock nuts under tub. At the front of the draw carcuss I used some timber inserts, the ones with 4 spikes on them and then bolted from underneath.

Its solid, I'd do it the same way if I did it again. Hope this helps.
Helps a lot. Thanks.

Re: Stodd85's 2016 SR5 Build

PostPosted: Thu, 24 Jan 2019 7:47 +0000
by Stodd85
It has been some time since I have posted an update, I have been slack.

Last year I started to do the second half of my tub fit out, it was a bit slow but it is nearly finished now, so I thought I would post my progress.

I wanted to create something different from a simple second draw, something with flexibility for different uses. i.e. camping and touring, general weekend 4x4 trips, around town, work and the like. So I decided to build a bed slide to fit in between my Drifta draw and the wheel arch. I also have a circa 50L water tank which fits in over the wheel arch next to the bed slide.

Image
Image
Image
Image

I fitted some tie down rails with adjustable tie points so that I can secure various items in there as needed depending on trip and the like.

Image

I used nutserts in the bottom of the tub which worked a treat.

Image
Image
Image

Behind the side panel I have mounted a water pump, and also plumbed the pump so that I can draw water from an external water source as well as the tank, I fitted a "T" valve to switch between Tank and External draw. I haven't yet finished the tank install and hose.

ImageImageImageImageImage

I had some Traffolyte Labels engraved to give it a professional look.

ImageImage

Fitted the dividing panel between bed slide and water tank.

Image

I also made some lids which can be fitted at a high level or low level by spinning them around. This means I can choose the configuration of my storage system depending on what I am packing. For example I can fit a gas bottle and baby weber under the lids when they are fitted to the high level. I also made the lids different lengths so that I can have different configurations of high and low lids. I might have a low lid at the back of the bed slide and the high lids at the front where larger items are stored.

ImageImageImageImage
ImageImage

Still need to finish fitting the tank and final fit off, hope I can get some time to do this soon.

Re: Stodd85's 2016 SR5 Build

PostPosted: Fri, 25 Jan 2019 1:07 +0000
by NZMarkb
Very nice work mate :mrgreen: :mrgreen:

Re: Stodd85's 2016 SR5 Build

PostPosted: Fri, 25 Jan 2019 11:17 +0000
by Merkin
mate, that is a very tidy setup!!

Re: Stodd85's 2016 SR5 Build

PostPosted: Fri, 25 Jan 2019 10:45 +0000
by Sartor
Very nice and tidy setup!

Where did you run the wires to the back of the UTE (did you use to run them through the left rear stop light or somewhere else)?