After a request from our dear Moderator Skog, I have pulled out the section (cut and pasted) from my buildup of the High Clearance Bashplate only and dedicated this thread to it so others may find it easier without digging through my buildup.
I have drawn up 2 or 3 different designs and contemplated heaps about whether to keep the sway bar on or off.....if keeping it on, whether to make a bashplate like the Artic Trucks with the lower portion of the swaybar exposed through the bashplate or to cover it completely.....well,.....I decided to keep the swaybar on and ended up with a fourth idea. You know, kind of progressing and modifying as you go along.
Artic Trucks Bashplate below-
This is what I ended up doing - My TJM FUG I decided to make use of, be a shame not to, so I used the rear portion of the front bashplate. The brackets that go between the engine crossmember to the radiator crossmember where removed and cut on an angle to not only provide a support for the bashplate on either side, but also for a mounting location for the rear portion of the TJM FUG which I had cut into 2 pieces.
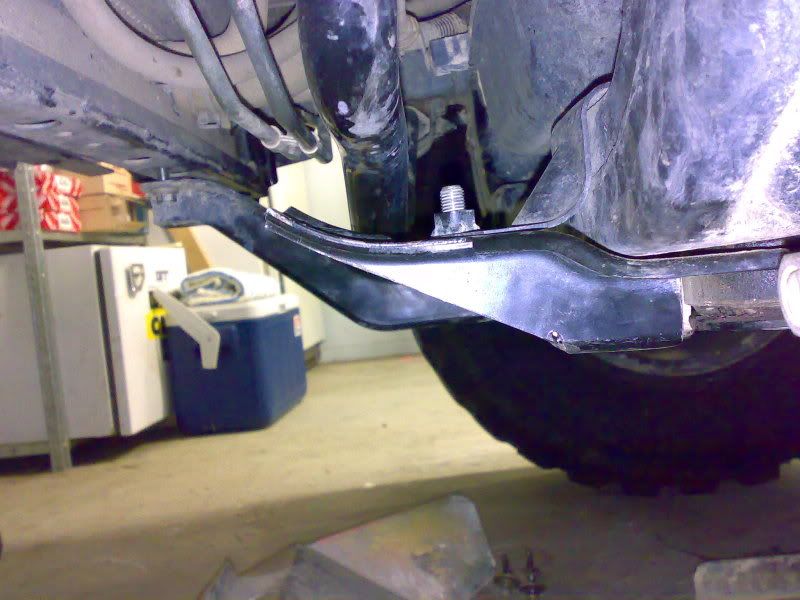
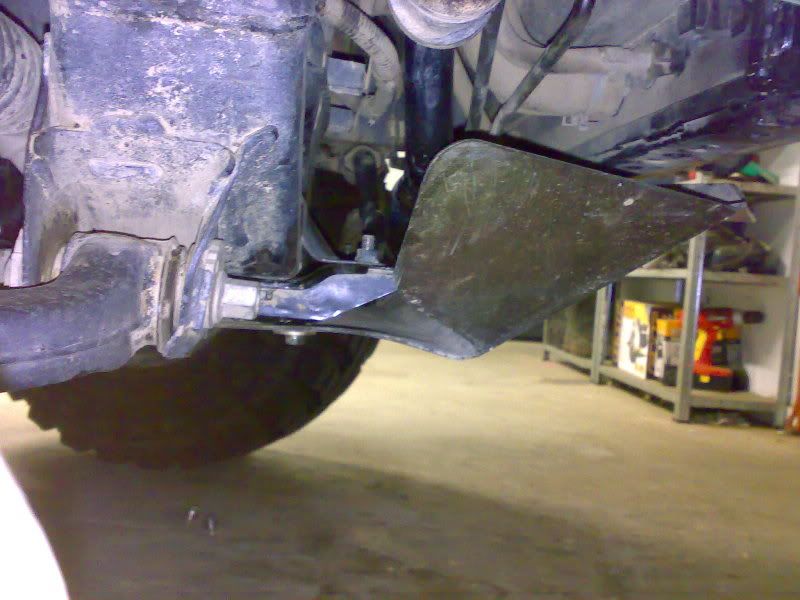
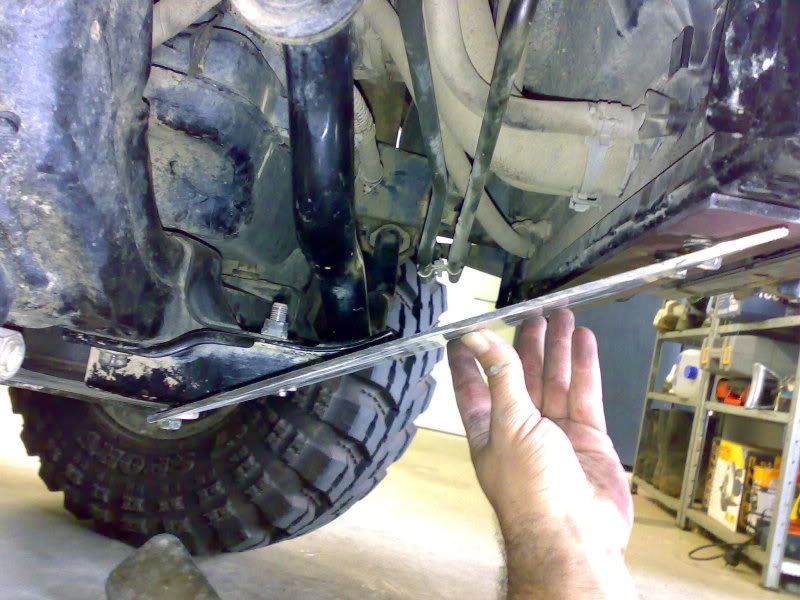
In the pic below you can see one of the brackets that has been cut to suit the future profile of the new bashplate, and in the distance you can see the standard bracket as a comparison. Also, note, that the bottom of the swaybar will not stick out past the bashplate-
Another view of the cut bracket-
And both brackets cut and mounted up-
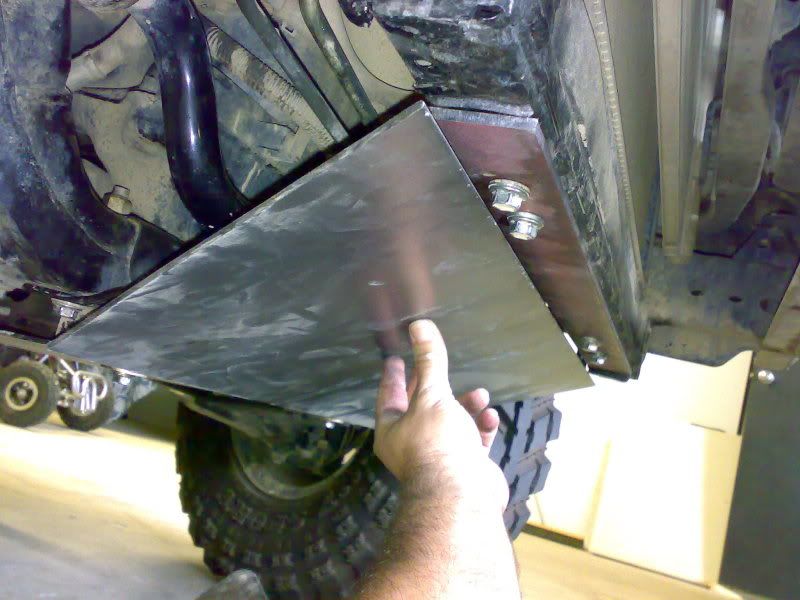
Before I cut the TJM FUG, I fitted it onto where it would go with the newly modified brackets behind it, and measured where I would need to cut it-
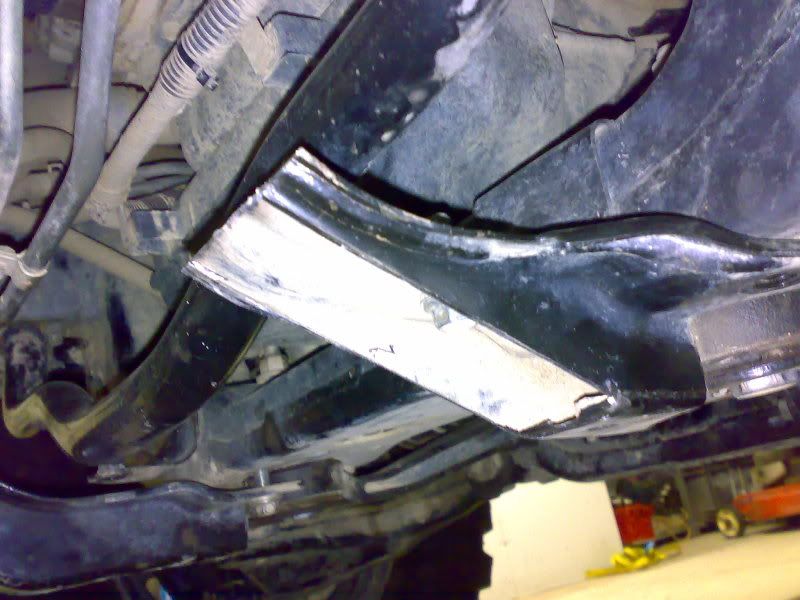
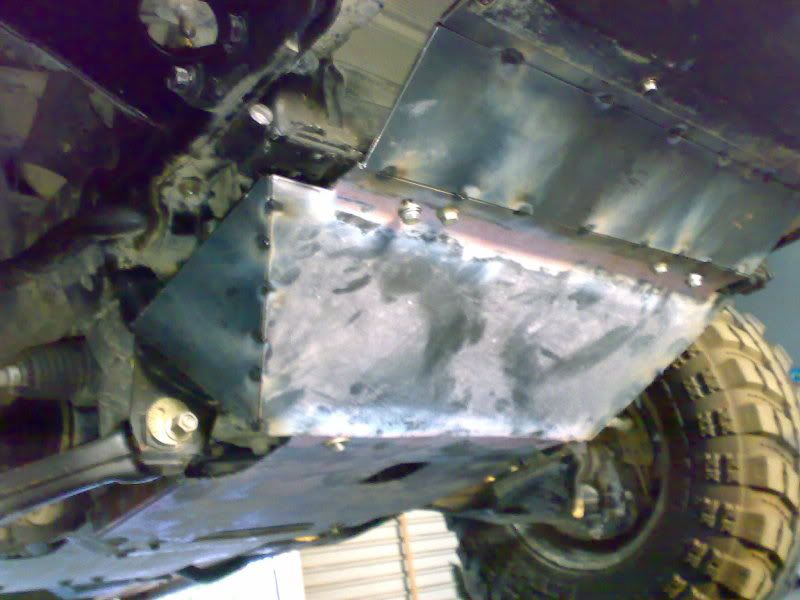
I had a long strip of 5mm thick steel plate lying around so I measured up bolthole locations where the brackets used to mount upon and fitted the plate to the radiator crossmember. This will be a mounting point that I will weld the bashplate to between it and the modified FUG.
Heres another view-
When I get round to it, I will weld that plate onto the TJM Guard, and the steel plate, then I will make another smaller plate to replace the ARB one which is weak as piss, to go from the steel plate forwards towards the ARB bar.
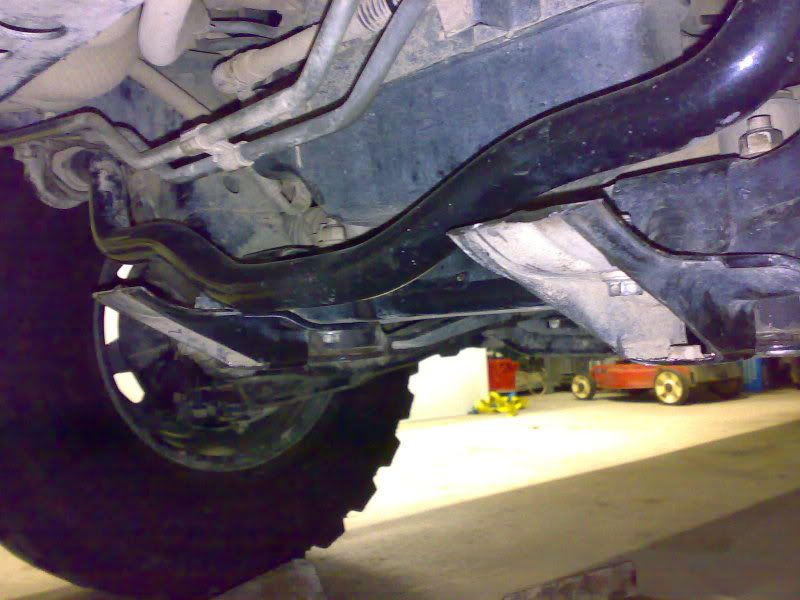
This bashplate design gives me 2" more clearance in height, and puts the first and lowest point of contact behind the front of the tyres, 4" further back then before...I think thats not a bad improvement in clearance.
I think Ill find Ill more than likely impact things at the front lower edge of the bullbar now before the actual bashplate.
One thing the newhilux's are reknowned for is clearance in this area, but this surely has improved it abit.

Ok, so the family's staying at the in laws tonight which gave me a couple "quality" hours after work tonight to get a little bit done on my bashplate and make some progress.
I wont get a chance to work on it tomorrow, only sunday, which is when I need all the metal work done, so during the week I can put a couple of coats of undercoat and then black spray can on it before going 4x4'ing to Lake Eildon next week saturday to test out not only the front locker finally, but also whether my high clearance design will benefit the hilux offroad and if so how much.
Well, heres some pics from tonights efforts....
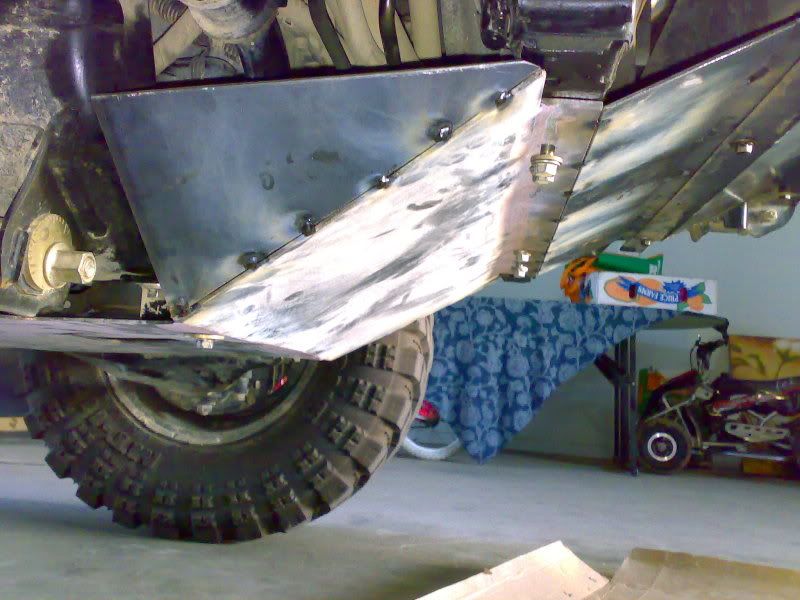
Heres a pic of the side plates and front plate tacked in place before removing to finish the weld properly.Damn its hard to weld with one hand upside down when the other hand is holding the pieces in place!
Heres more of a side view. Its hard to tell because I cant get the camera exactly side on but the bottom corner of the bashplate is about 3 inches behind the front of the tyre....awesome!
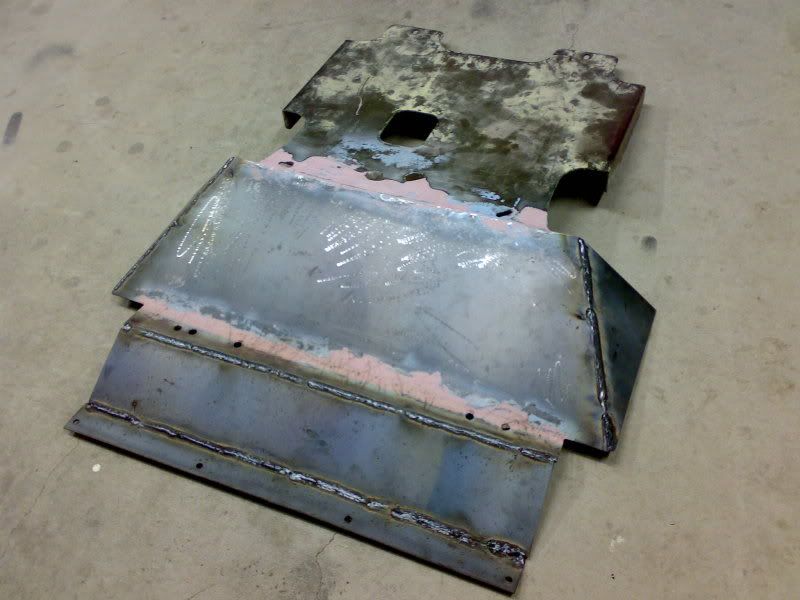
And an aerial shot....still have to clean up the weld, grind them flat and smooth and complete the welds on the inside.
I tried using some metal filler to smooth out the corners, but it dont look like it went too good.
Ok Fella's,
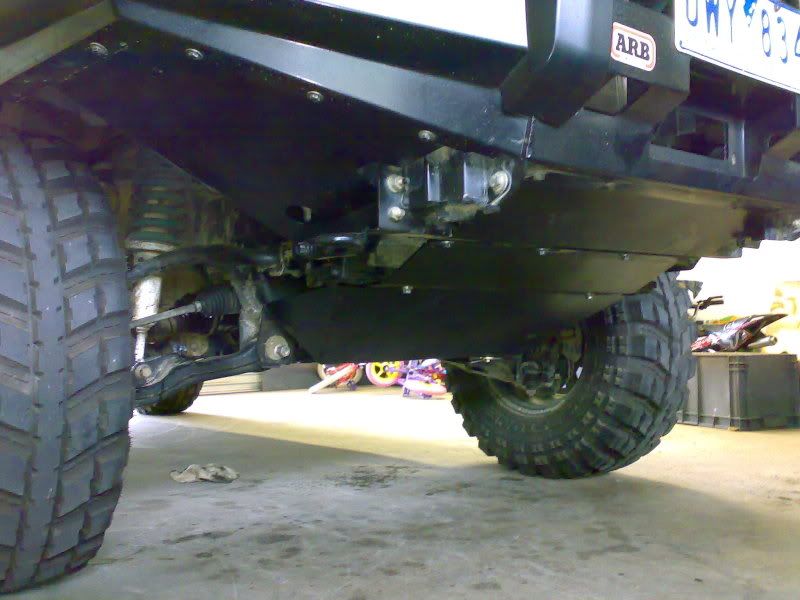
The long awaited High Clearance Bashplate is complete and on the vehicle....woohoo!
Just in time for my trip tomorrow to Gough Bay at Lake Eildon for some offroading. Also got the rear suspension re-done on wednesday, removed the 1 inch block and added an extra leaf, greasable shackles and a full nolathane bush kit back and front.
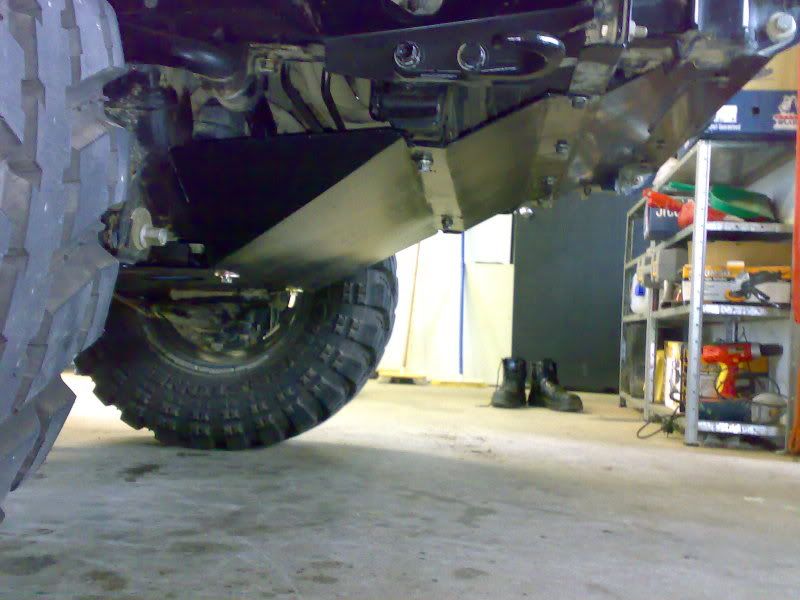
Anyways, heres some pics of it finished....was abit fidly to install, the welding as you may know tends to re-adjust metal so had to clean up a couple holes and it weighs a tad more than before but all is good.
Front View
Side View