Application: 2005-2011 Hilux D4D + 2012-2015 Safari type snorkels
This guide is intended for those who may not have done a lot of DIY work on cars - not so much for the guys who work on cars regularly. It gives reference to removing wheel arch flare - just ignore related steps if you have SR or no flare.
Before the installation I searched for a 05+ SR5 snorkel installation guide but found very little in the way of detailed photos. I find real life photos much more reassuring rather than black and white schematics that never seem to correlate 100% and skip over a few necessary steps. Anyway - below you will find plenty of pics and some steps not covered in the official instructions.
This is not a complete instruction guide nor is it intended to be a replacement for instructions supplied with the snorkel. You will need the original instructions and template as this guide just provides a few points in addition that may help.
The supplied installation instructions for Safari brand say you need the below:
108mm hole saw drill - don't forget the arbor.
(Some members use a jigsaw or rounded tin snips are said to work just fine)
Step drill
Touch-up paint
Locktite 243
Loctite 406 Instant Adhesive
Approx 120 minutes time... yeah right!
Below are additional tools and extras that I used....not saying all are necessary.
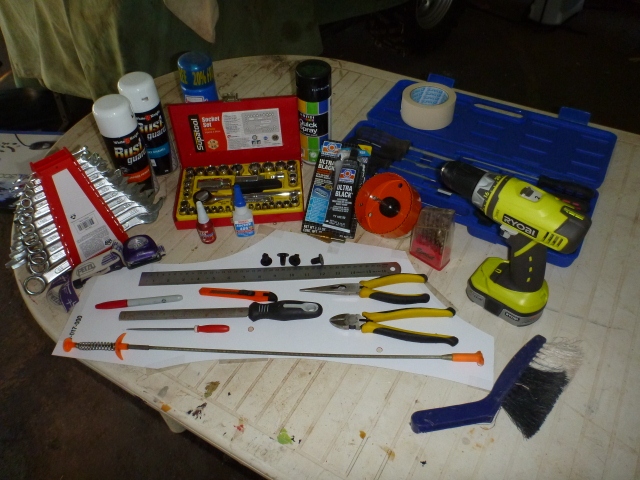
Small socket set
spanner set
Screw driver set
cordless or AC drill
Drill bit set
Masking tape
Permatex - Ultra Black sensor safe RTV silicon or other such sealant such as sikaflex 227
Ruler - tape measure
half round file
small rat tail file
end cutters
pliers
marker pen - contrasting to colour of you car or masking tape
craft knife
flexible claw/magnetic pickup tool
Torch
Primer + top coat spray paint (could use self priming - quick dry preferable!)
Rare earth magnet or other strong magnet
Water blaster/ hose
Black spray paint to freshen up wheel arches
Insect repellent if in the tropics
An extra few hours or even a couple of days if you forget to buy vital consumables before the shops close.
Tip: BEFORE starting you may need to purchase some sundries during the week (as they may not be available on weekends in small rural towns - sometimes miss the conveniences of city living!)
4 panel clips (like the blue one in the pic) - which fix the flares to the panel if you have them
10 black screw grommets below - you may not need this many depending on how well you can remove the existing ones
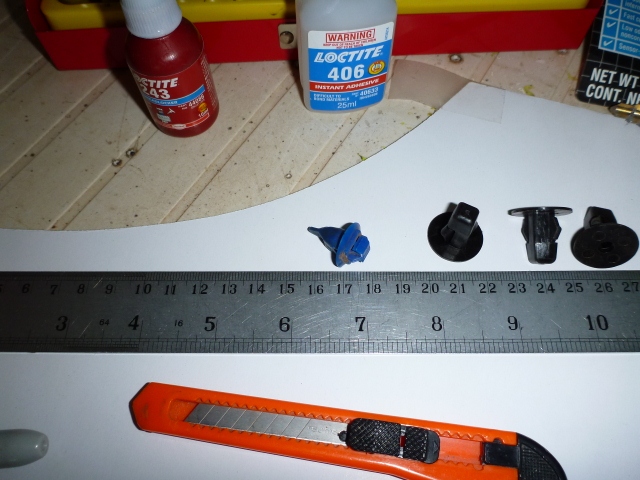
I nearly dropped dead when I went to my local Toyota dealer: They didn't have any panel clips and wanted $3 for each screw grommets!
Tip: go to your local panel beater - you might get them for free like I did
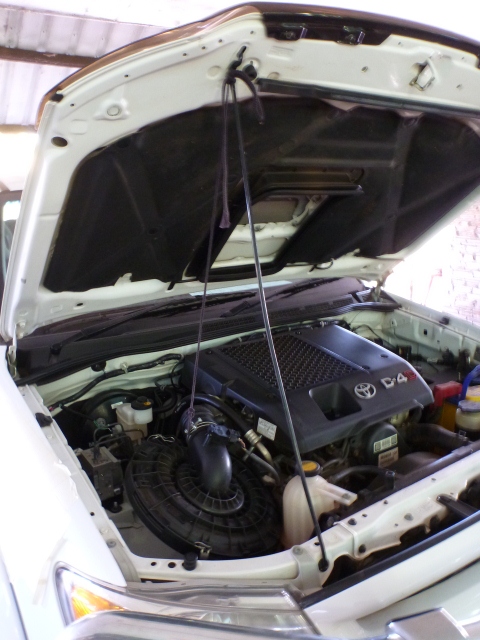
The start...
Give the wheel arch a good clean - you will be working here for some time.
A small Gerni is useful to wash the grime off after spraying with CT18 or the like.
Remove air filter box.
While the air filter box is in hand look for any holes or deformity to the box lid or valve that may allow water to enter.
There are 3 splay rivets holding the air direction duct inside the air box (inlet side).
Each rivet has 3 small holes varying in size but around 0.5mm2.
Personal choice to add some heat sheild insulation on the engine side
While sealing up the snorkel body seal around the airbox rivets with sensor safe RTV.
If nothing else it will stop dust ingress
Hold lid of air box up with some rope or bungee cord/ocky strap
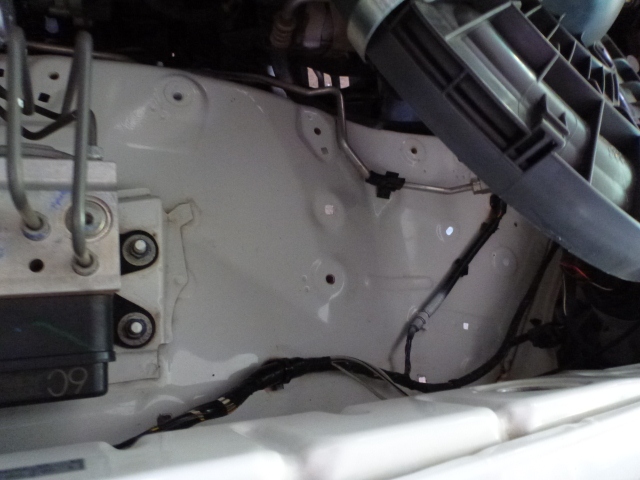
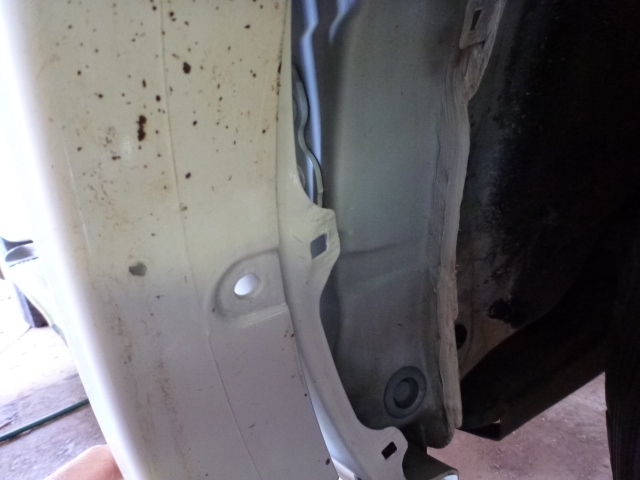
Clean up the panel work under the airbox. Check for bare metal. I had a couple areas where the air box had worn thru the paint. Primer + top coat to fix that up.
You will see some of the square pointy ends of black screw grommets poking thru retaining the inner guard which needs to come off. Its easy to gently squeeze these square grommets with pliers and push down back thru the panel work. Not so easy for the rest of them - more later.
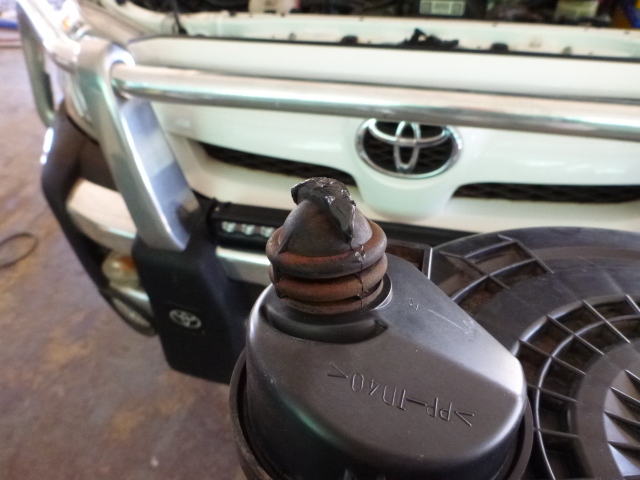
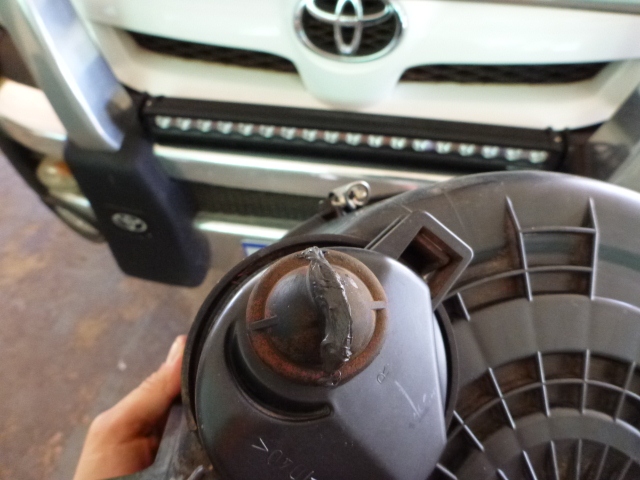
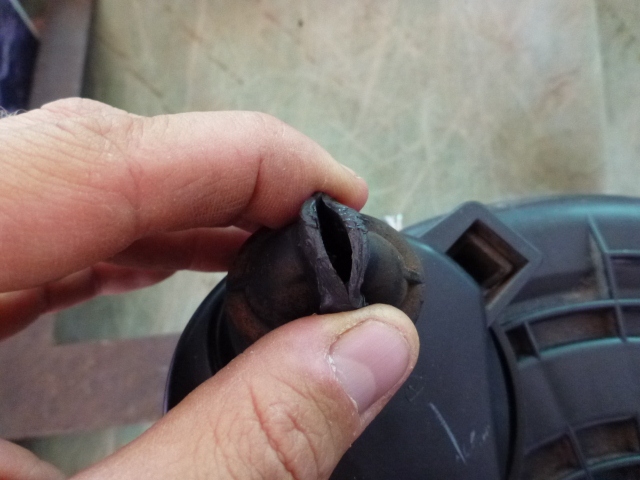
I had a look at the bottom of my air box to find that the one-way water valve had a severe deformity in it. It looked as though it had been installed incorrectly and the water valve was left bent half open!!! No wonder I had so much crap in my filter box every time venturing off road. Rather than paying thru the nose for a new one I used the sensor safe RTV silicon to plug the gap up. Waited for it to cure then cut a slice thru it to retain its original function.
It now opens and CLOSES as it should. Not sure if the local 4WD drive shop would have noticed that if they did the install.
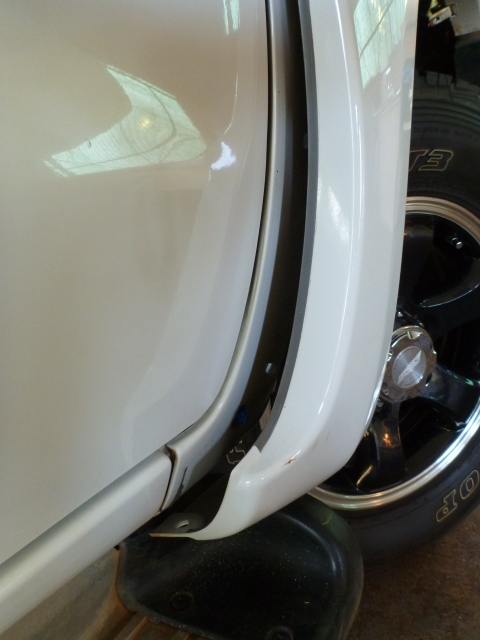
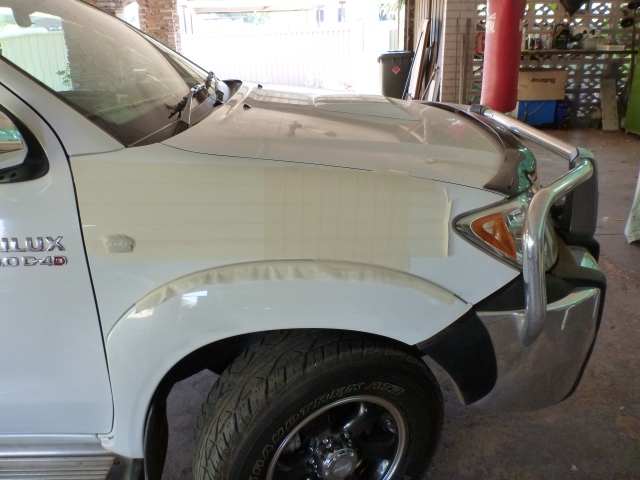
Remove lower rear screws of flare. No need to remove the whole flare - just the rear half as the wheel arch liner only tucks behind and screws in at the rear of the arch. There is one additional screw hidden at the very bottom of the flare above the front of the running board/step. Remove with a short/stubby screw driver
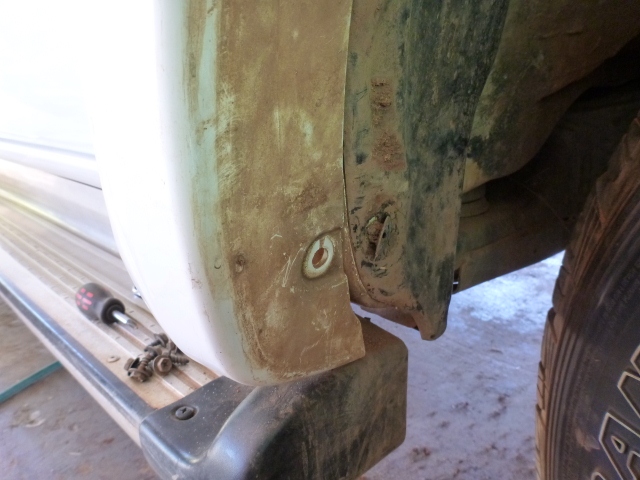
Lever the lower rear of the flare off with your fingers - easy does it. Pay attention of the orientation of the panel clips holding the flare to the panel. I broke all 4 panel clips in the process but I think that was unavoidable as they were old and brittle.
Here you can see the hole at the bottom where the hidden screw is.
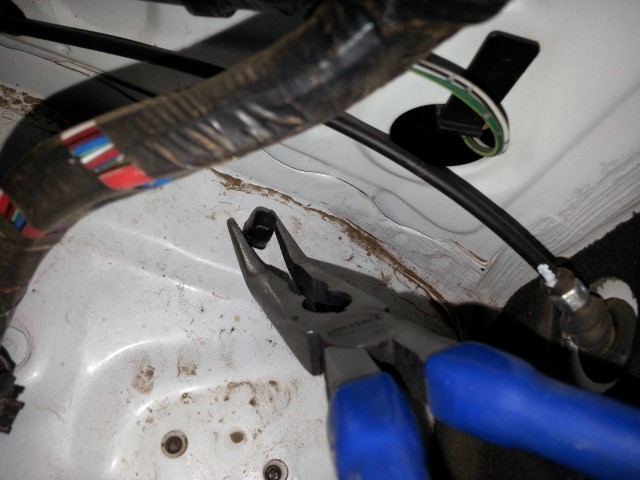
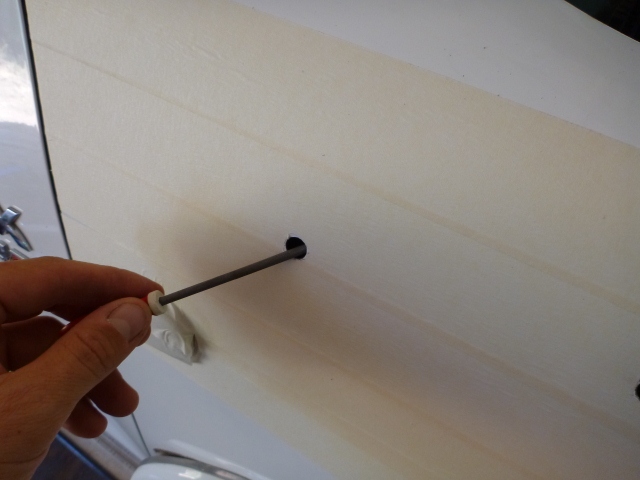
Now you can remove all screws from inner arch liner and remove the rest of those screw grommets
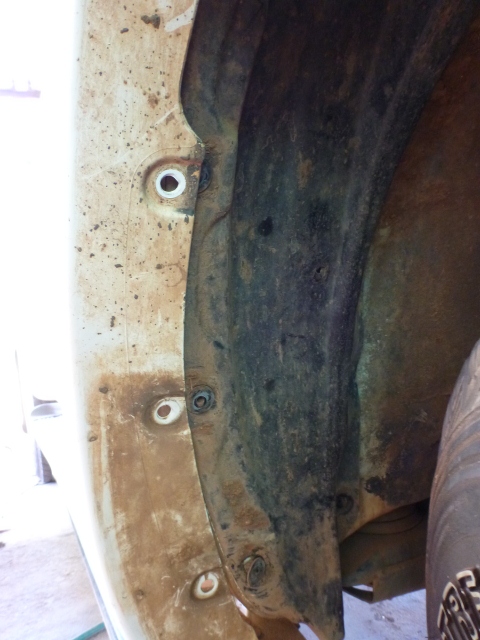
Its not an easy job removing the screw grommets when you cant reach the back of them.
TIP: try rotating them 45 degrees - they may pull out easier. If not use pliers and brute force or end cutters. This alone can take an hour to pull out all of these grommets. Once all grommets removed you can remove the inner arch liner.
TIP: Take it easy with the grommets around the flare - I bent the buggery out of one of the panel flanges behind it and had to give it a coat of paint as i used a screw driver to try to pry it off.
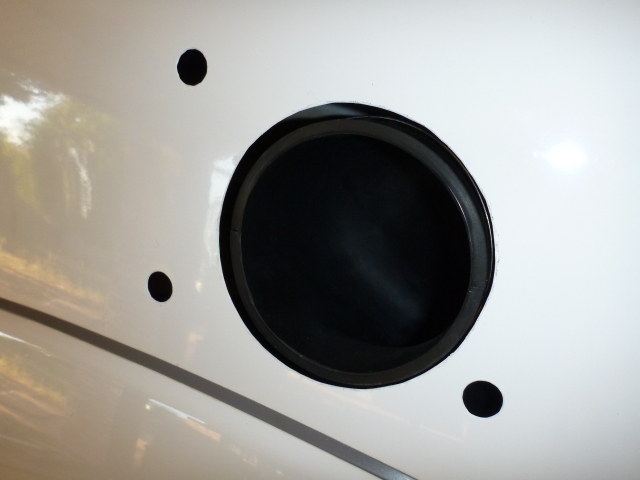
Remove the old under-gaurd air intake. Only one screw holding this.
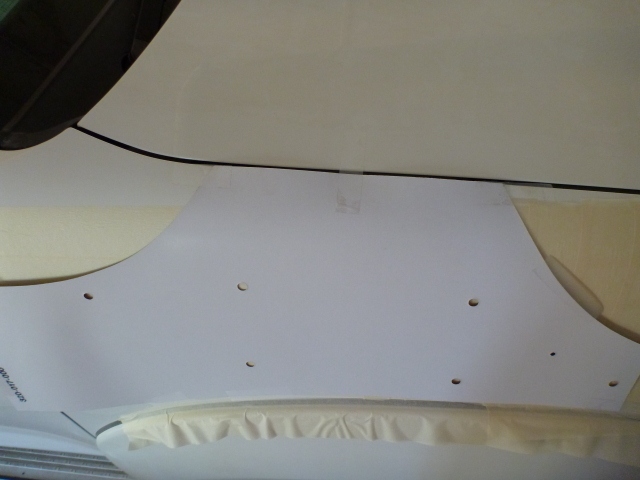
Mask area that will be drilled so as to protect paint work in case the drill slips. The tape has two benefits:
Allows marking and improves drill bit control.
Double or triple mask area where 108mm hole will be drilled... greater chance for slippage and paint damage
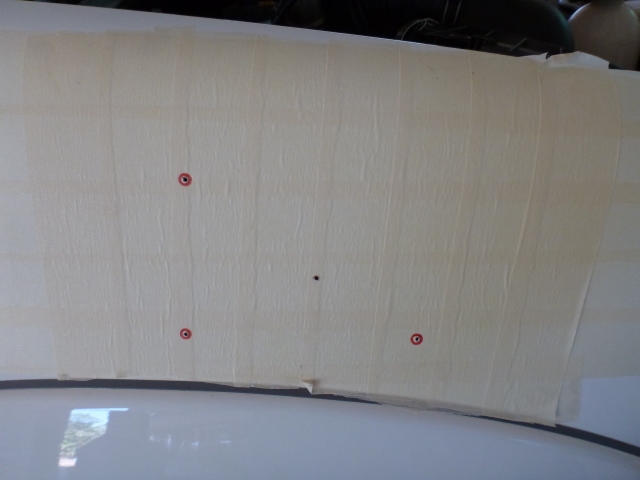
Tape template, check position and mark holes with pen/marker
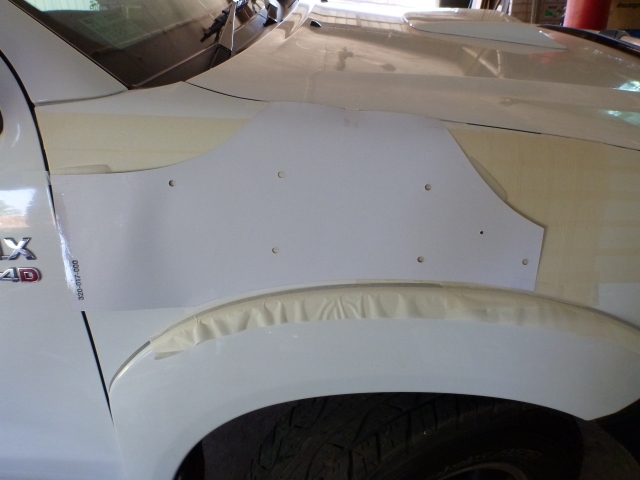
Remove template
I drilled pilot holes to reduce any problems drilling with larger drill bits.
You can use a hole punch to be sure of position when drilling but the tape does a good job
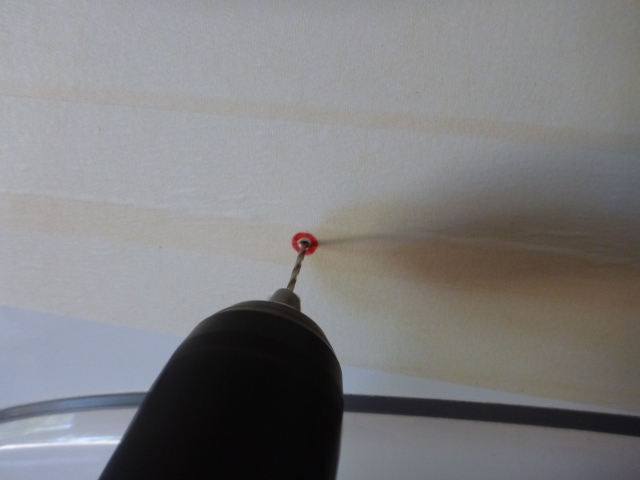
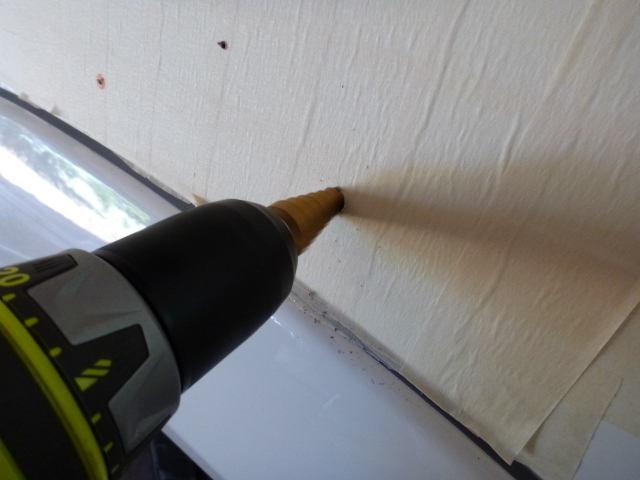
Using step drill for the smaller holes
I didn't drill out to the recommended width - stopping at 12mm instead of the recommended 16mm diameter as the studs are only 8mm. I think the 12mm provided enough room for adjustment and allows the washers on the back seat better.
Ready
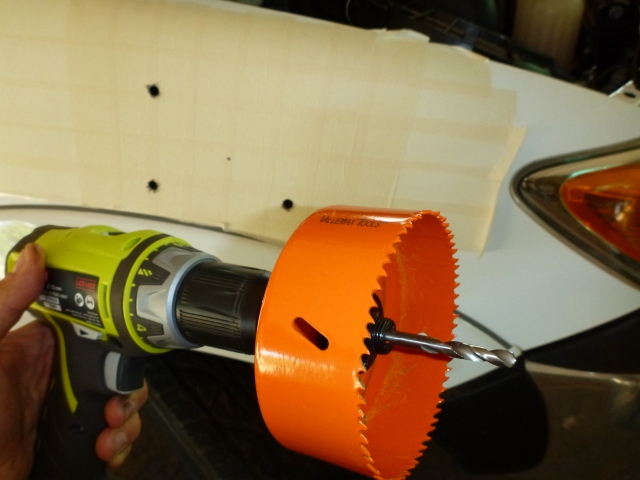
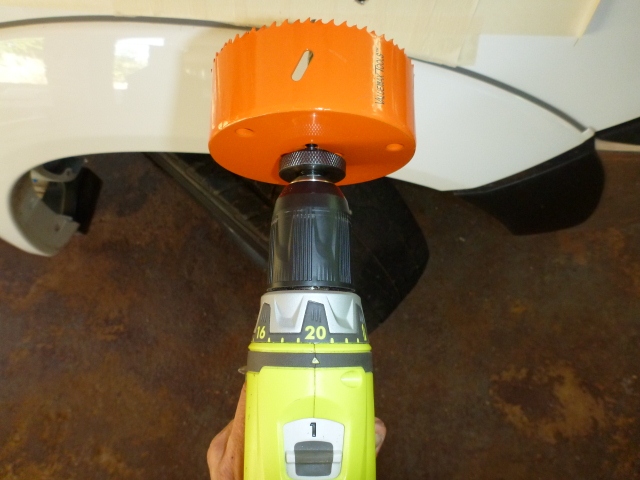
Be very careful to apply contact evenly horizontally and vertically. If not it can result in binding.
Keep drilling untill completely thru - dont stop. If you stop you run the risk of it grabbing with the start up torque then chewing chunks of panel work.
Some use high speed - others low. If the cost and apprehension of using a hole saw is too daunting use a jig saw.
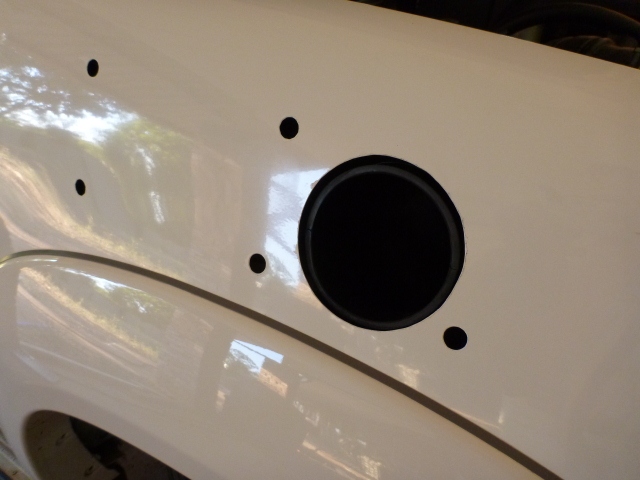
Cut excess flap tape to expose bare metal
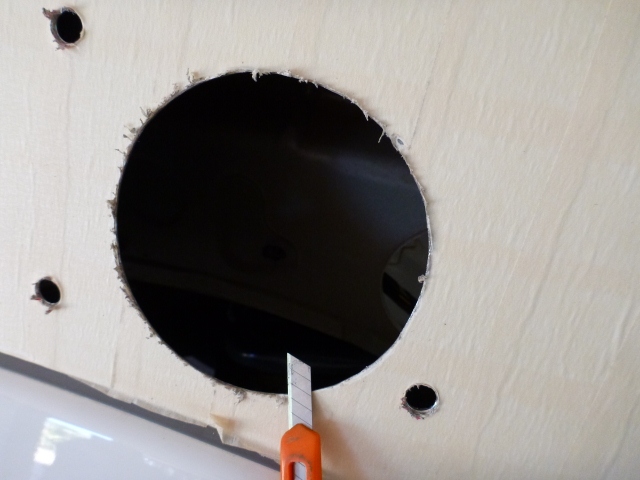
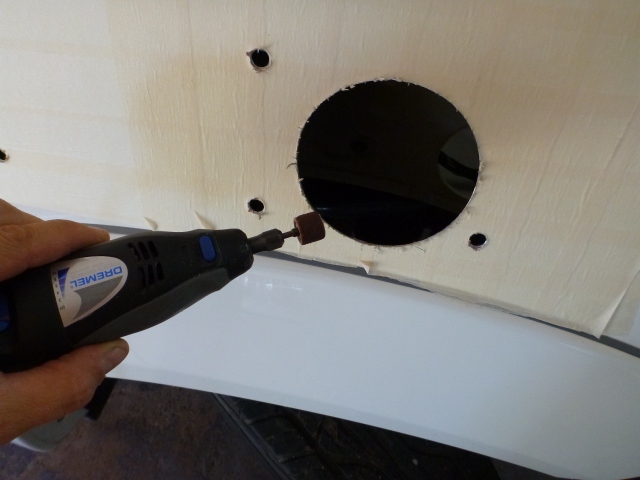
I tried cleaning up the holes with a dremmel but found it a bit ineffective

Remove burrs with good old files. Most of the burr will be on the inside of the panel so you need a bit of angle on the file.
You will need to prime/paint each hole to prevent rust. I also spray painted from inside of the panel.
TIP: Don't use the paint I used if you are in a hurry. My epoxy top coat paint had a touch dry time of 6 hours
Cold gal will be fine
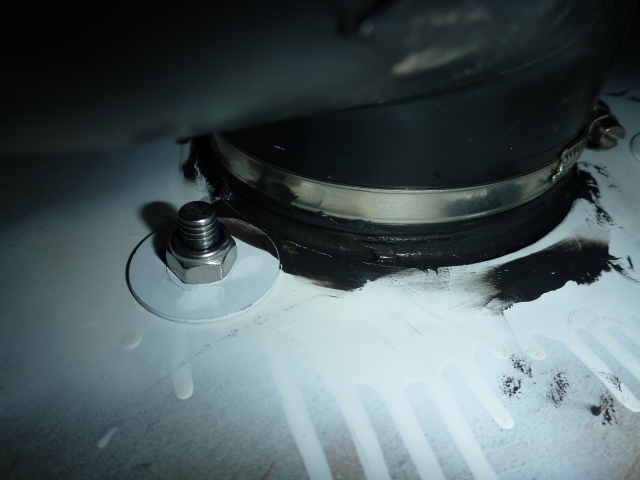
A drop of thread locker to each stud
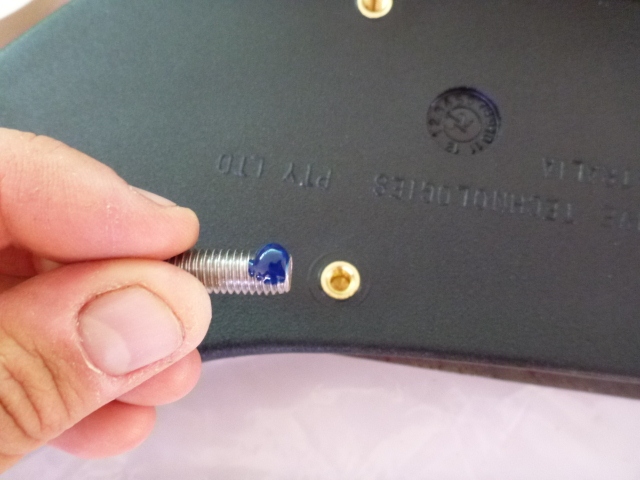
Screw in. Some use double nuts to tighten in, I just used my fingers.
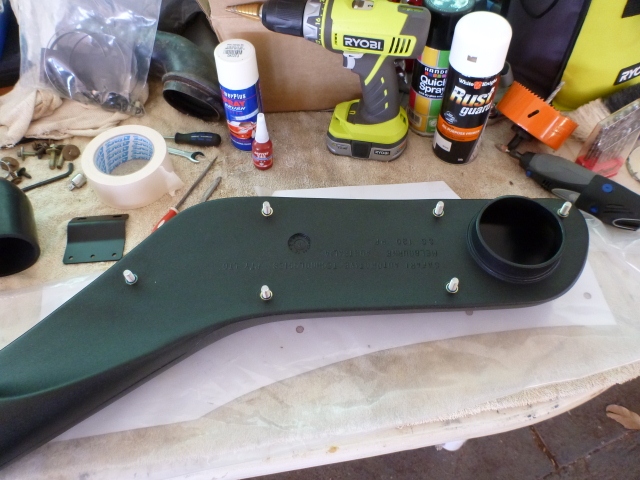
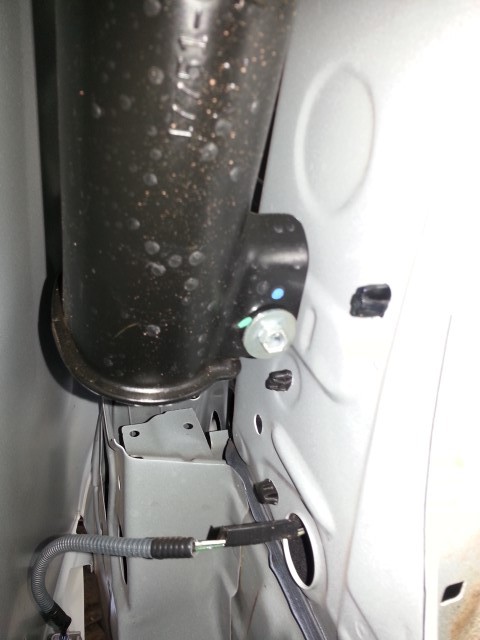
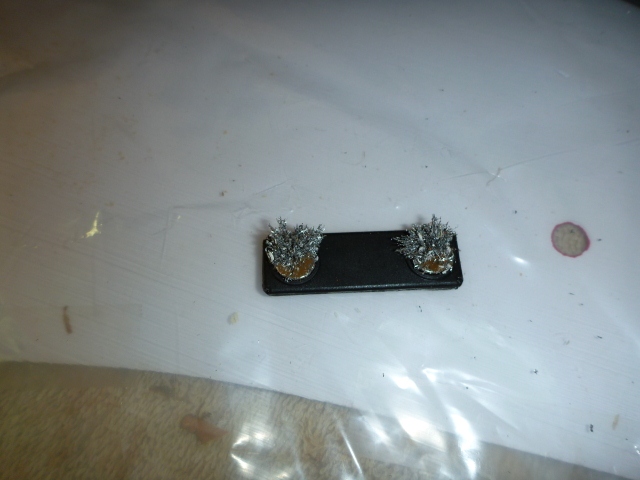
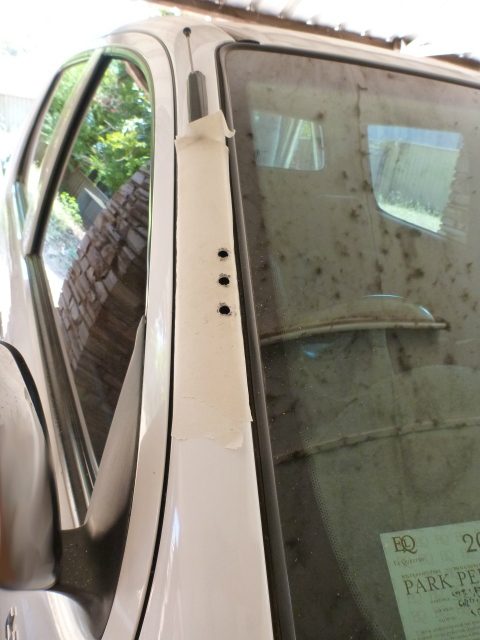
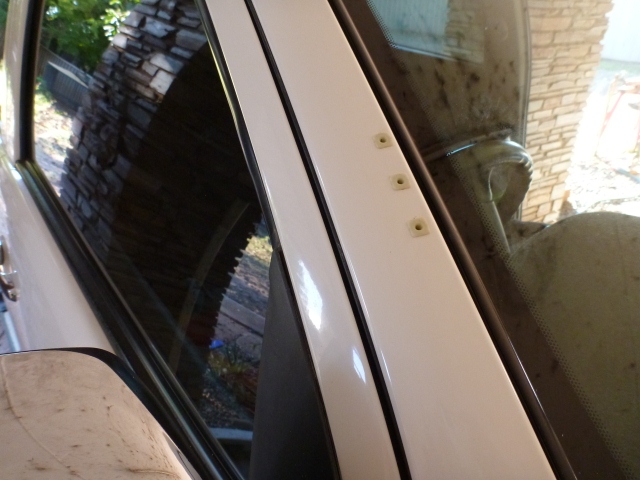
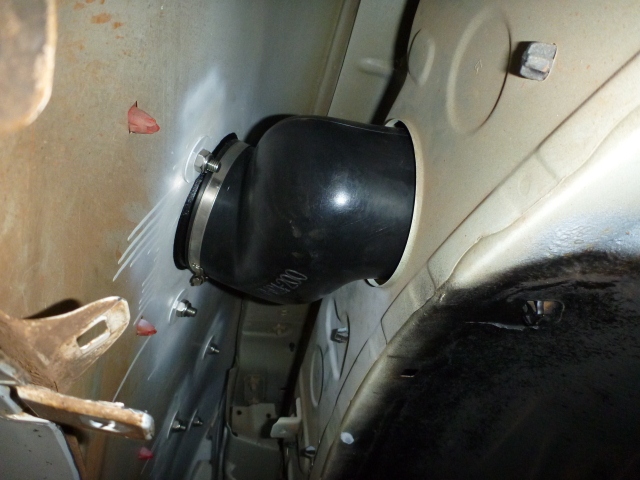
Attach pillar bracket to snorkel
Line up snorkel to find pillar bracket location, mark holes, remove snorkel body, drill to 8mm, deburr, paint.
I used a strong magnet to catch the metal burrs to reduce rusty bits inside the pillar. Just placed it next to hole being drilled.
Prime then Install grommets
Refit air box
Loosely fit hose connector with hose clamp to air box
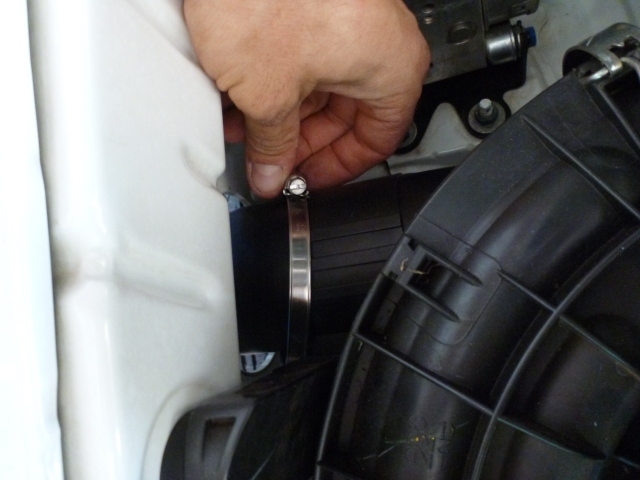
Should look a bit like this:
Manoeuvre the connector hose into best position to make tight seal between air box and snorkel body
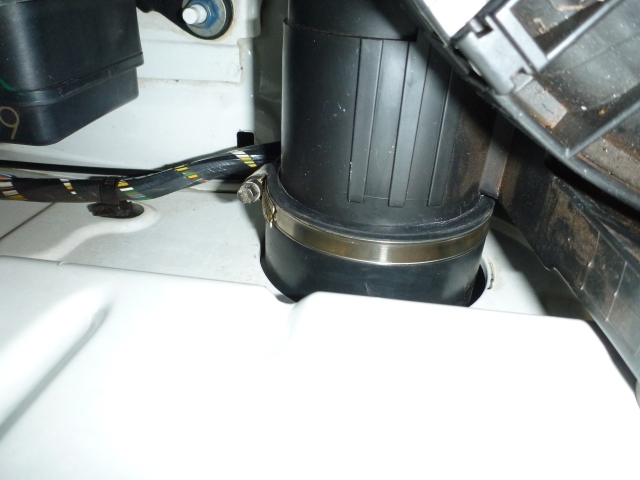
Guide snorkel body into hose connector and hose clamp.
Loosely fix nyloc nuts onto all studs. Some are a bit tricky to reach especially the rear top stud
Use some blue tack to help guide that nut onto the stud

Ensure correct position and seal alignment.
Tighten it all up
Add RTV sealant around snorkel body and connector hose inside the inner guard.
Its a bit tight up in there to make a tidy job.
Not sure if sealant is really needed - the hose fit real snug with hose clamp.
Replace inner guard using black screw grommets and screws.
Attach flare using blue panel clips.
All done
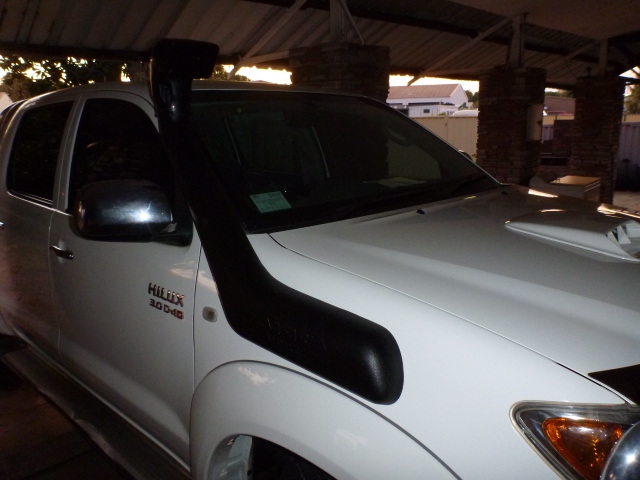
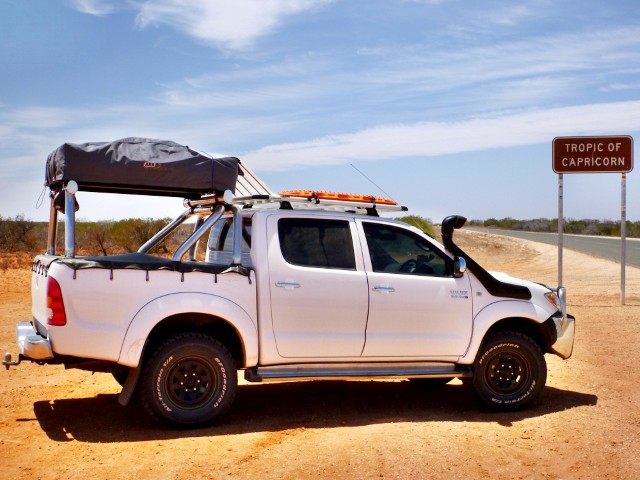
I use a pre-filter over the snorkel for the dry season as there is heaps of pindan dust + bugs that would get into the airbox.
Things I would do differently :
*Use quick dry paint
*Would consider using a jigsaw or tin snips to cut the big hole as it took over 3 weeks for the 108mm holesaw to arrive
*Go to the friendly panel beating shop first for panel clips and grommets
Doing the install yourself might take some time but gives peace of mind knowing that the job was done thoroughly.
Bring on the wet season!